
The Librem 13 v1 coreboot port is now complete
Purism
Latest posts by Purism (see all)
- Purism Announces Launch of Its Librem 16 Laptop, the World’s Most Private and Secure Workstation - June 23, 2026
- Google’s Lock Down Policy - May 21, 2026
- Smartphone Study - May 21, 2026
 Here are the news you’ve been waiting for: the coreboot port for the Librem 13 v1 is 100% done! I fixed all of the remaining issues, it is now fully working and is stable, ready for others to enjoy. I fixed the instability problem with the M.2 SATA port, finished running all the tests to ensure coreboot is working correctly, fixed the headphone jack that was not working, made the boot prettier, and started investigating the Intel Management Engine issue. Read on for details.
Currently our test matrix looks like this—100% tested and working:
- Cold boot: memory controller works.
- Cold boot: all installed DRAM is online.
- Cold boot: graphics controller works.
- Cold boot: SATA controller succeeds.
- Cold boot: EC controller responds ok to init code.
- Cold boot: LCD backlight turns on.
- Cold boot: linux boots ok in text mode.
- Cold boot: linux boots ok in framebuffer (boot splash) mode.
- Cold boot: X initializes the LCD at full native resolution.
- Cold boot: X enables hardware acceleration.
- Boot time: Cold boot to grub succeeds in less than a set timeout.
- Boot time: Reboot from linux back to linux succeeds in less than a set timeout.
- Boot time: Power down succeeds in less than a set timeout.
- SeaBIOS test: keyboard works.
- Grub test: keyboard works.
- Grub test: text mode and framebuffer graphics work.
- Cold boot to USB linux succeeds.
- Reboot to USB linux succeeds.
- EC test: fan spins.
- EC test: holding power for >5 seconds forces a power down.
- ACPI test: lid switch works.
- ACPI test: power button event received ok.
- ACPI test: AC power on/off event received ok.
- ACPI+EC+battery test: battery percentage works.
- Media keys on keyboard work in linux.
- Device tests: internal mic, internal speakers, webcam, webcam mic, wifi, bluetooth, hard drive, SSD, SD card, each USB port, headphone jack.
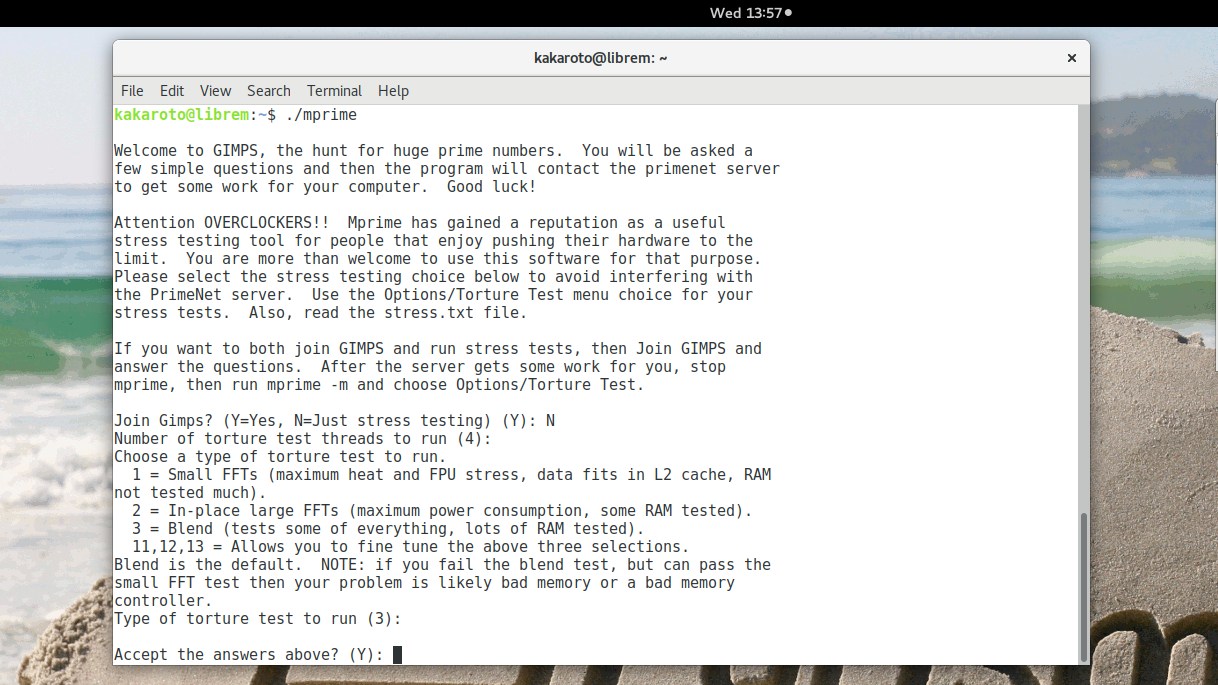
- prime95 (one instance bound to each hyperthread) for a fixed time to test CPU thermal management.
- glxgears for a fixed time to test GPU thermal management.
- During prime95 test, CPU digital thermal sensor should give reasonable results.
- Linux suspend ok.
- LCD backlight adjustable in linux.
- Linux kernel boot messages should not contain too many errors.
The next steps will be:
- Write a script for users to beta test the coreboot release easily, and document the whole thing;
- Determine the best method to extract the existing BIOS parts and flash coreboot, avoiding any code redistributing;
- Package it all in a .deb that PureOS users can simply apply as an update to get their BIOS replaced by coreboot.
How did you fix those last issues?
The M.2 SATA port
In my previous post I noted some strange issues with the M.2 SATA port. I thought it had something to do with the PCI configuration (the subsystem ID was different). I hadn’t had time to investigate this too much, but I had an idea that needed to be reconsidered, something I had tried very early on but it had failed because coreboot didn’t support it, and I thought that I had the wrong idea…
Basically, the devicetree.cb of the Librem 13 says this:
 # Port 0 tuning for link stability
 register "sata_port0_gen3_dtle" = "9"
Since the 2.5″ SATA is on port 0, while the M.2 SATA is on port 3, and my M.2 SATA issues were of a “link stability” nature, I figured, I’d just add this to the device tree and that this might solve the problem:
register "sata_port3_gen3_dtle" = "9"
…but that didn’t work outright (didn’t compile), so I shelved that idea.
After posting my previous blog entry mentioning the M.2 issue, I went on coreboot’s IRC channel and asked if this “gen3_dtle” thing could be the cause, and someone mentioned that the behavior I see is the exact behavior he was seeing on his board until he added a similar line to the devicetree.cb file for his board, so it at least confirmed that was my problem… but the SATA initialization code for the Intel Broadwell SoC does not have support for that register for port 3, only for port 0 and port 1. After looking at the code, I realized that it’s probably only because nobody had needed to use it for port 3 until today. Then comes the obvious question: what does that value mean, what is the SATA DTLE, and how do I add it for port 3? Well, the soc/intel/broadwell/sata.c file uses that devicetree register and sets some “IOBP Registers” on the SATA controller using that value, and the “IOBP registers” are defined in soc/intel/broadwell/include/soc/sata.h like this :
/* SATA IOBP Registers */
 #define SATA_IOBP_SP0_SECRT88 0xea002688
 #define SATA_IOBP_SP1_SECRT88 0xea002488
 #define SATA_IOBP_SP0DTLE_DATA 0xea002750
 #define SATA_IOBP_SP0DTLE_EDGE 0xea002754
 #define SATA_IOBP_SP1DTLE_DATA 0xea002550
 #define SATA_IOBP_SP1DTLE_EDGE 0xea002554
So the obvious next questions are “What are these magic numbers?” and “What magic number should I use for port 2 and port 3?”. Unfortunately, there really is no information about what these “IOBP registers” mean, or what those values are, or where to get them from. Someone in #coreboot said that information comes from an Intel specification document that is only available under NDA.
Considering that ‘SP0’ is for port 0 and ‘SP1’ is for port 1, and that the value goes from 0xea002750 for port 0 to 0xea002550 for port 1… I thought, “It would be funny if…” and set port 2 as 0xea002350, port 3 as 0xea002150, and tested it. It worked! Those guessed magic values for port 2 and 3 fixed the M.2 instability issues I was seeing. Well. That went better than expected.
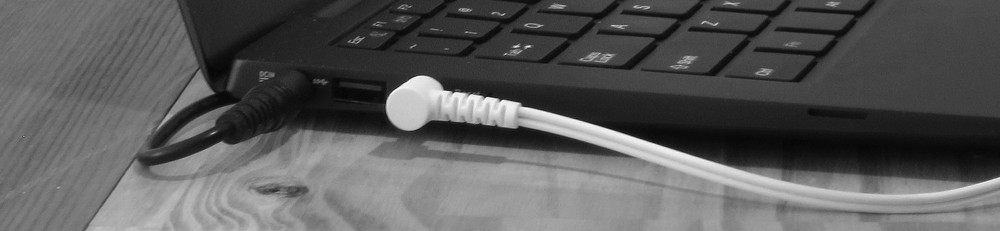
I then booted the Librem from the SSD and started testing everything else in my list, at which point I found out that the headphones jack wasn’t working.
The Harrowing Jeopardy
of the
Headphone Jack
“This might be a PulseAudio bug”, thought I. Alas, after attempting everything I could with PulseAudio, the issue remained—from the headphones came nothing but deafening silence. I pondered the untimely physical death of Headphone Jack (“A hardware issue? Inconceivable!”), so I hammered the vendor BIOS back into the corpse to be sure… and lo and behold, Headphone Jack was alive! Thus I started the investigation into the causes of its disappearance amidst coreboot.
After a few days of looking at various possible causes and finding nothing, I realized that most patches in the coreboot git log mentioning “headphones” were modifying hda_verb.c or hda_verb.h (HDA means “Intel High Definition Audio”) and I realized the file contains the structure that is used to initialize the “codec” that runs on the sound card.
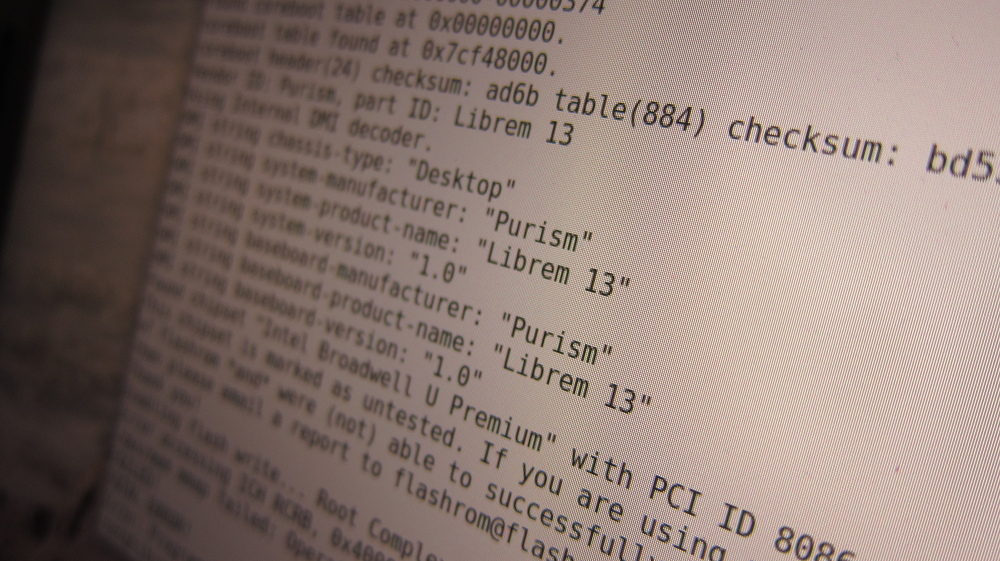
I recalled the codec#0 file that I had grabbed from the machine with original BIOS according to the motherboard porting guide and I compared it with the one from coreboot, and I found very few (and insignificant) differences, so it didn’t make any sense. Eventually, I decided to compare the content of hda_verb.c with the data from the codec#0 file even though it didn’t change from AMI bios to coreboot, and I noticed something strange right away.
codec#0:
Codec: Intel Broadwell HDMI
 Address: 0
 AFG Function Id: 0x1 (unsol 0)
 Vendor Id: 0x80862808
 Subsystem Id: 0x80860101
hda_verb.c:
0x19910269, /* Codec Vendor / Device ID: Realtek ALC269 */
 0x19910269, /* Subsystem ID */
Well, well! That’s not the same thing at all: the codec ID is different, the subsystem ID is different, the device ID/codec name is not even the same. Then I noticed the ‘0x8086’ in the codec id and it was the same vendor id as the Intel PCI vendor id, so on a hunch and out of curiosity, I decided to run “lspci” and search for the Audio PCI device to see if the PCI vendor/product id matches the codec id from the codec#0 file
lspci -nn | grep -i audio
 00:03.0 Audio device [0403]: Intel Broadwell-U Audio Controller [8086:160c] (rev 09)
 00:1b.0 Audio device [0403]: Intel Wildcat Point-LP High Definition Audio Controller [8086:9ca0] (rev 03)
Hey, I have two audio controllers for some reason! I looked at the script I ran to get the code#0 and it grabbed the file from /proc/asound/card0/codec#0, but when I looked at my /proc/asound directory, I had both a “card0” directory and a “card1” directory. I peeked into the card1/codec#0 file and found this :
Codec: Realtek ALC269VB
 Address: 0
 AFG Function Id: 0x1 (unsol 1)
 Vendor Id: 0x10ec0269
 Subsystem Id: 0x19910269
 ...
 Control: name="Headphone Playback Switch", index=0, device=0
Ah-ha! Now, to figure out why it didn’t work. I copied that card1/codec#0 file, inserted the headphones and copied it again, compared the two and found differences (it detects when the headphones are inserted), flashed coreboot, copied the files again, with and without the headphones , then I compared the codec files from the coreboot system to the codec files from the AMI bios… and there were no differences between the files!
Some hours of head scratching ensued. Then, as I was looking at the codec#0 file, I noticed that it did not match what I had seen before, so copied the files yet again and compared the codec files from coreboot and AMI… and suddenly, they were completely different. I shrugged and continued my investigation. I later realized that the codec does not get reinitialized during a reboot, so that’s why the codec had not changed after I flashed coreboot and rebooted—I had to do a full shutdown and power on again in order to have the codec re-initialized by coreboot!
So, after comparing the codecs from the AMI and coreboot bioses and comparing with the contents of hda_verb.c, I saw differences that I couldn’t explain, and after I while I wanted to debug what was happening in coreboot and realized that there are already some debug messages being printed by the code that initializes the codec using the hda_verb.c data. I ran the ‘cbmem’ utility, printed the coreboot debug messages, and found this:
HDA: Initializing codec #0
 HDA: codec viddid: 10ec0269
 HDA: No verb table entry found
That’s when I realized the error. The codec viddid (vendor id/device id) is 0x10ec0269, yet hda_verb.c had it set to 0x19910269 (which is actually the subsystem ID), so coreboot was simply never finding the data from hda_verb and never initializing the codec. So I fixed the codec ID in hda_verb.c and recompiled coreboot. I fully shut down the laptop and powered it back on, then the headphones jack was working. Hooray!
The boot splash—Beauty is Pain
My next step was to add a nice bootsplash image to the boot process. It wasn’t strictly necessary at this point, but I wanted to do that, so I did. The problem is that it wasn’t working (surprise, surprise).
First, you have to add the bootsplash image in menuconfig, which adds it to the coreboot.rom… but doesn’t use it. So then you need to tell coreboot to actually show the bootsplash image, which didn’t work.
- I figured it’s because the VGA graphics aren’t initialized since it’s SeaBIOS that runs the VGA option ROM (vbios), so I enabled coreboot to run the VGA option ROM, then I enabled it to run all PCI option ROMs.
- I then realized I probably had to use an image with the exact resolution of the VESA mode being used… and it still didn’t work.
- At that point I thought, “Maybe it was happening too fast for me to see”, so I enabled the option to keep the graphics in VESA mode.
I asked on IRC and those present told me that it was supposed to be “as simple as adding the image to coreboot and that’s it”. Eventually, while debugging, I saw an error message in cbmem from the SeaBIOS payload itself:
jpeg_decode failed with return code 9...
But I didn’t care about SeaBIOS because I wanted coreboot to show the image.
Eventually, I had another “What if…” moment and asked someone on IRC who had a working bootsplash to send me the image they used. I tried it and it worked! So the problem was my own image. After I made sure the resolutions matched, I had no idea what to look for next, and online, I couldn’t find any information on what requirements the image had to have.
I also realized that coreboot could show the bootsplash, but SeaBIOS would also find the bootsplash image in CBFS (in the bios filesystem basically) and would also show it, so I had both coreboot and SeaBIOS attempting to show the bootsplash, and if SeaBIOS was showing an error in decrypting the JPEG, it was probably the same reason why coreboot was refusing to display it. I then looked at the jpeg module in the SeaBIOS code and found the -9 error that it returned… it had something to do with the colorspace being wrong, as jpeg_decode only supports YCBR:22:11:11
#define ERR_NOT_YCBCR_221111 9
I looked at how to determine the colorspace of the JPEG image and how to change to YCBCR:22:11:11 but couldn’t find much information, so I started reading the code of jpeg_decode and understanding the binary structure of the JPEG file format (did anyone say yak shaving?), until I found which bits in the JPEG header were specifying the colorspace. I then opened GIMP and tried various things until I found where to change the colorspace, then wrangled with the options until I found which one was setting the bits to perfectly match the YCBCR:22:11:11 colorspace that SeaBIOS required. At that point, I was just using “hexdump” and reading the jpeg data structure to determine if it would work. In GIMP, we need to set the “Subsampling” advanced option to “4:2:0 (chroma quartered)”.
Once I did that, I booted and… still. No. Bootsplash. ლ(ಠ益ಠლ)
I looked at the cbmem log again and this time it was error 11, instead of 9:
#define ERR_NOT_SEQUENTIAL_DCT 11
Now, that didn’t mean much; I kept looking for this sequential DCT information, but couldn’t find any information about it. There were 3 bytes in the SOS (Start of Scan) marker of the JPEG headers, which were the ones that the jpeg_decode function was using to decide if it returned that error or not, and everywhere I looked, it was either not explaining what those bytes meant or defining them as “ignorableBytes” or explaining them as “unused” or “skip 3 bytes” or something like that, without explaining what they were or what they were for… eventually, I tried to bruteforce it, and I found that disabling the “progressive” option in GIMP will set those 3 bytes to the value that SeaBIOS’ jpeg_decode requires (which is 0x003F00, by the way). This gives us these JPEG export options in GIMP:
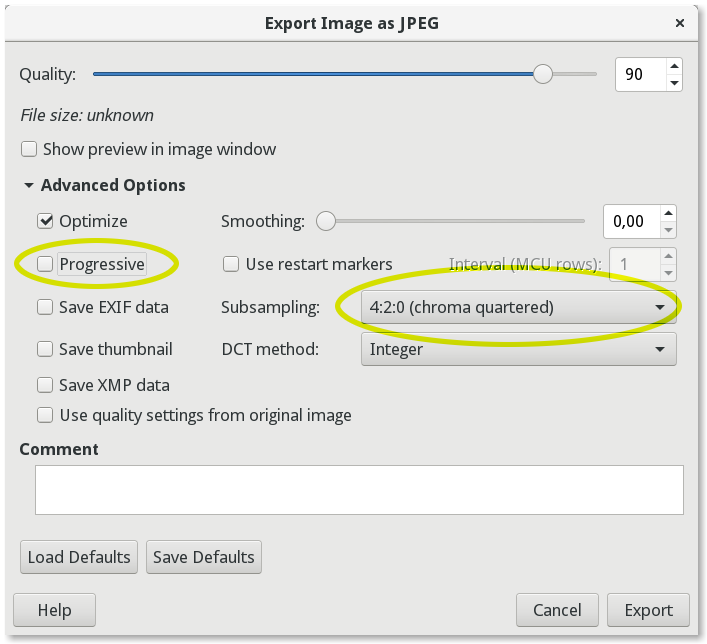
And voilà! With those settings, the splash image gets shown. Easy peasy, huh?
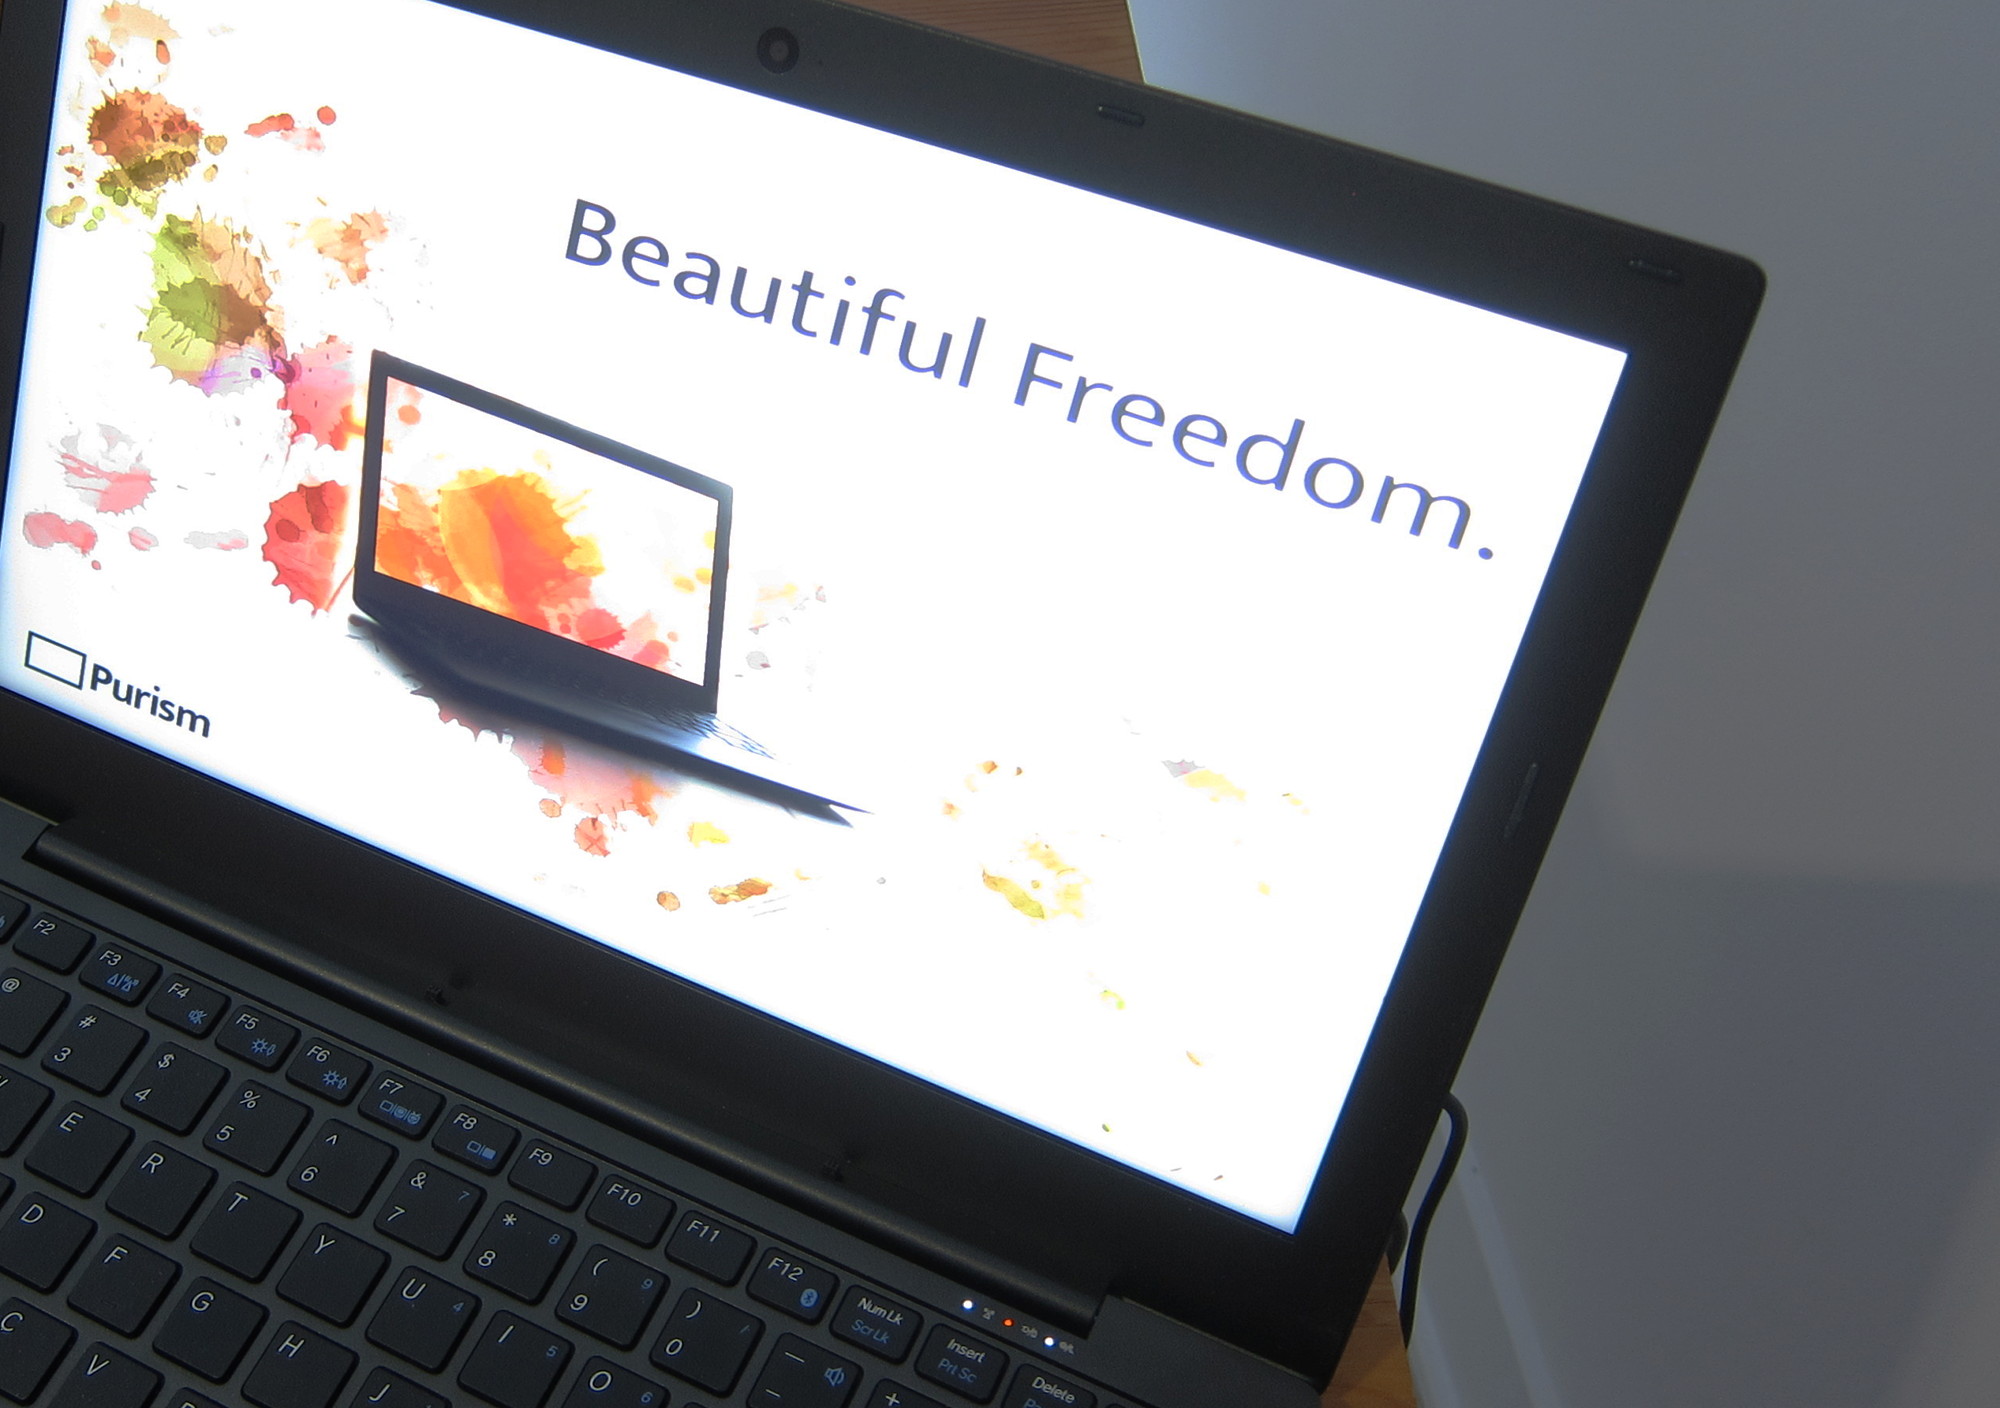
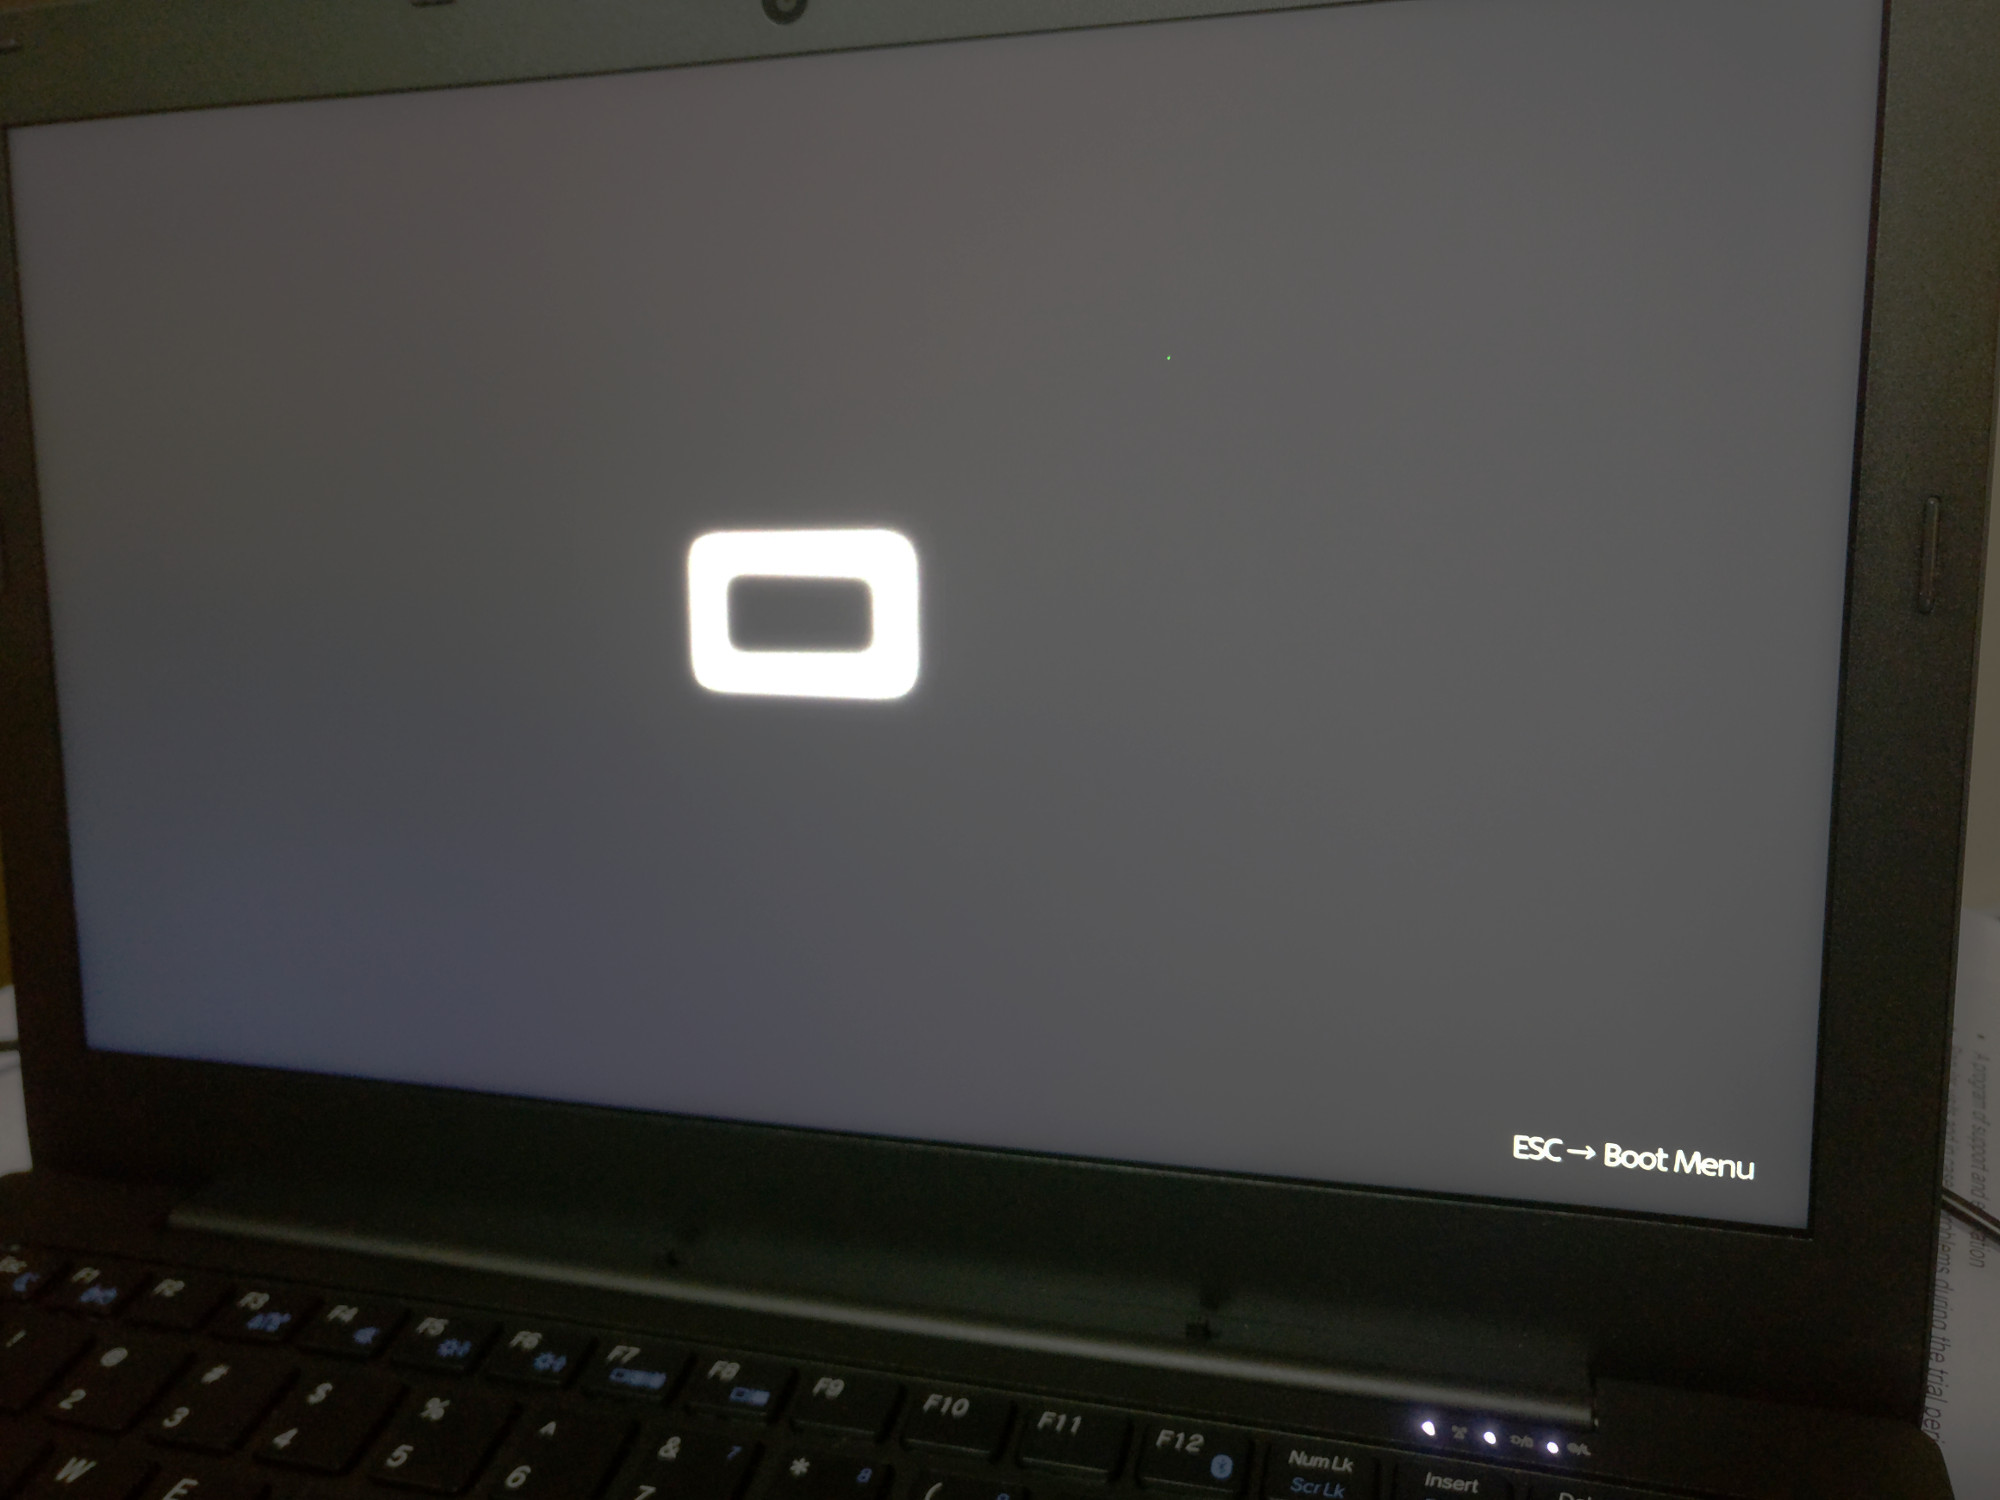
Afterwards, we asked François to create some more minimalistic bootsplash. This is roughly what it looks like now (keep in mind the picture is a bit overexposed here as well, so it looks better with the naked eye):
Upstreaming the work
I went through all of our test matrix and verified that everything works as expected. I ran prime95 for 28.5 hours without issues and verified that the CPU/GPU temperatures remain acceptable under both heavy CPU load (prime95) as well as heavy GPU load (uncapped glxgears):

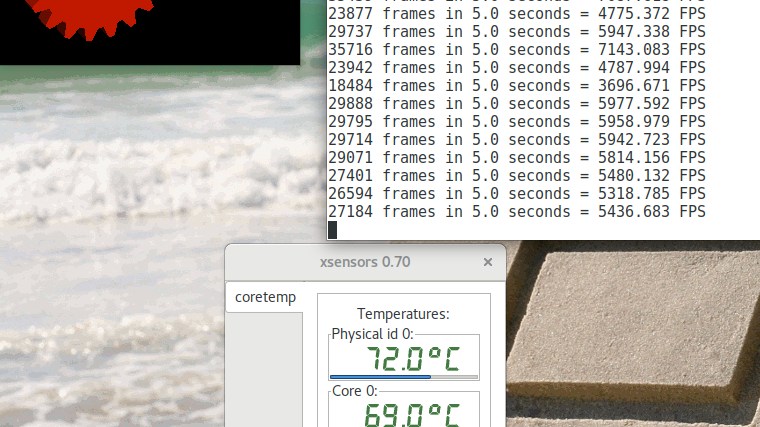
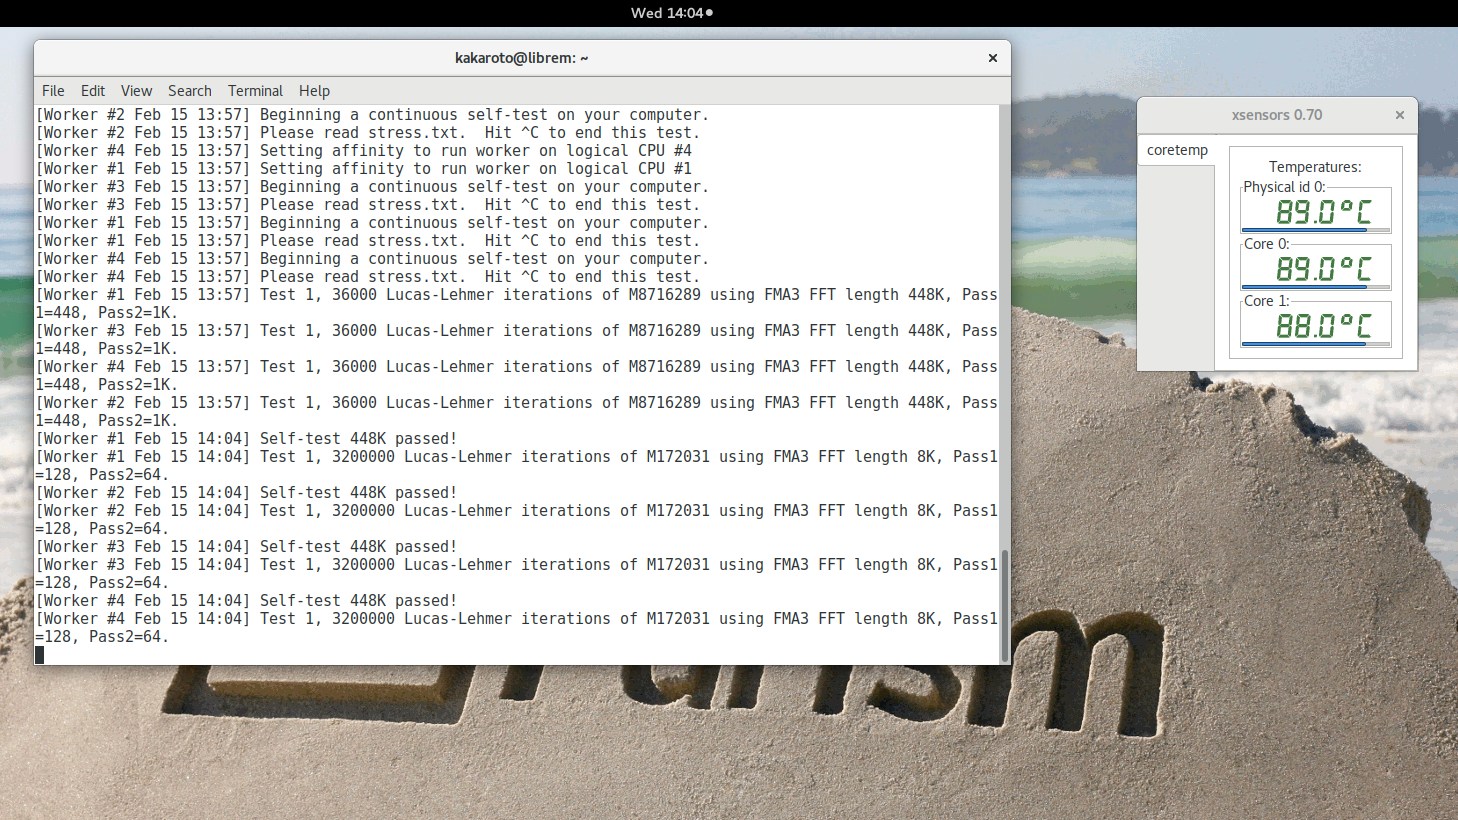
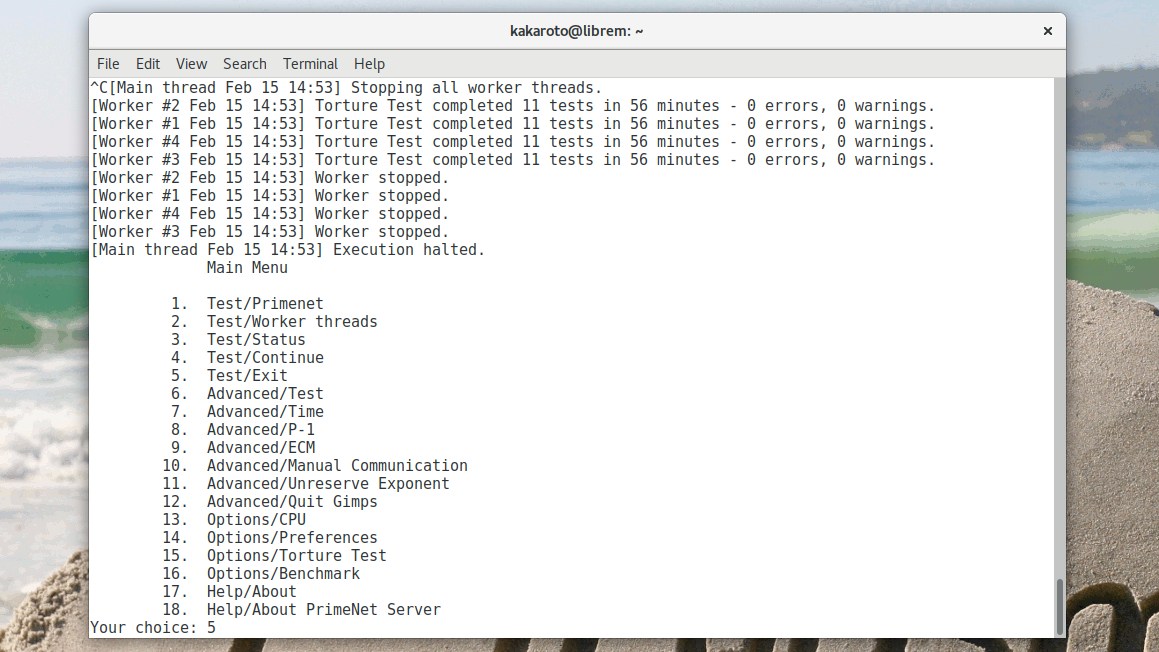
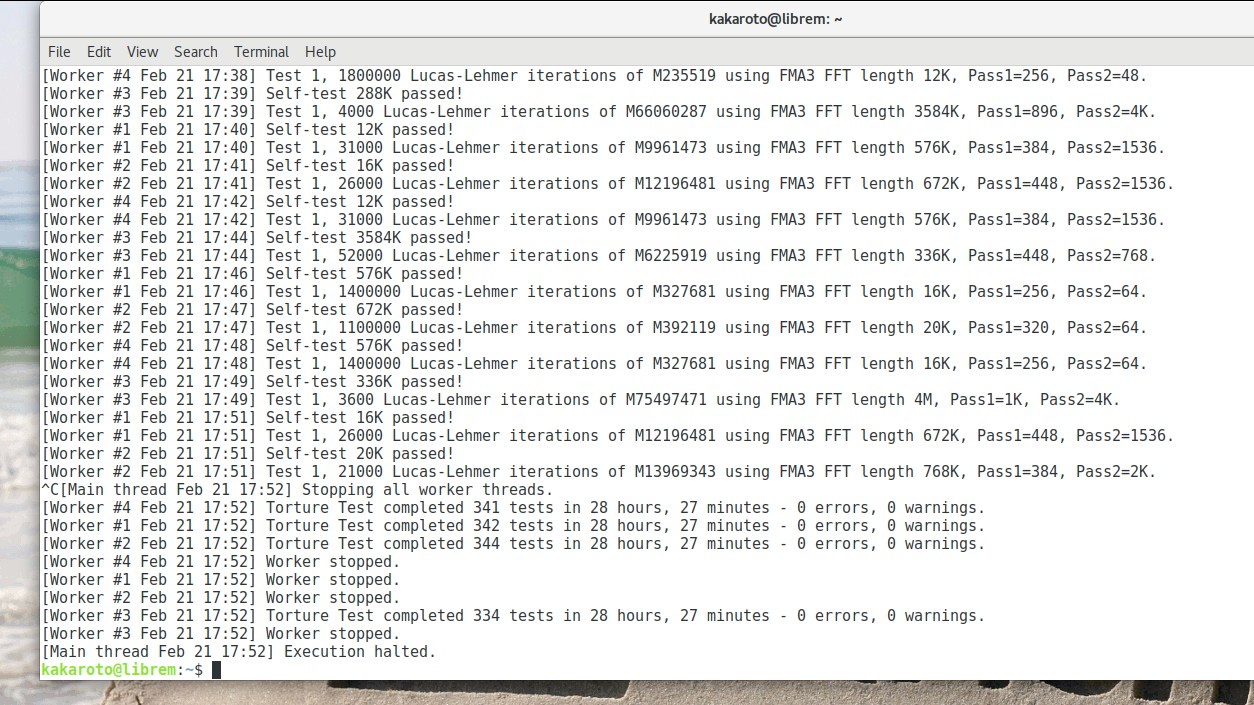
…and eventually came to the conclusion that our coreboot release is done, stable and working.
I reviewed, cleaned and committed my changes, and sent the commits upstream (to coreboot) for review. Unlike in academia, the reviews were quick and painless: no changes were asked and it was all merged into the coreboot master branch on February 22nd.
While finishing the coreboot port, I also started to play around with the me_cleaner and testing the Librem with the Intel Management Engine disabled and various CPU configurations. We have some good news to report on this. Stay tuned.
Recent Posts
Related Content
- Code is Power!
- PureBoot Not Vulnerable to UEFI Exploits (Again)
- Intel AX200 Wi-Fi/Bluetooth Shipping for New Orders
- Librem 11 Memory Adventures
- PureBoot Framebuffer Boot Support

