
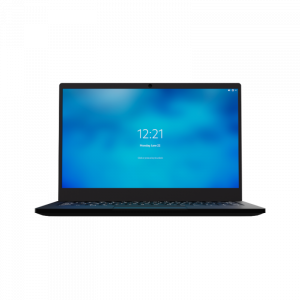
Repairing Librem 14 Part 2: Motherboard/Screen/Chassis
Purism
Latest posts by Purism (see all)
- Purism Announces Launch of Its Librem 16 Laptop, the World’s Most Private and Secure Workstation - June 23, 2026
- Google’s Lock Down Policy - May 21, 2026
- Smartphone Study - May 21, 2026
The Librem 14 is purposefully made for easy repair and upgrades. We show how simple it is to replace the RAM, WiFi, storage, and battery in part one. Next, let’s finish the teardown by removing the motherboard and screen.
Disassembly
With the backplate, SSD, WiFi Card, and RAM removed, pull up the tape holding down the BIOS battery and remove it.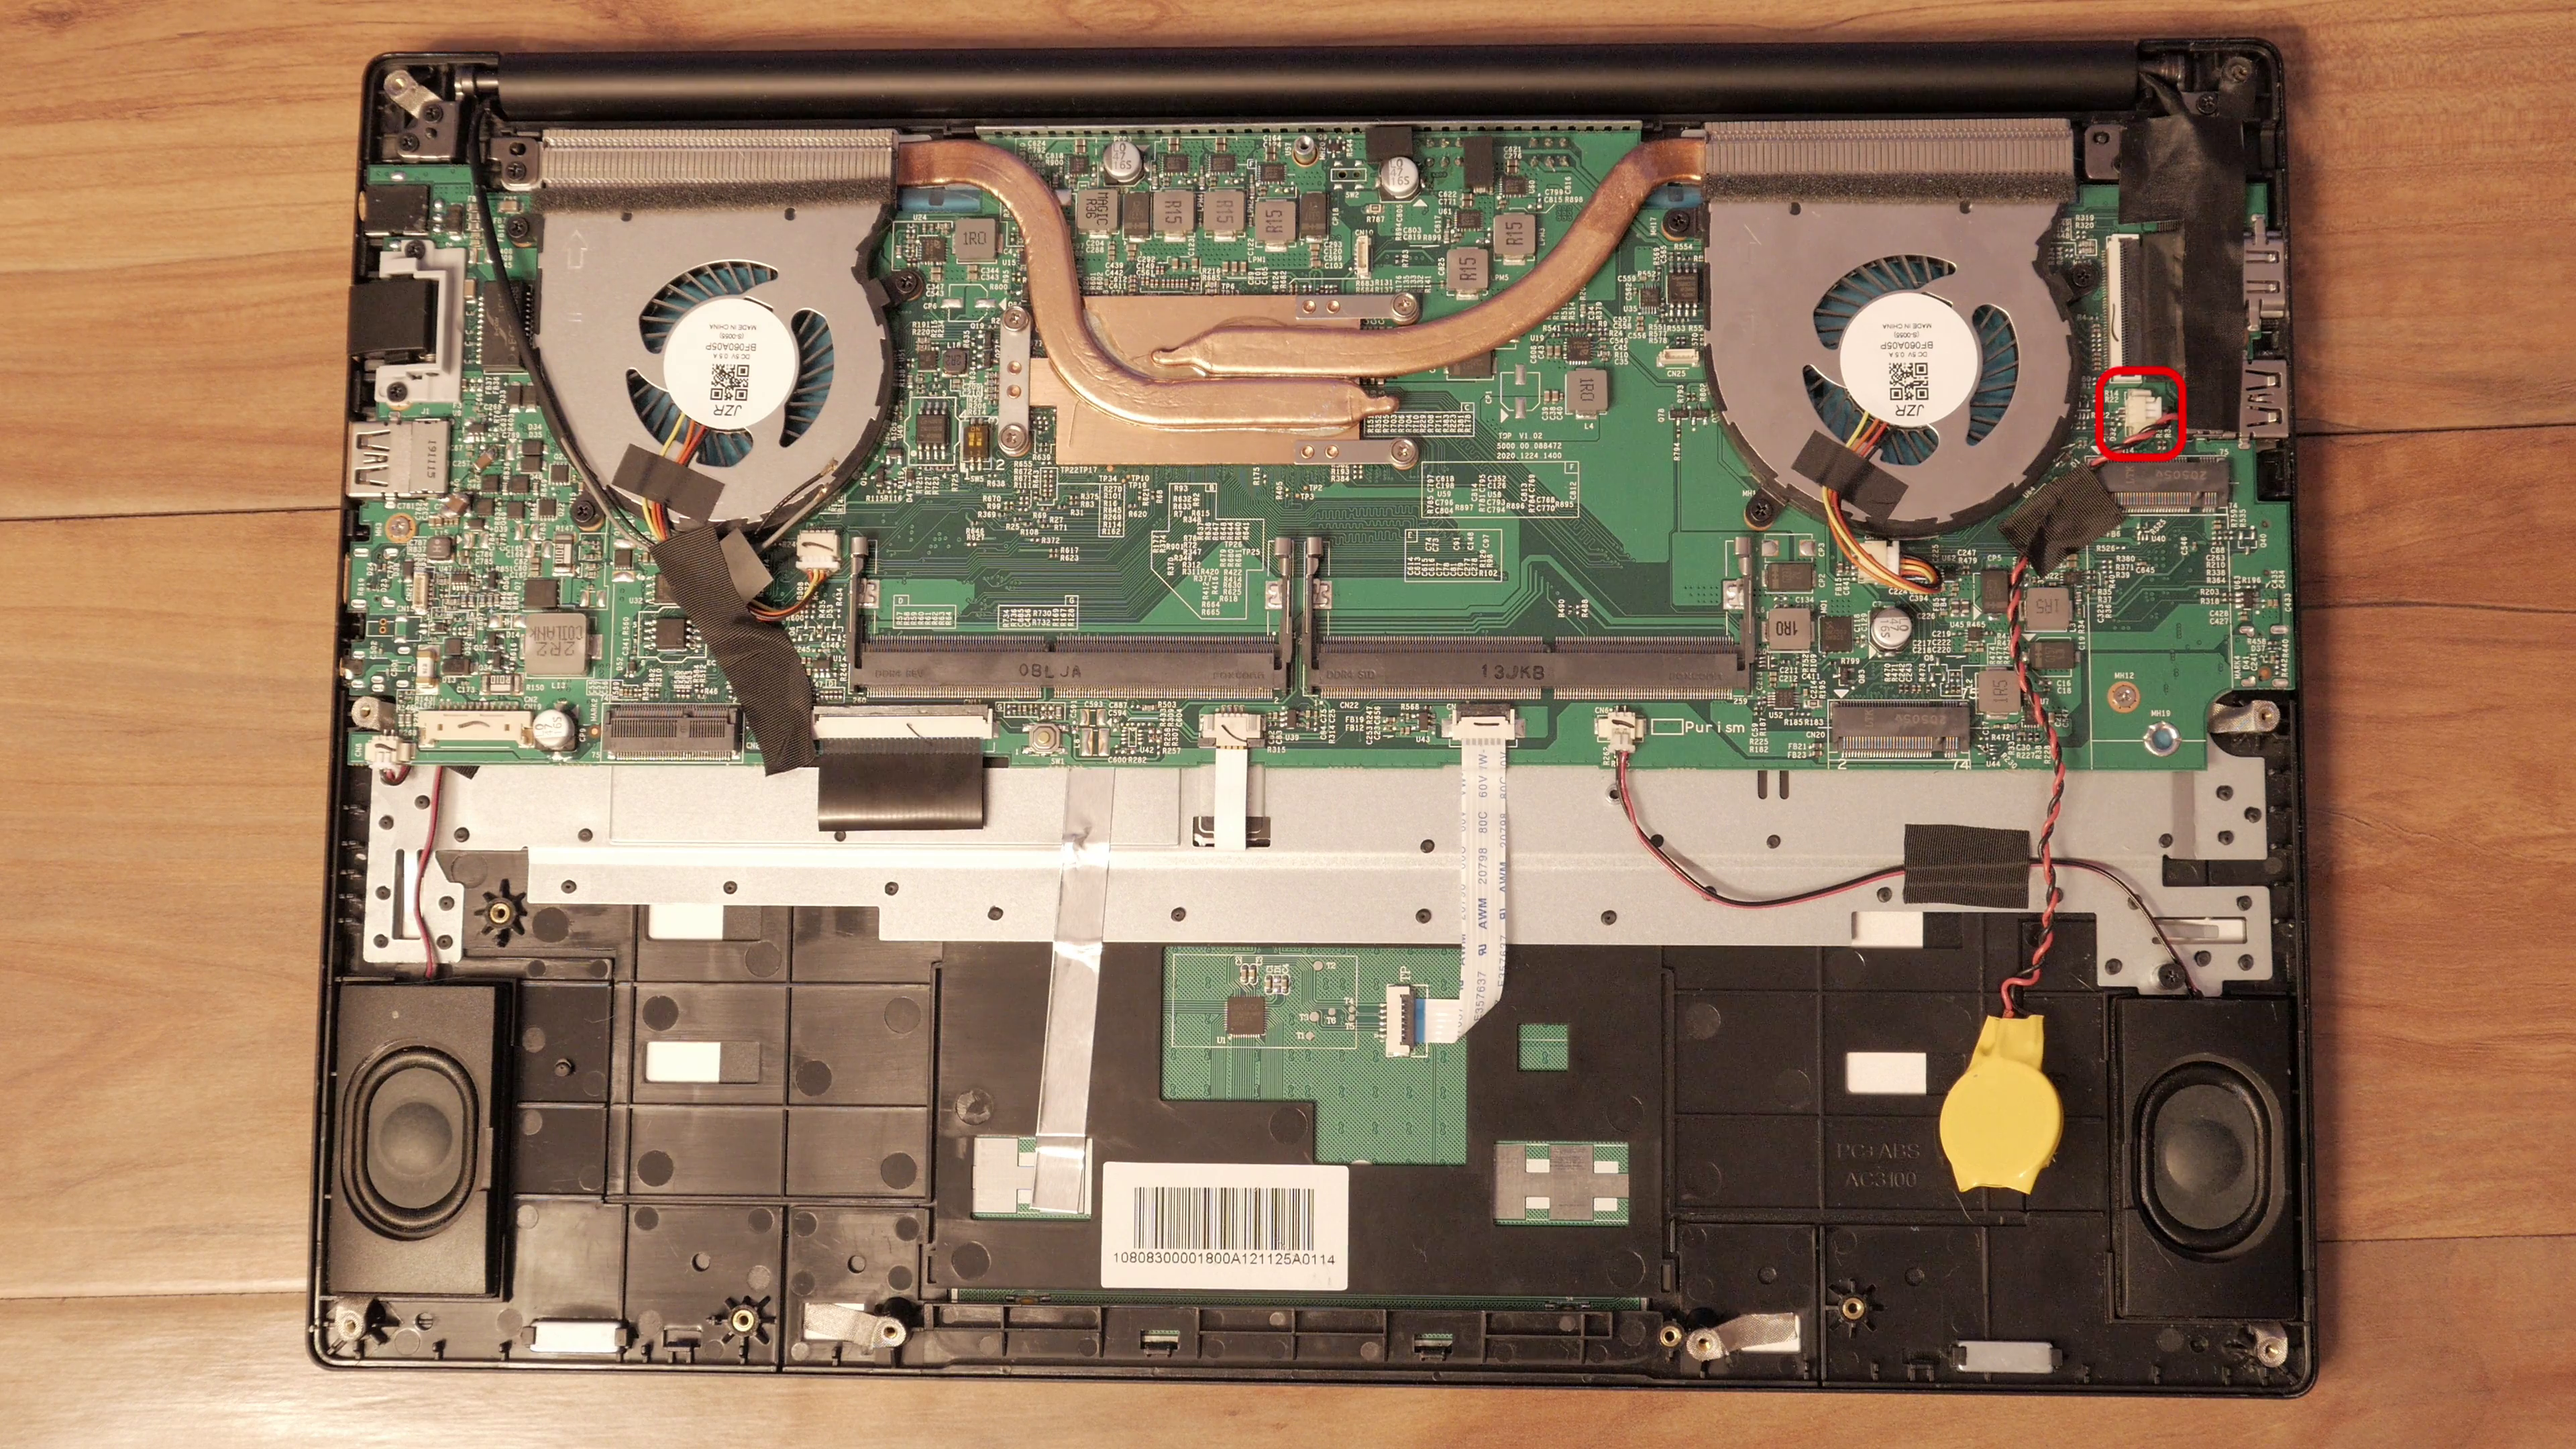 Disconnect the keyboard by pulling this black tab up and removing the ribbon cable.
 To detach the keyboard backlight, push the black taps towards the cable, then disconnect it.
 Like the keyboard, the trackpad connection can be removed by lifting the black tap and pulling out the ribbon cable.
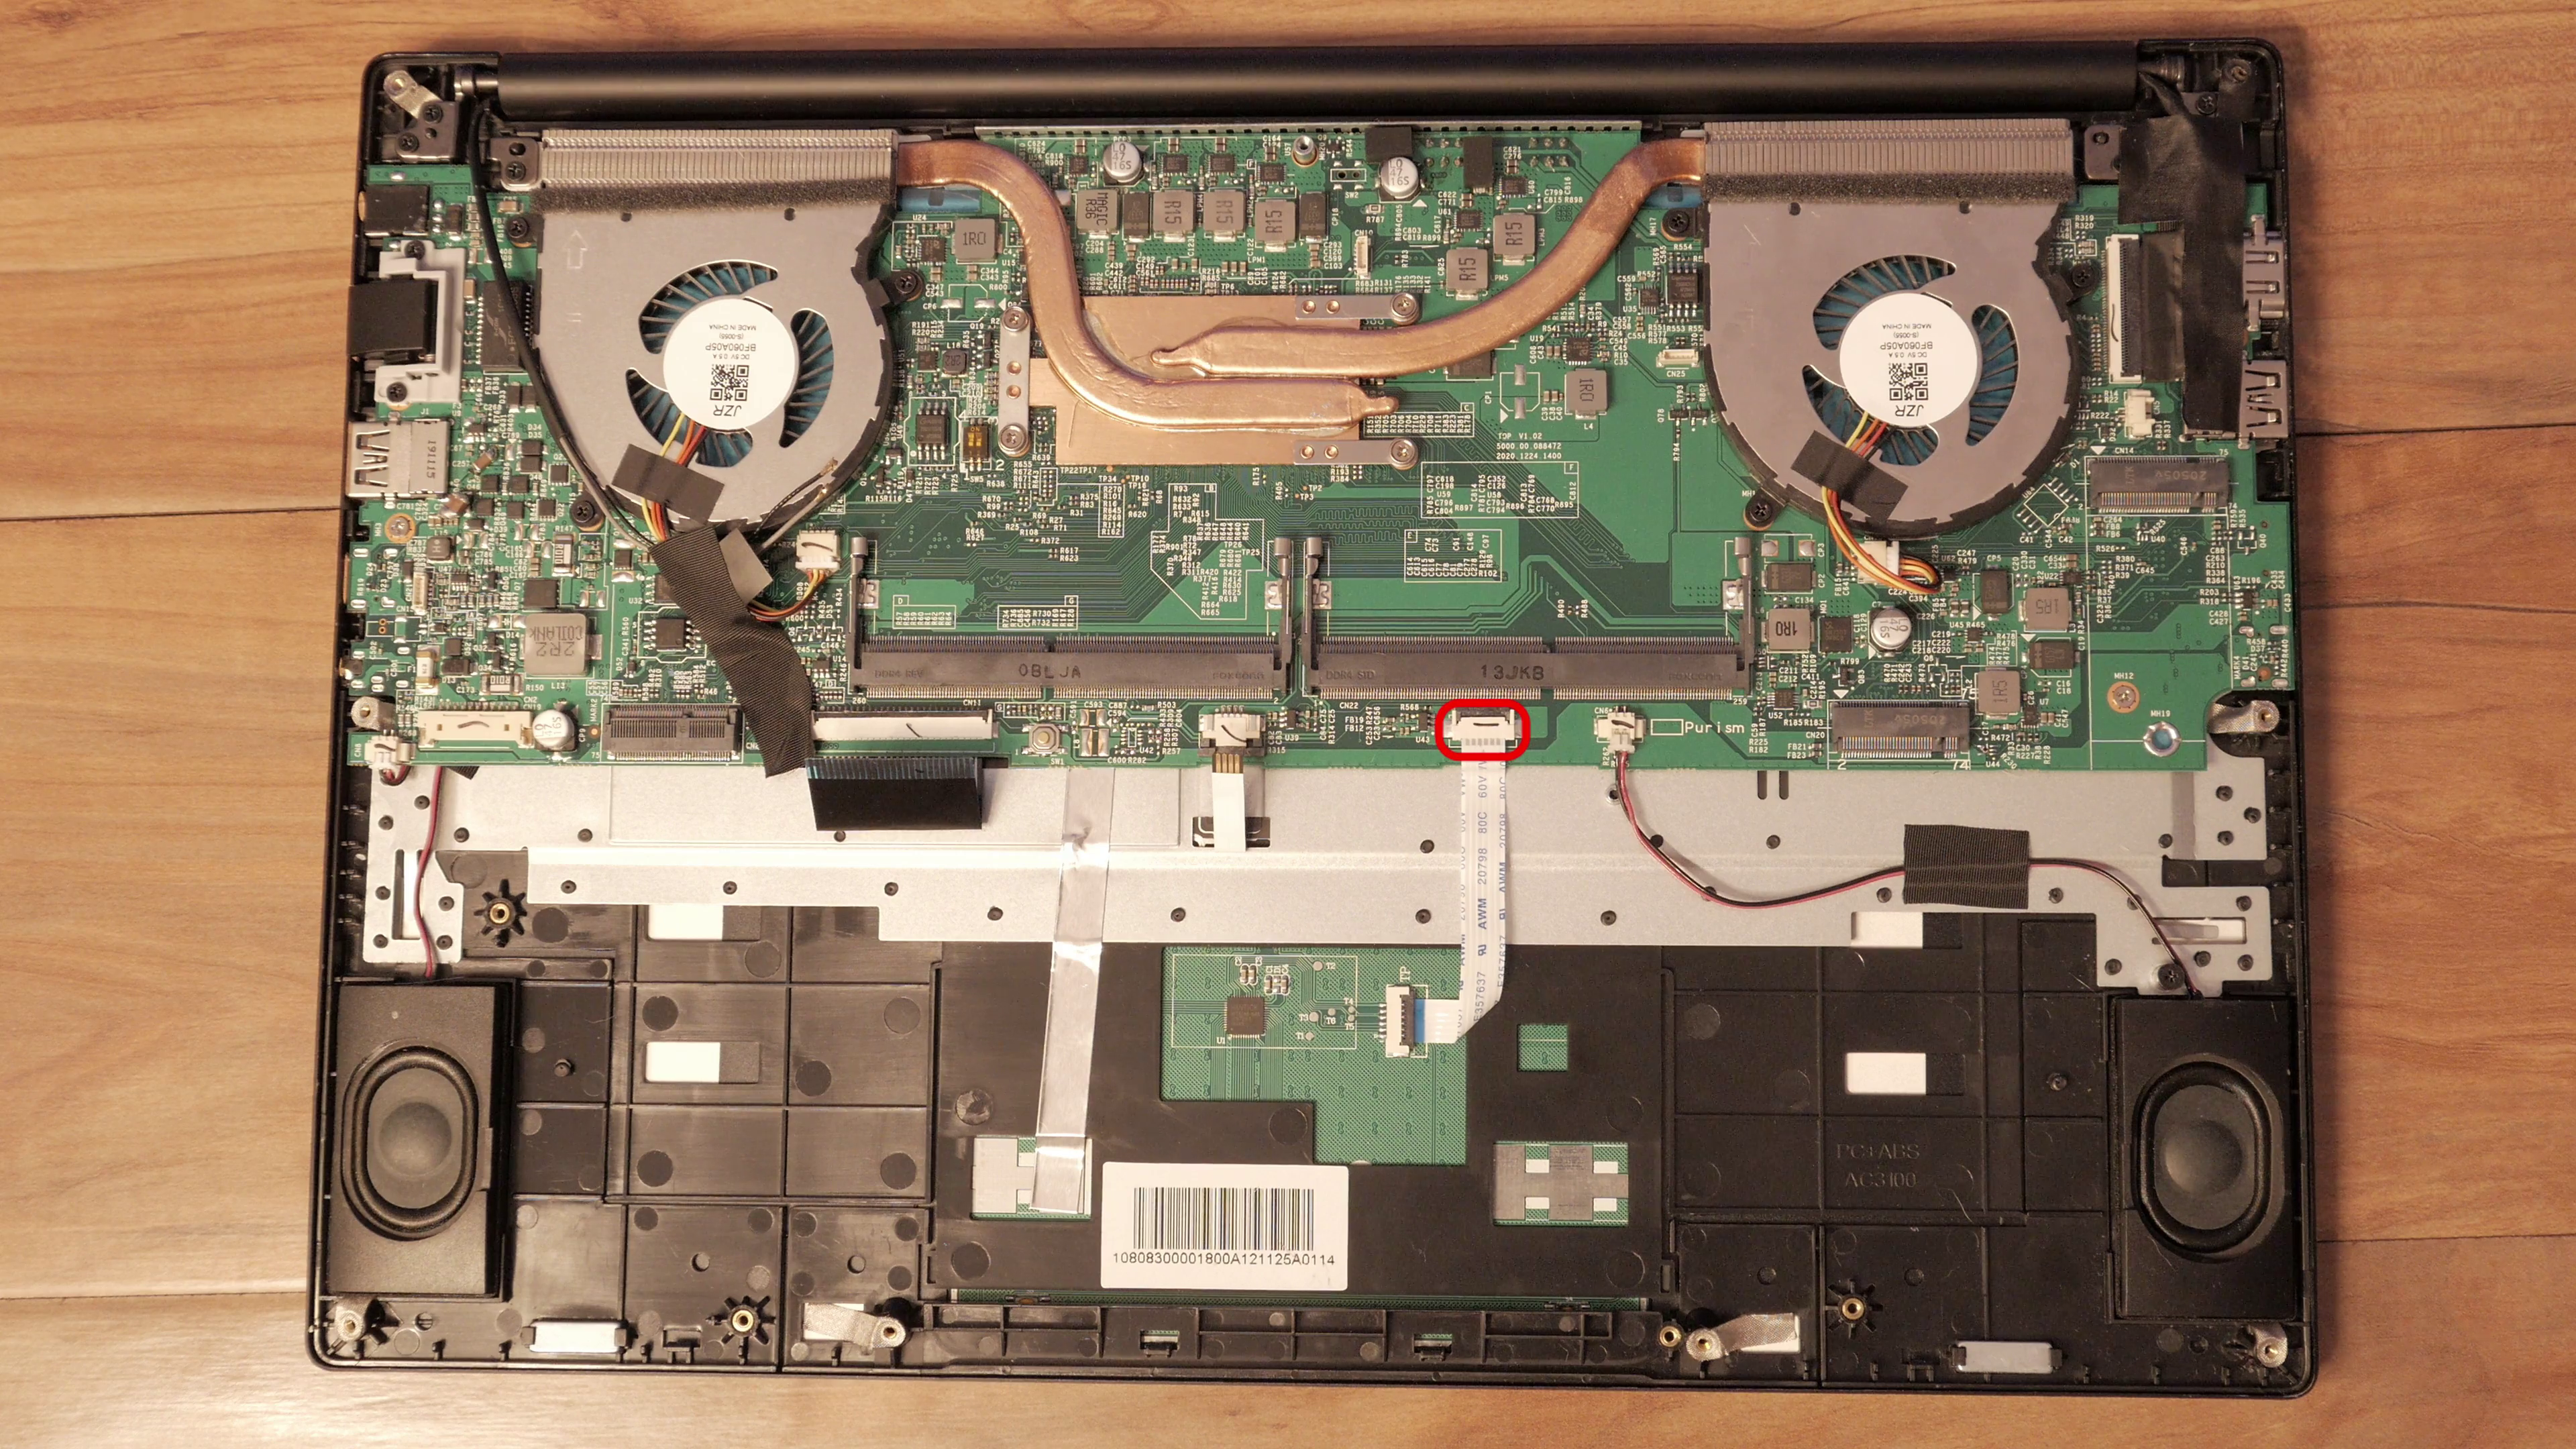 Both speakers can be removed by pulling the connector straight back.
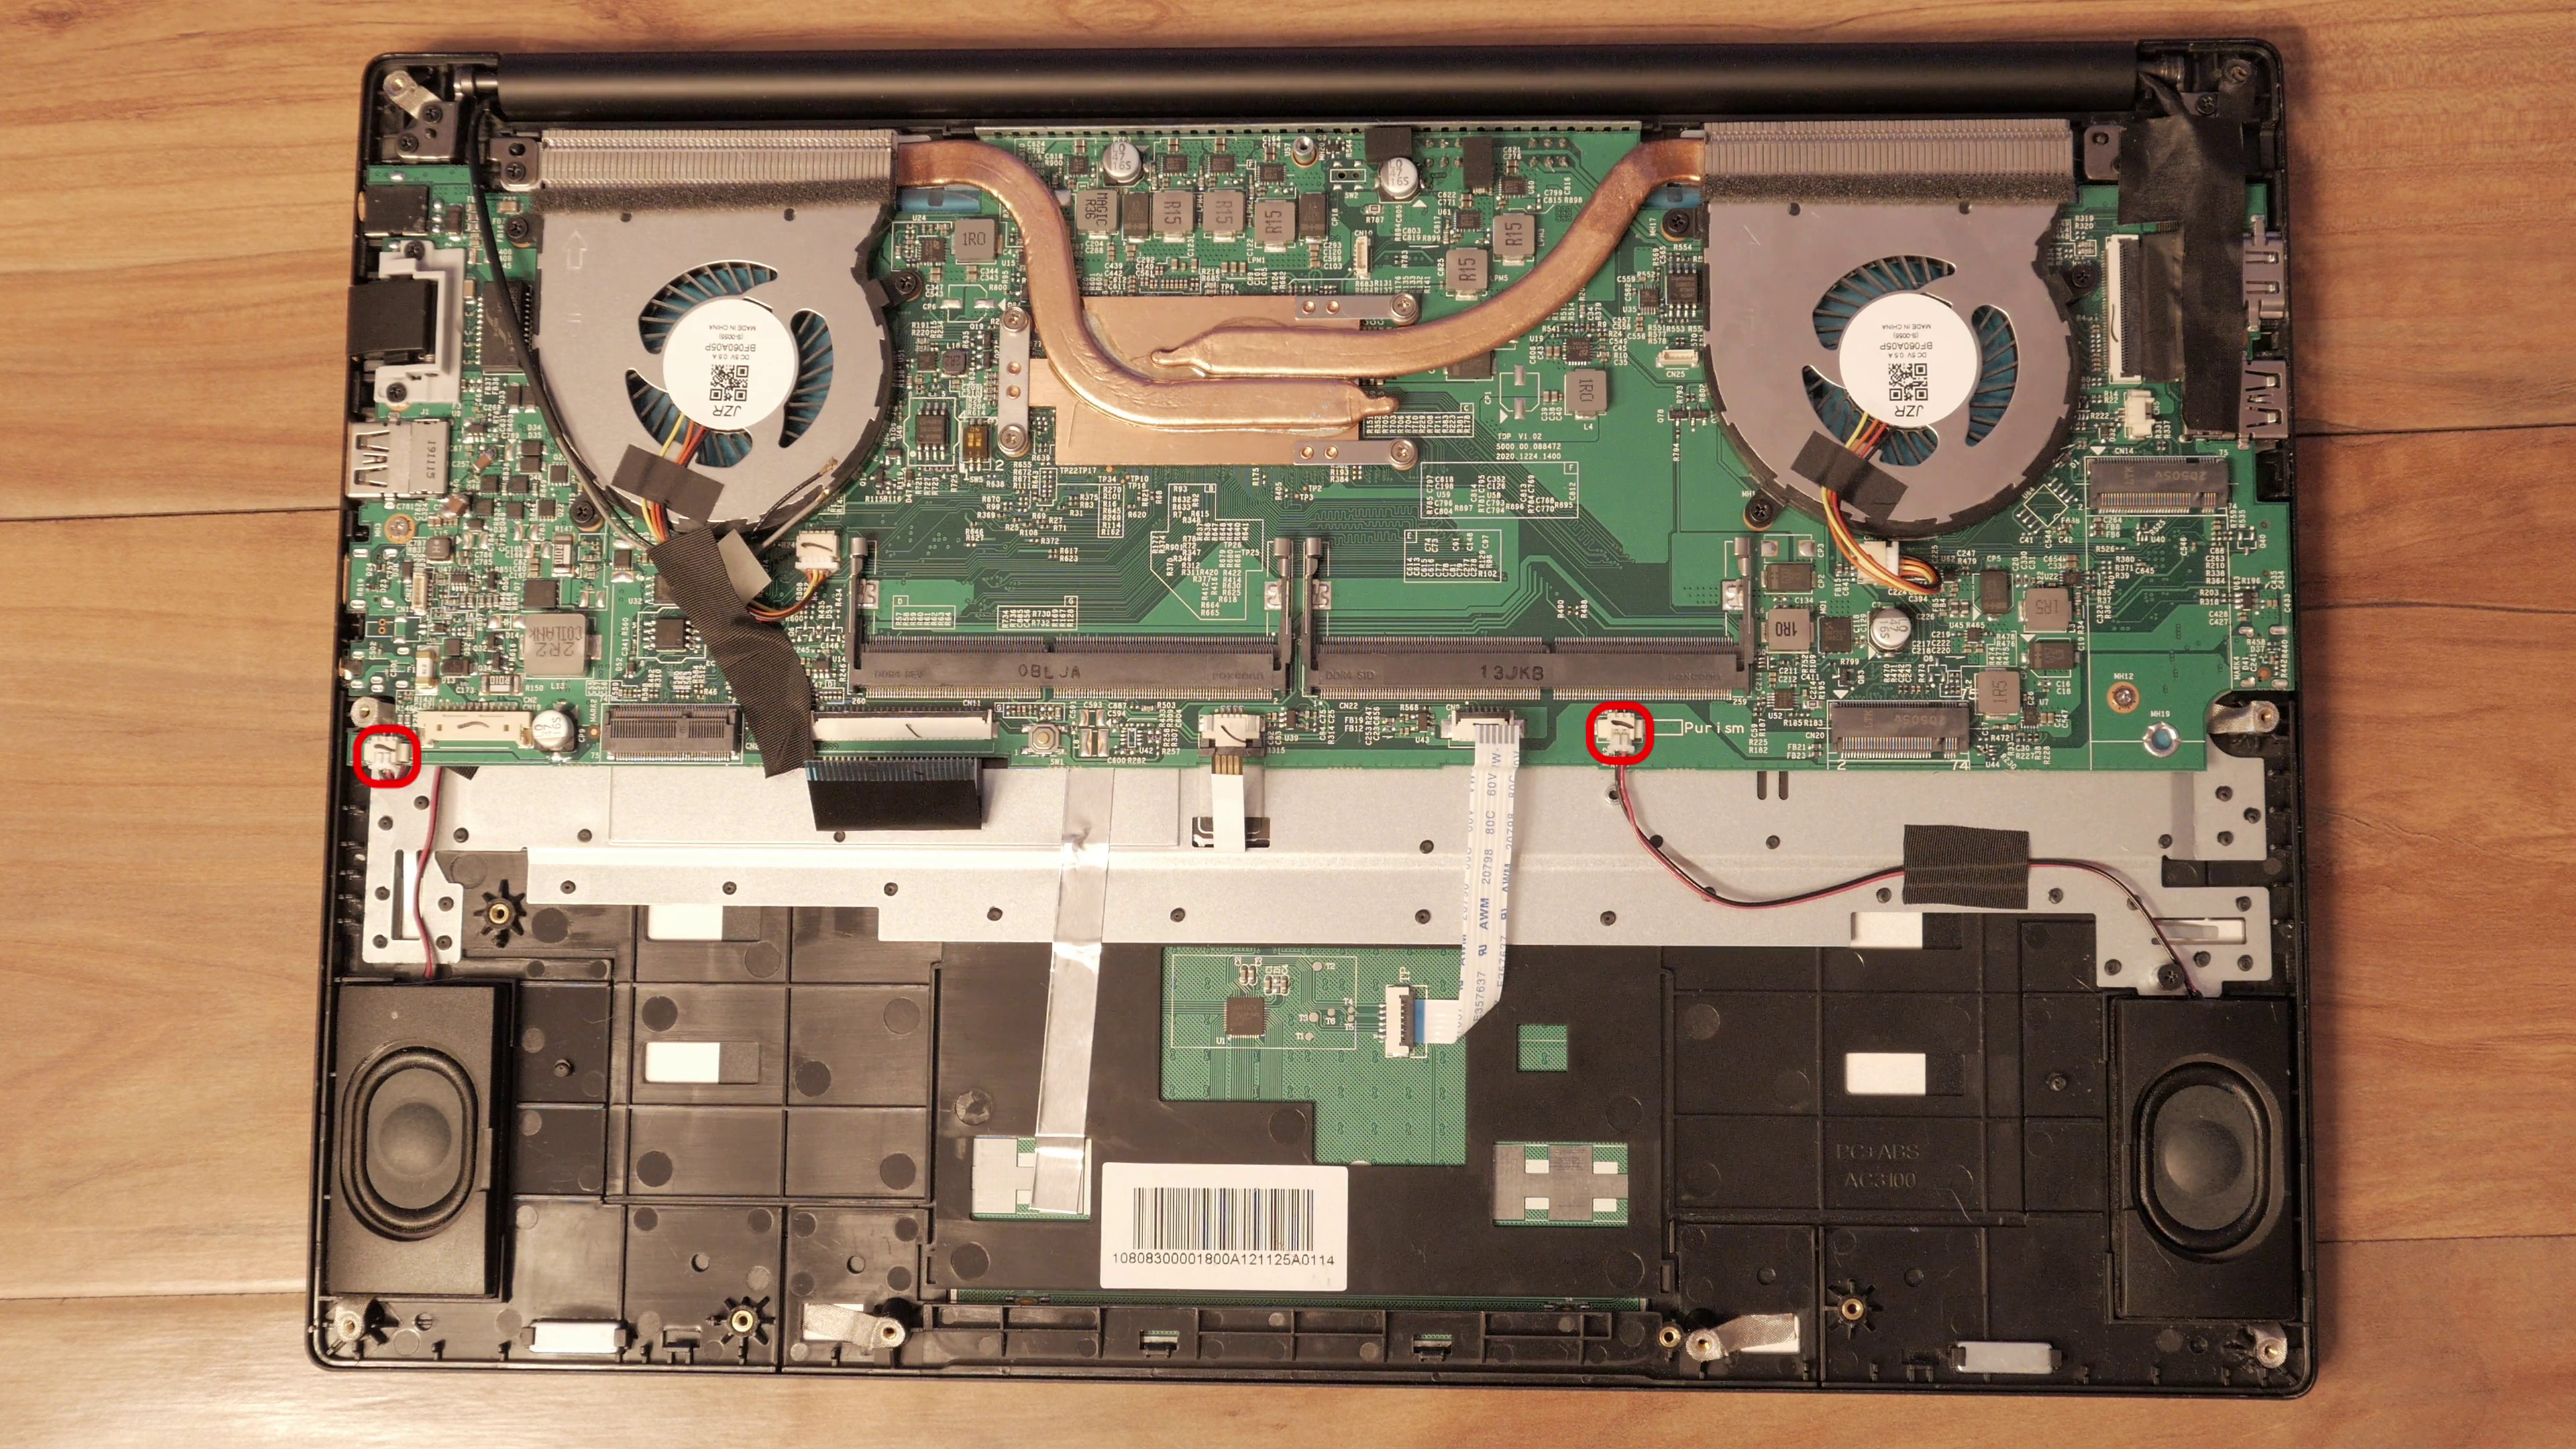 The CPU fans use a similar connection; disconnect them.
 First, pull up the tape around the display connector.
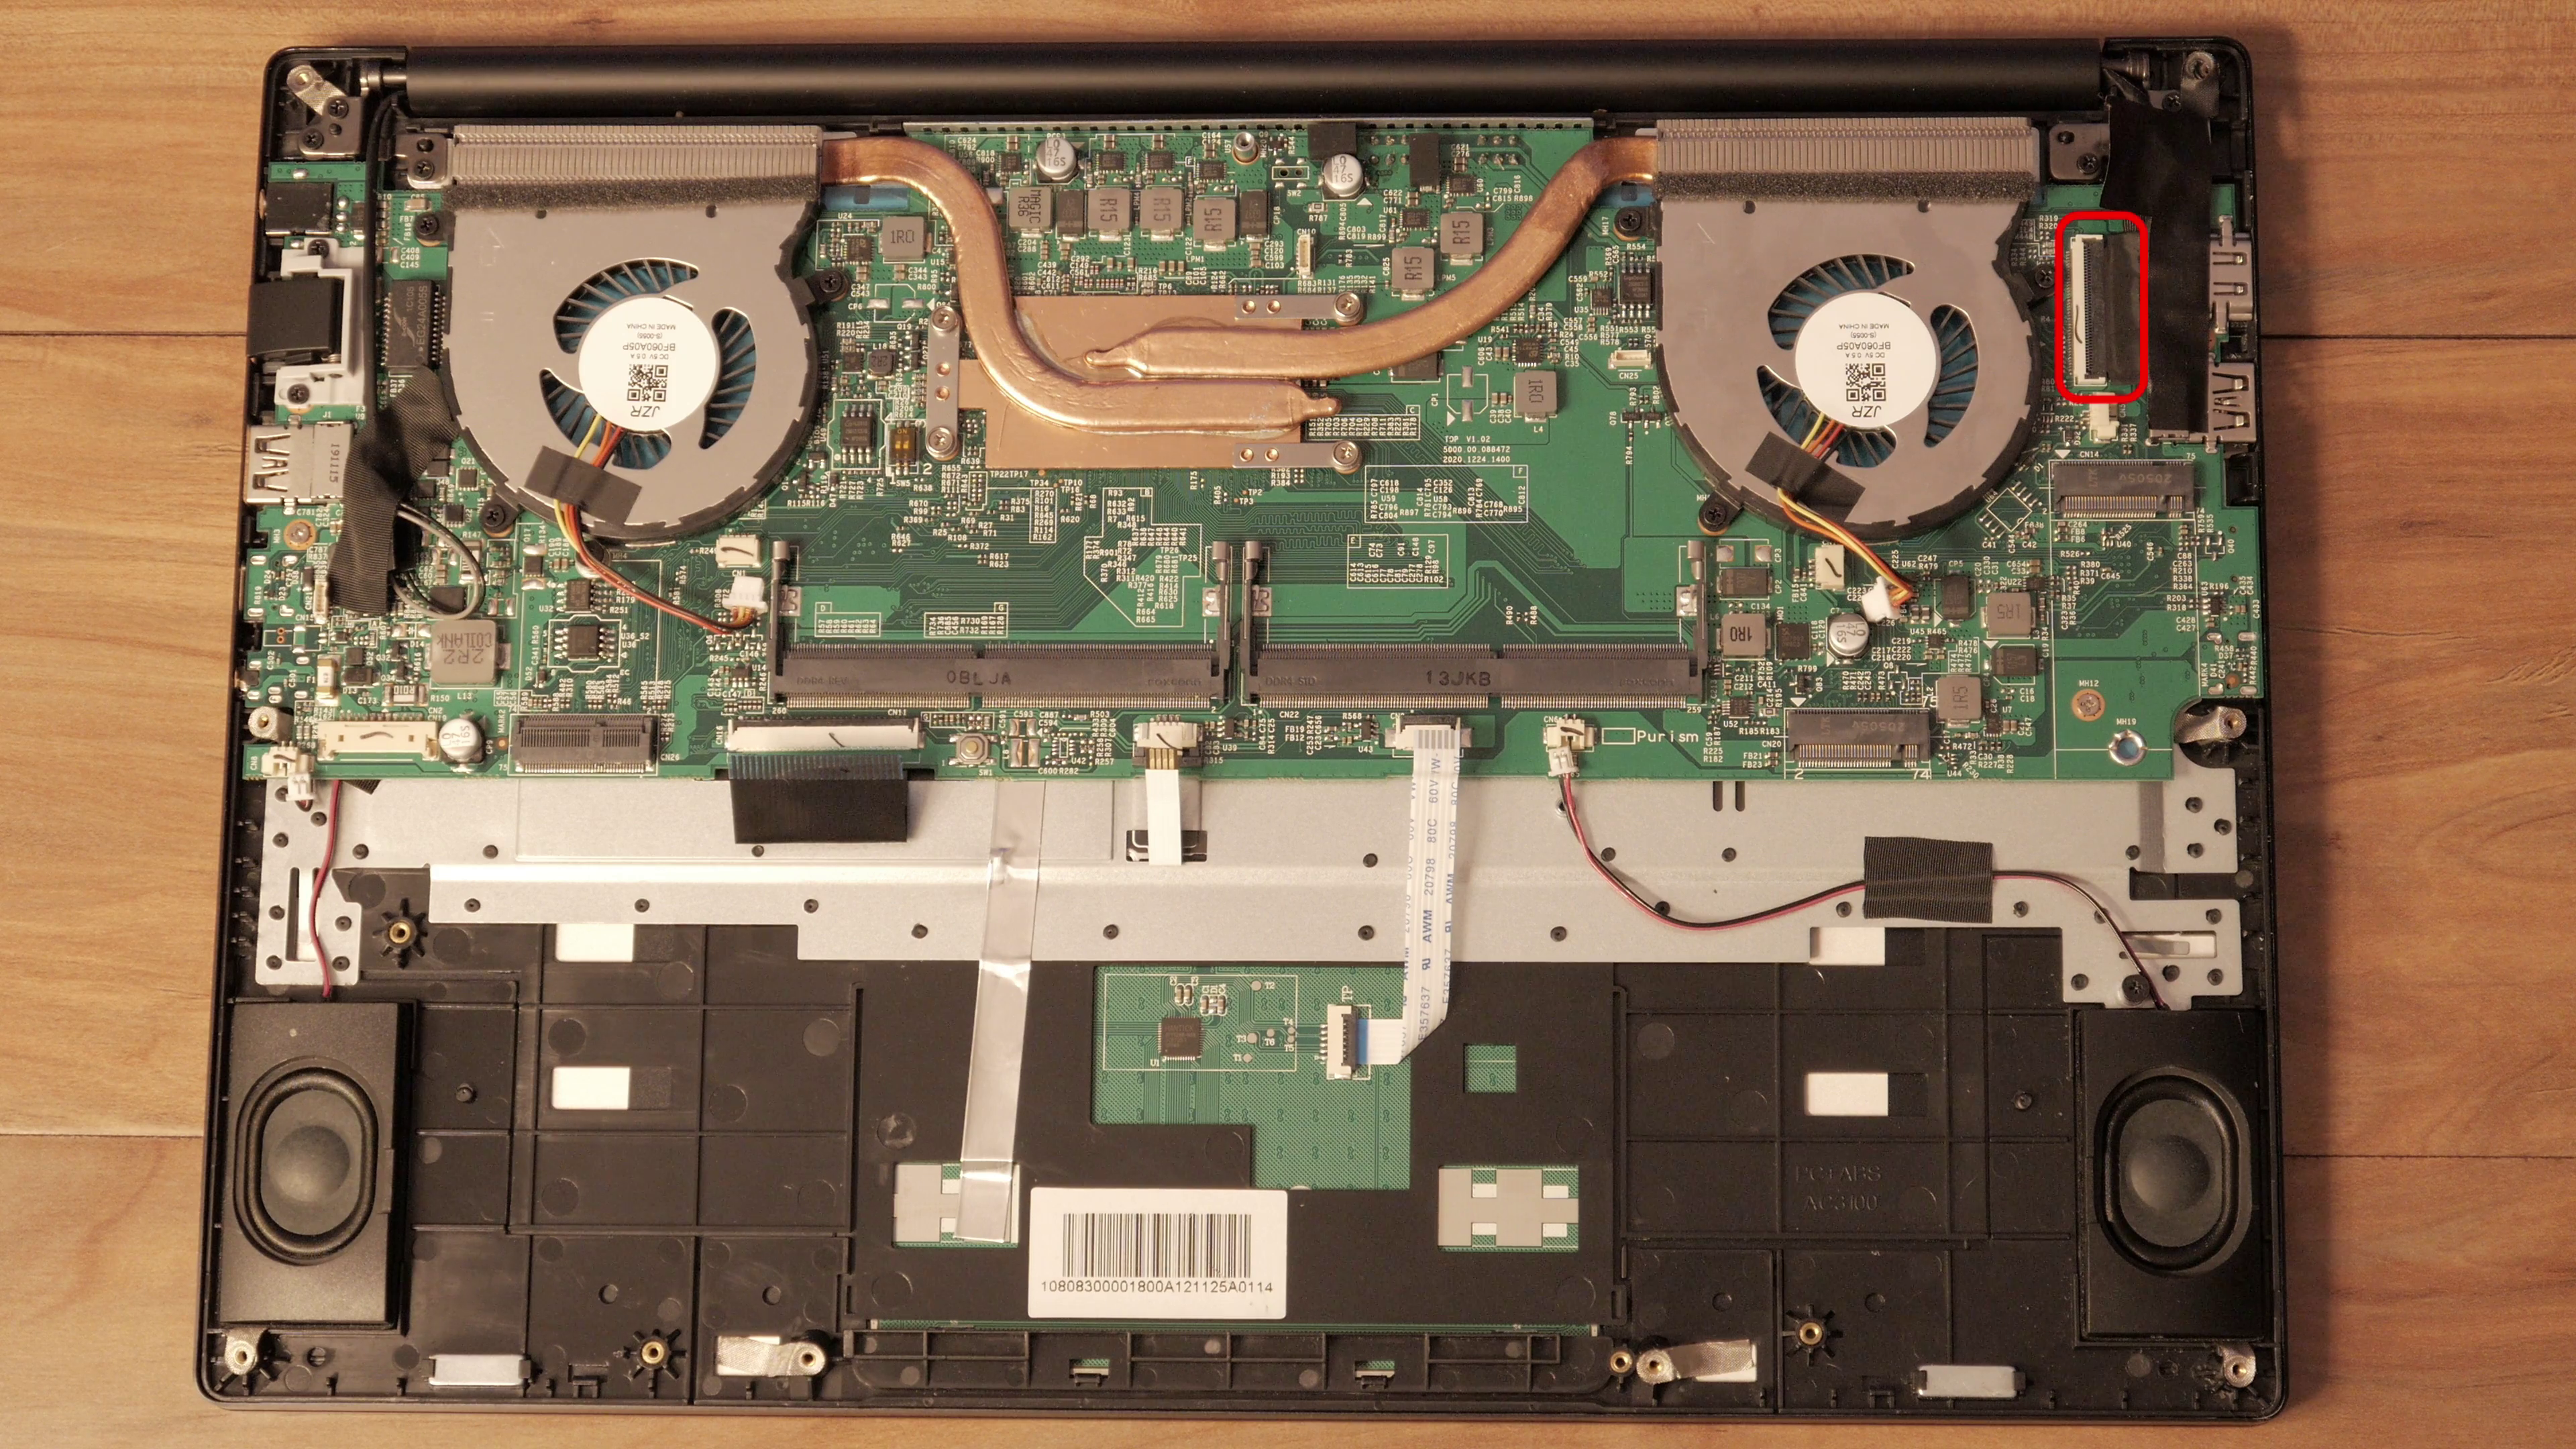 Next lift the black tap and remove the display cable.
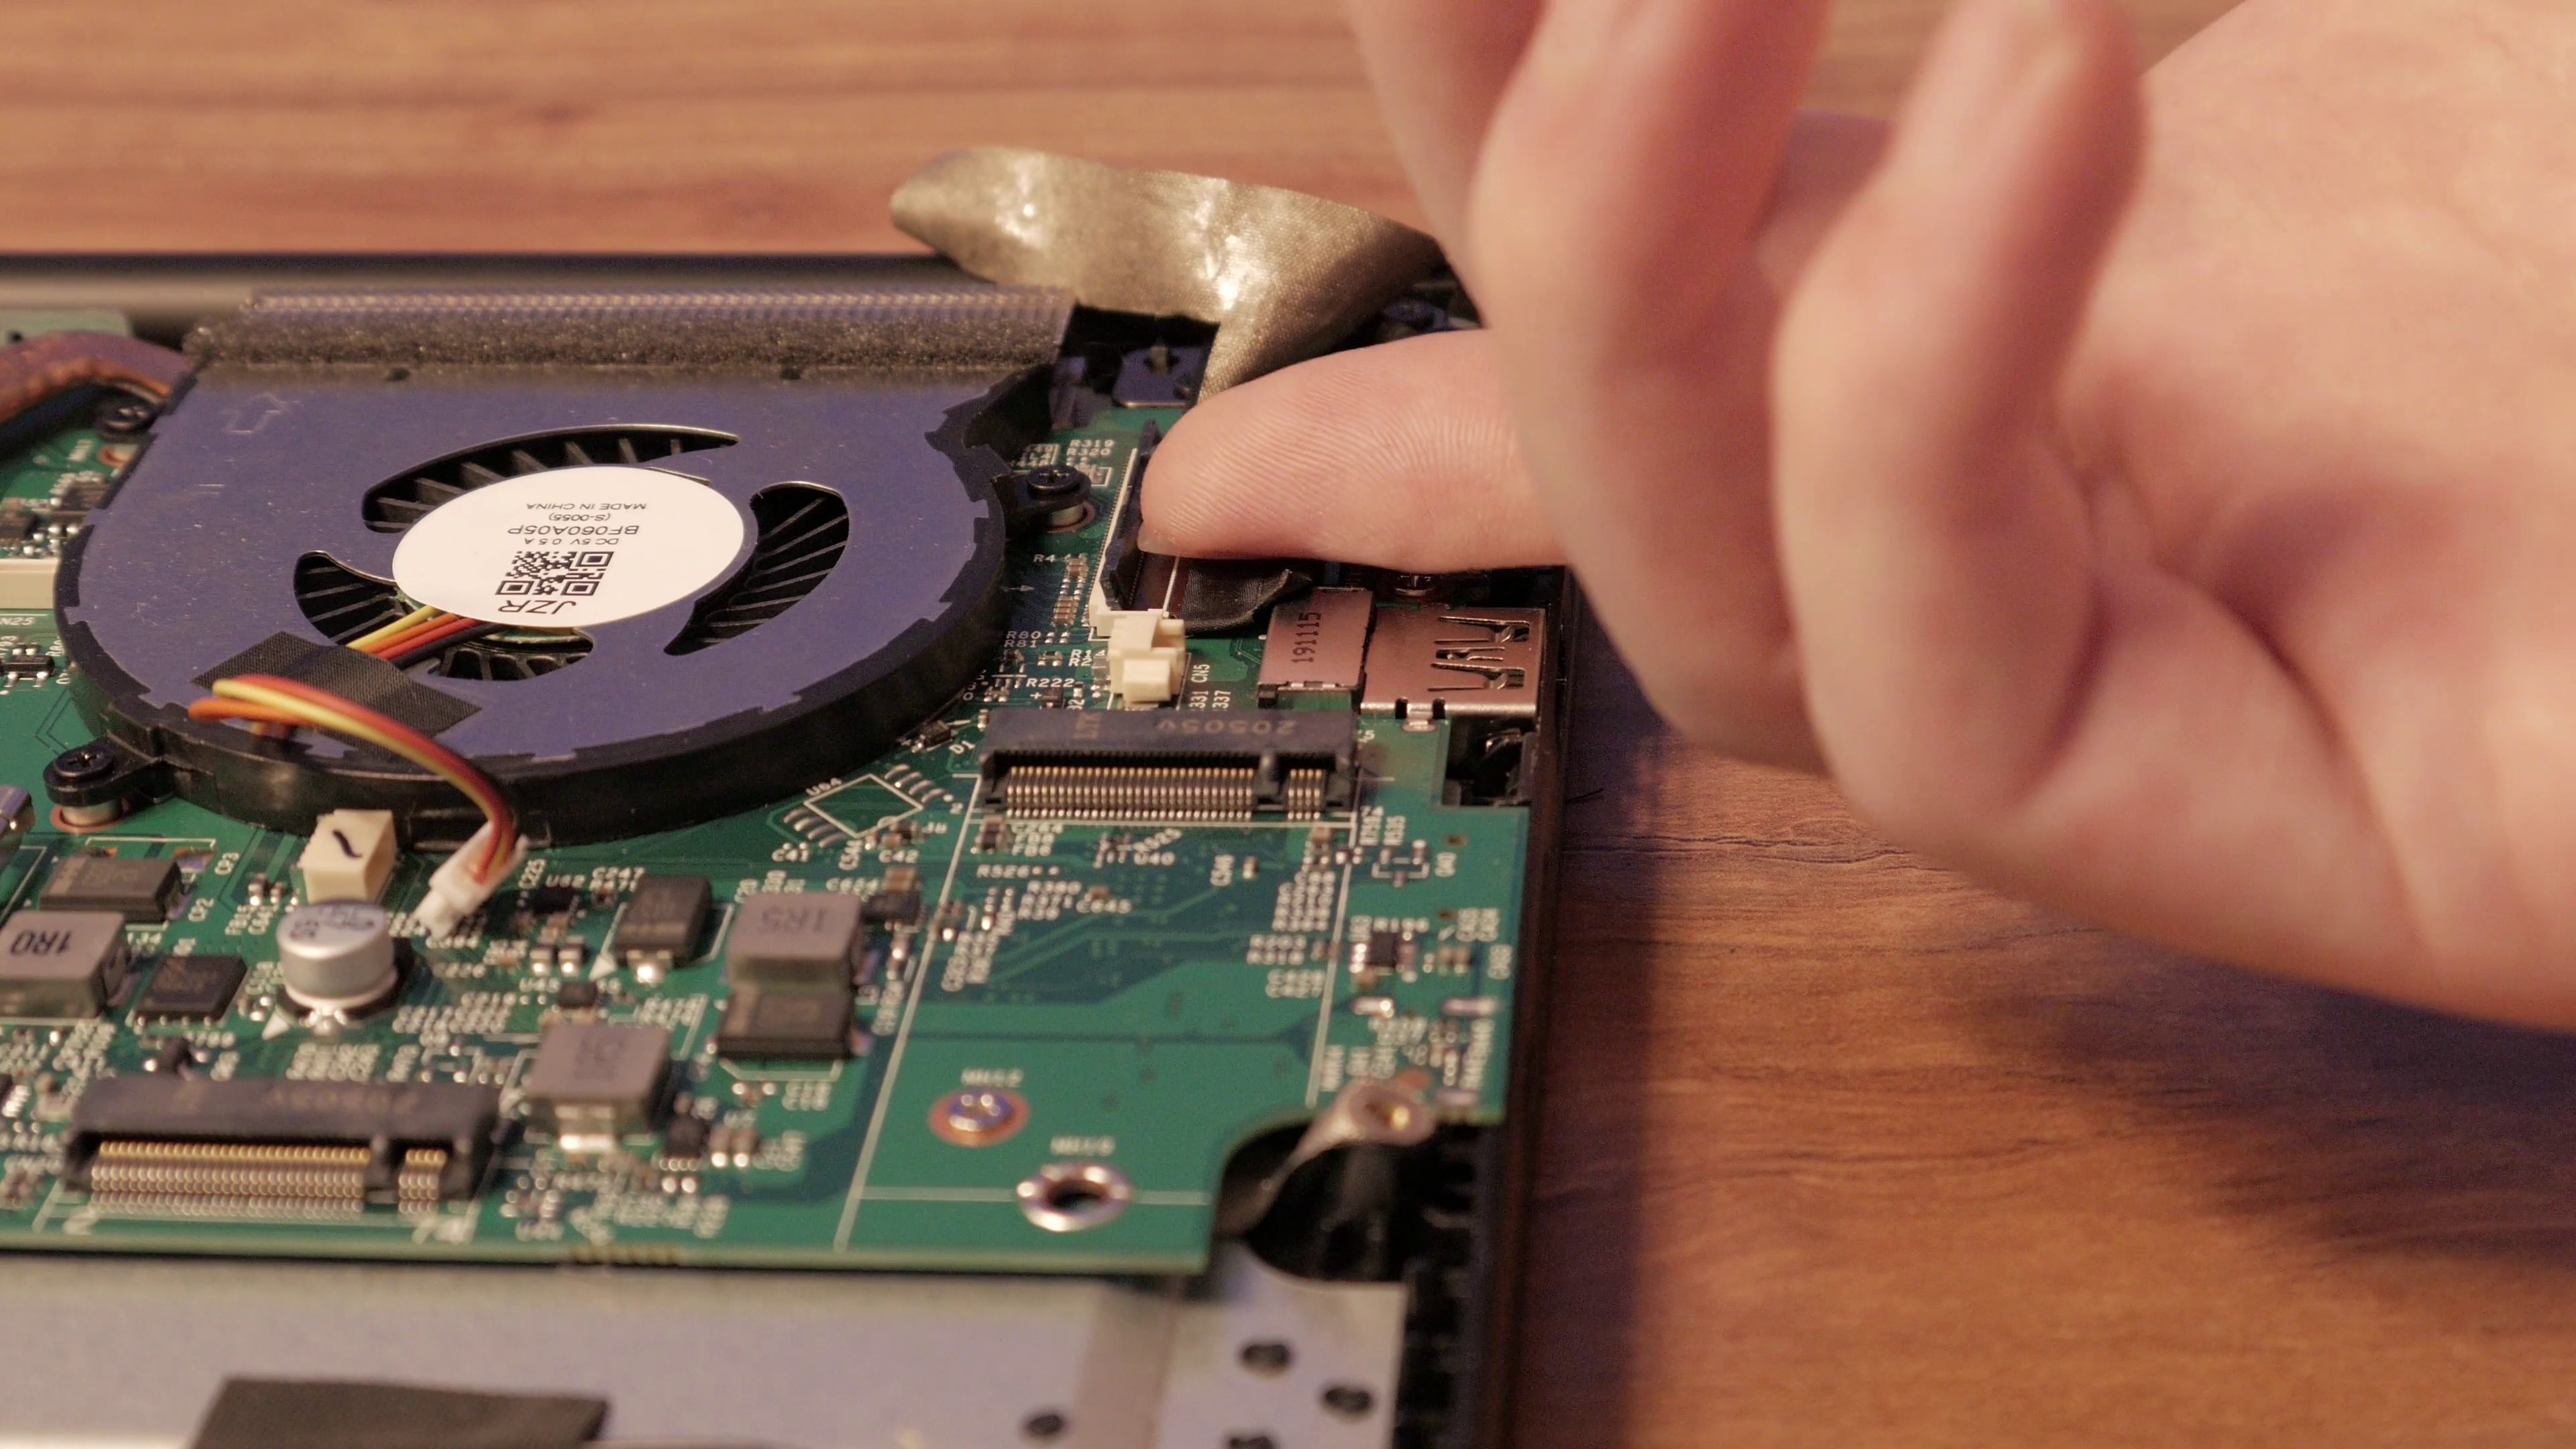 The ethernet port detaches when you remove these two screws.
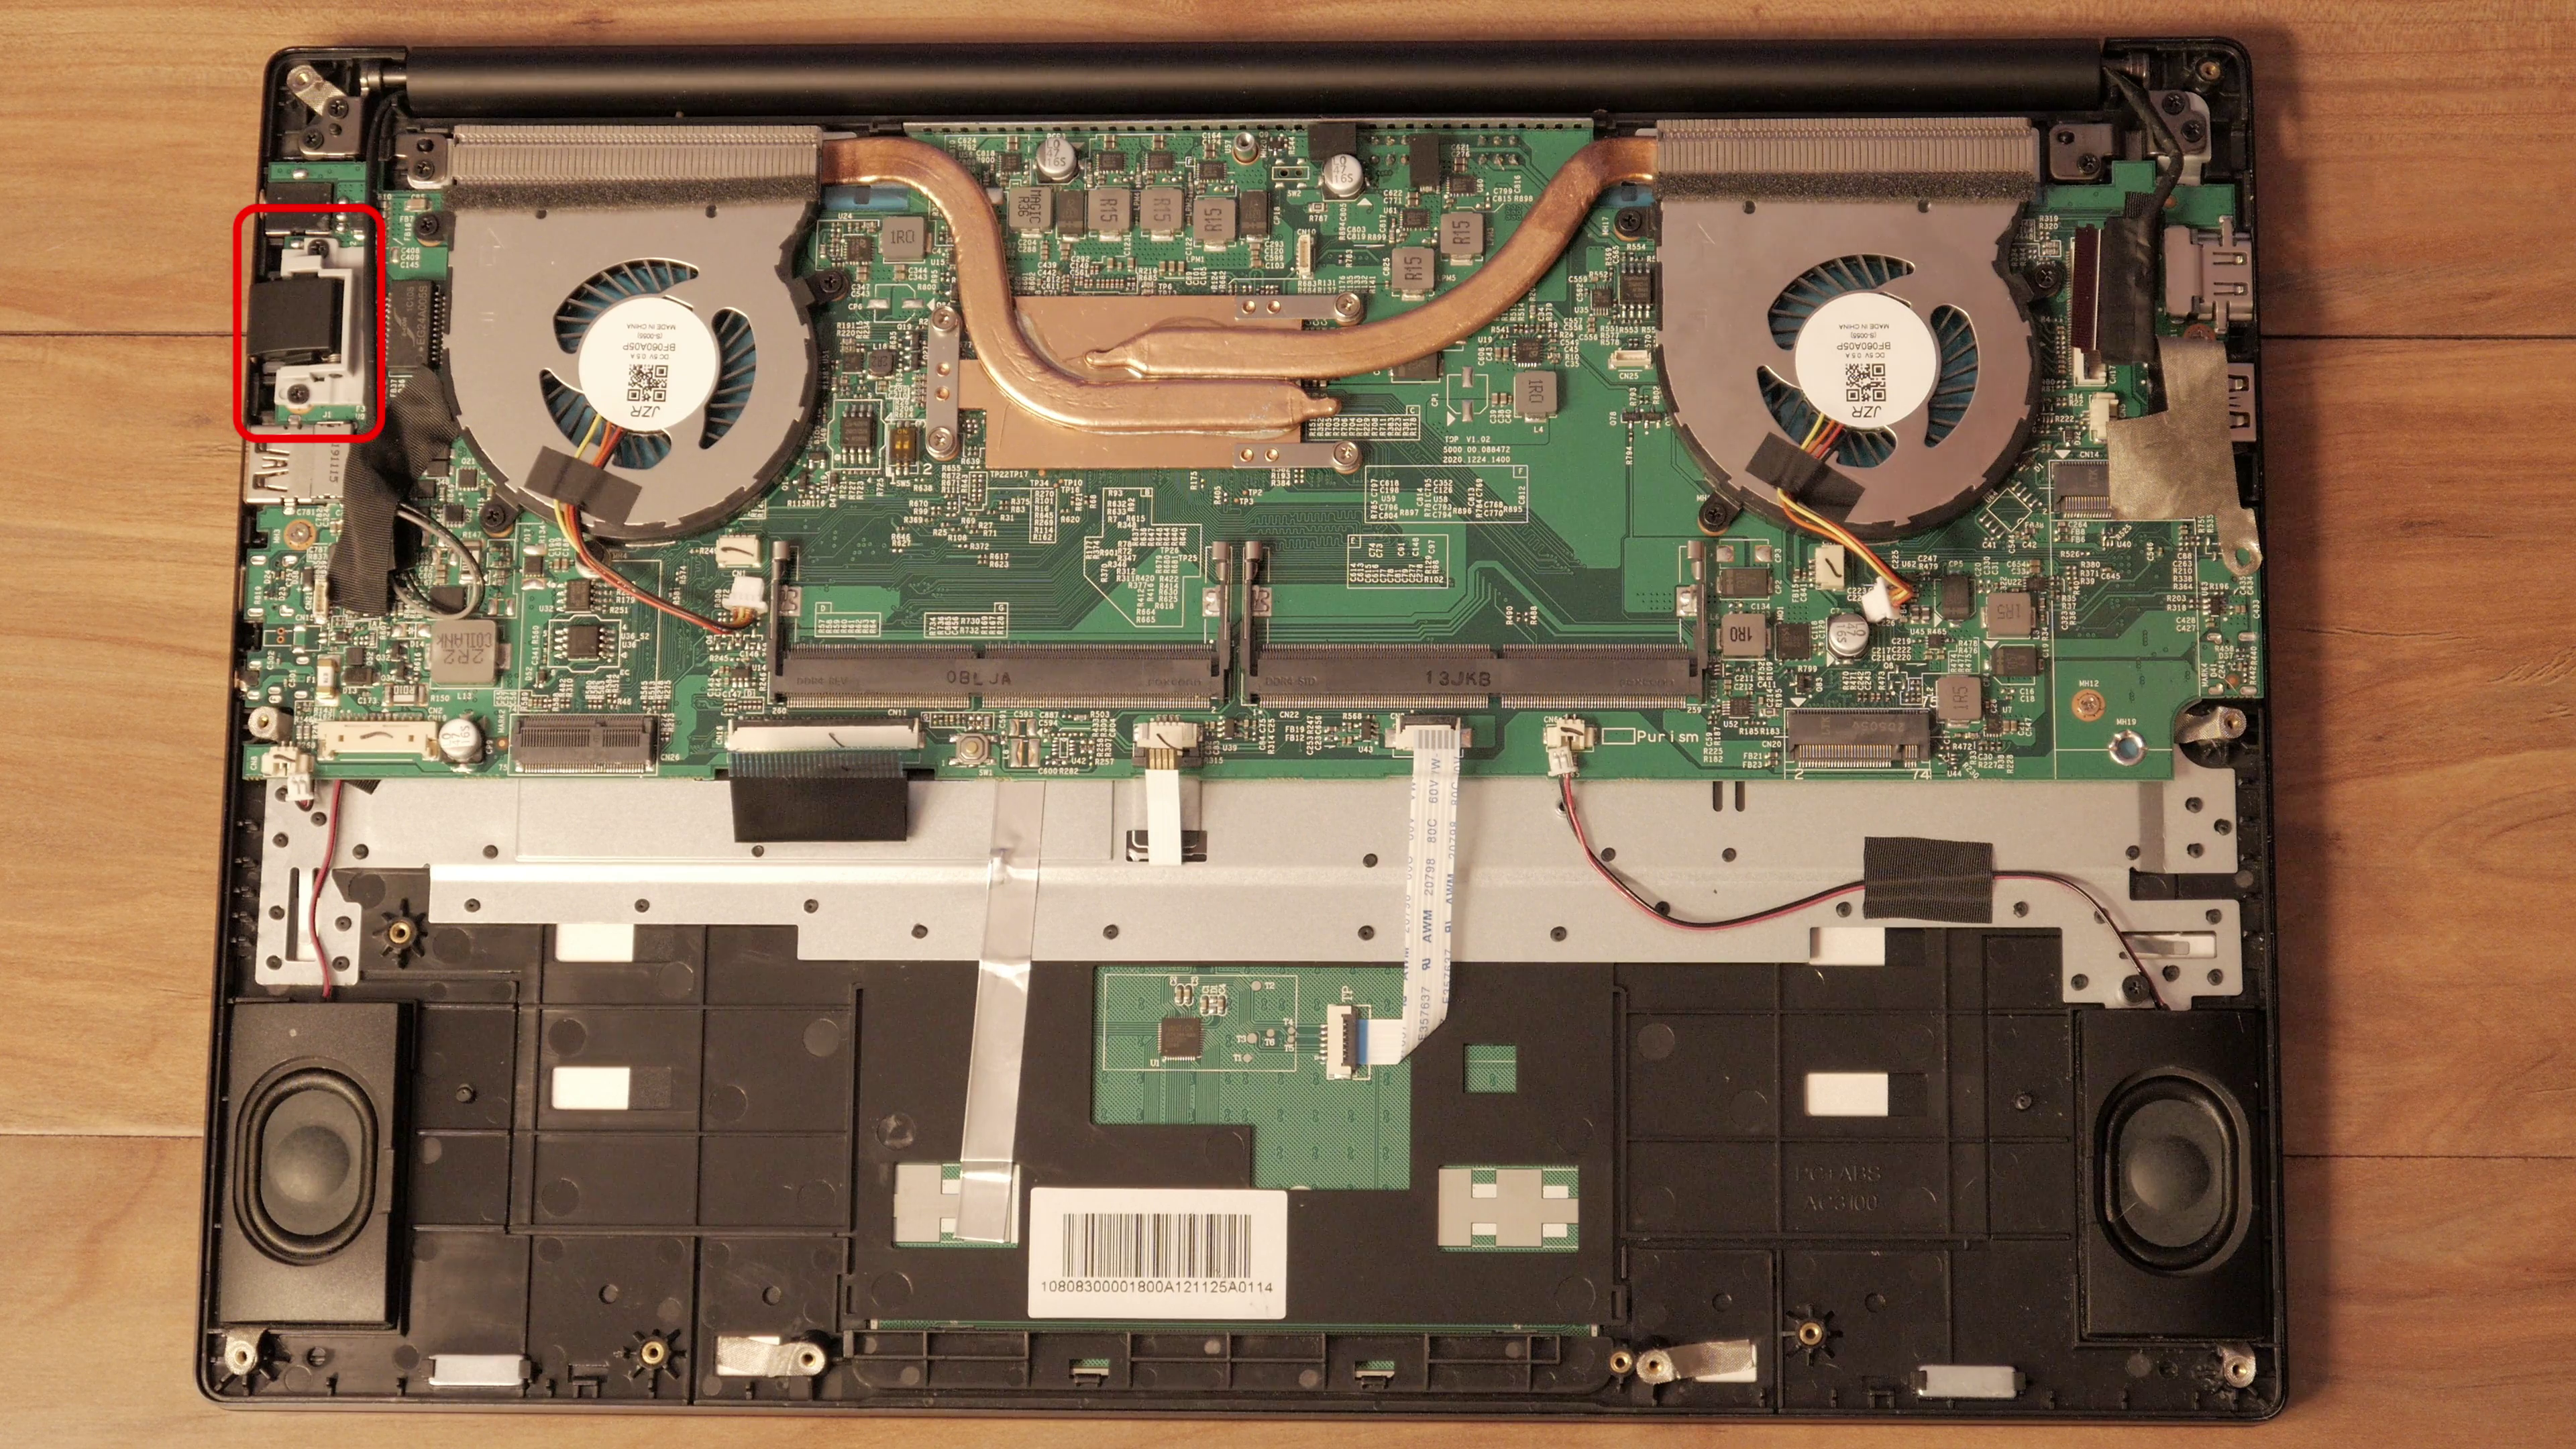 To remove the heat syncs, unscrew both fans.
 Next, turn each of the four heat sync screws a quarter turn in a criss-cross pattern until the heat sync is freed.
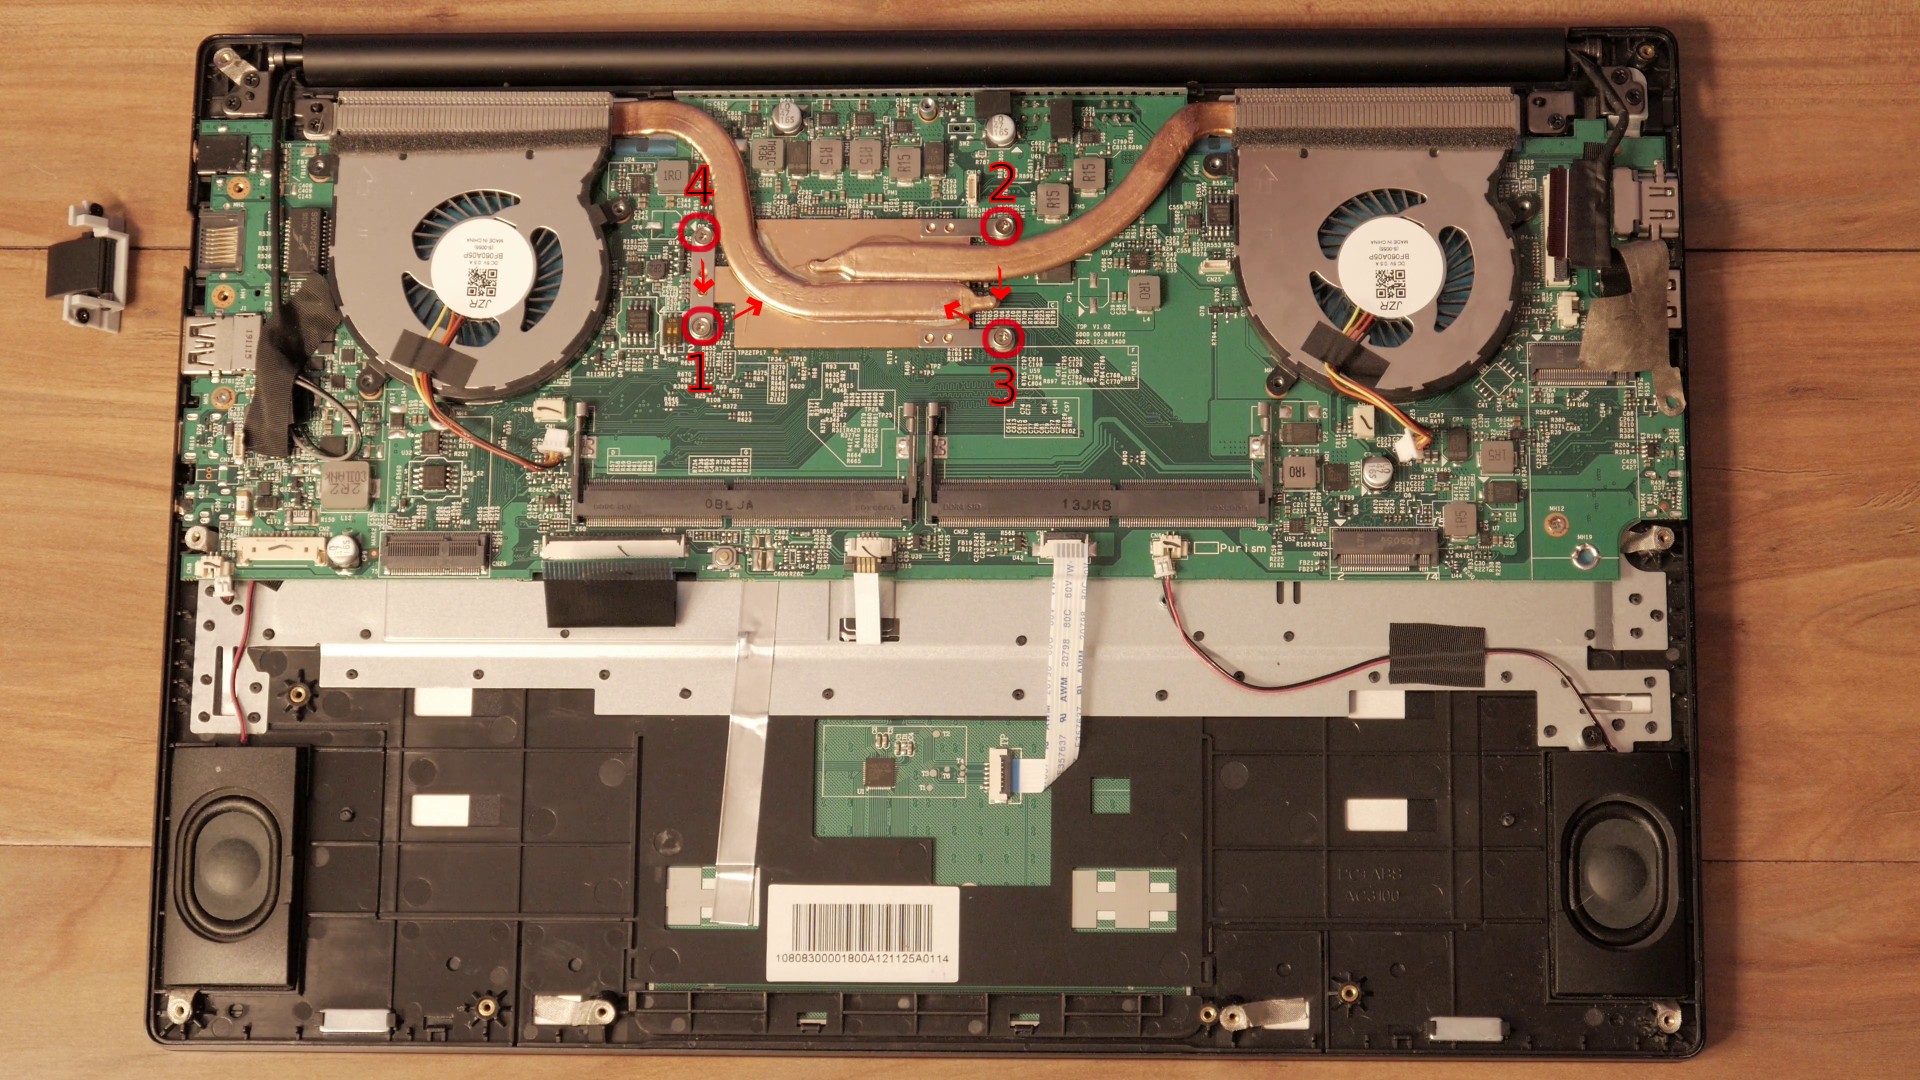 This pattern helps prevent stress from being applied too much on one side of the CPU or GPU.
All that’s left attaching the board to the chassis are these three screws. 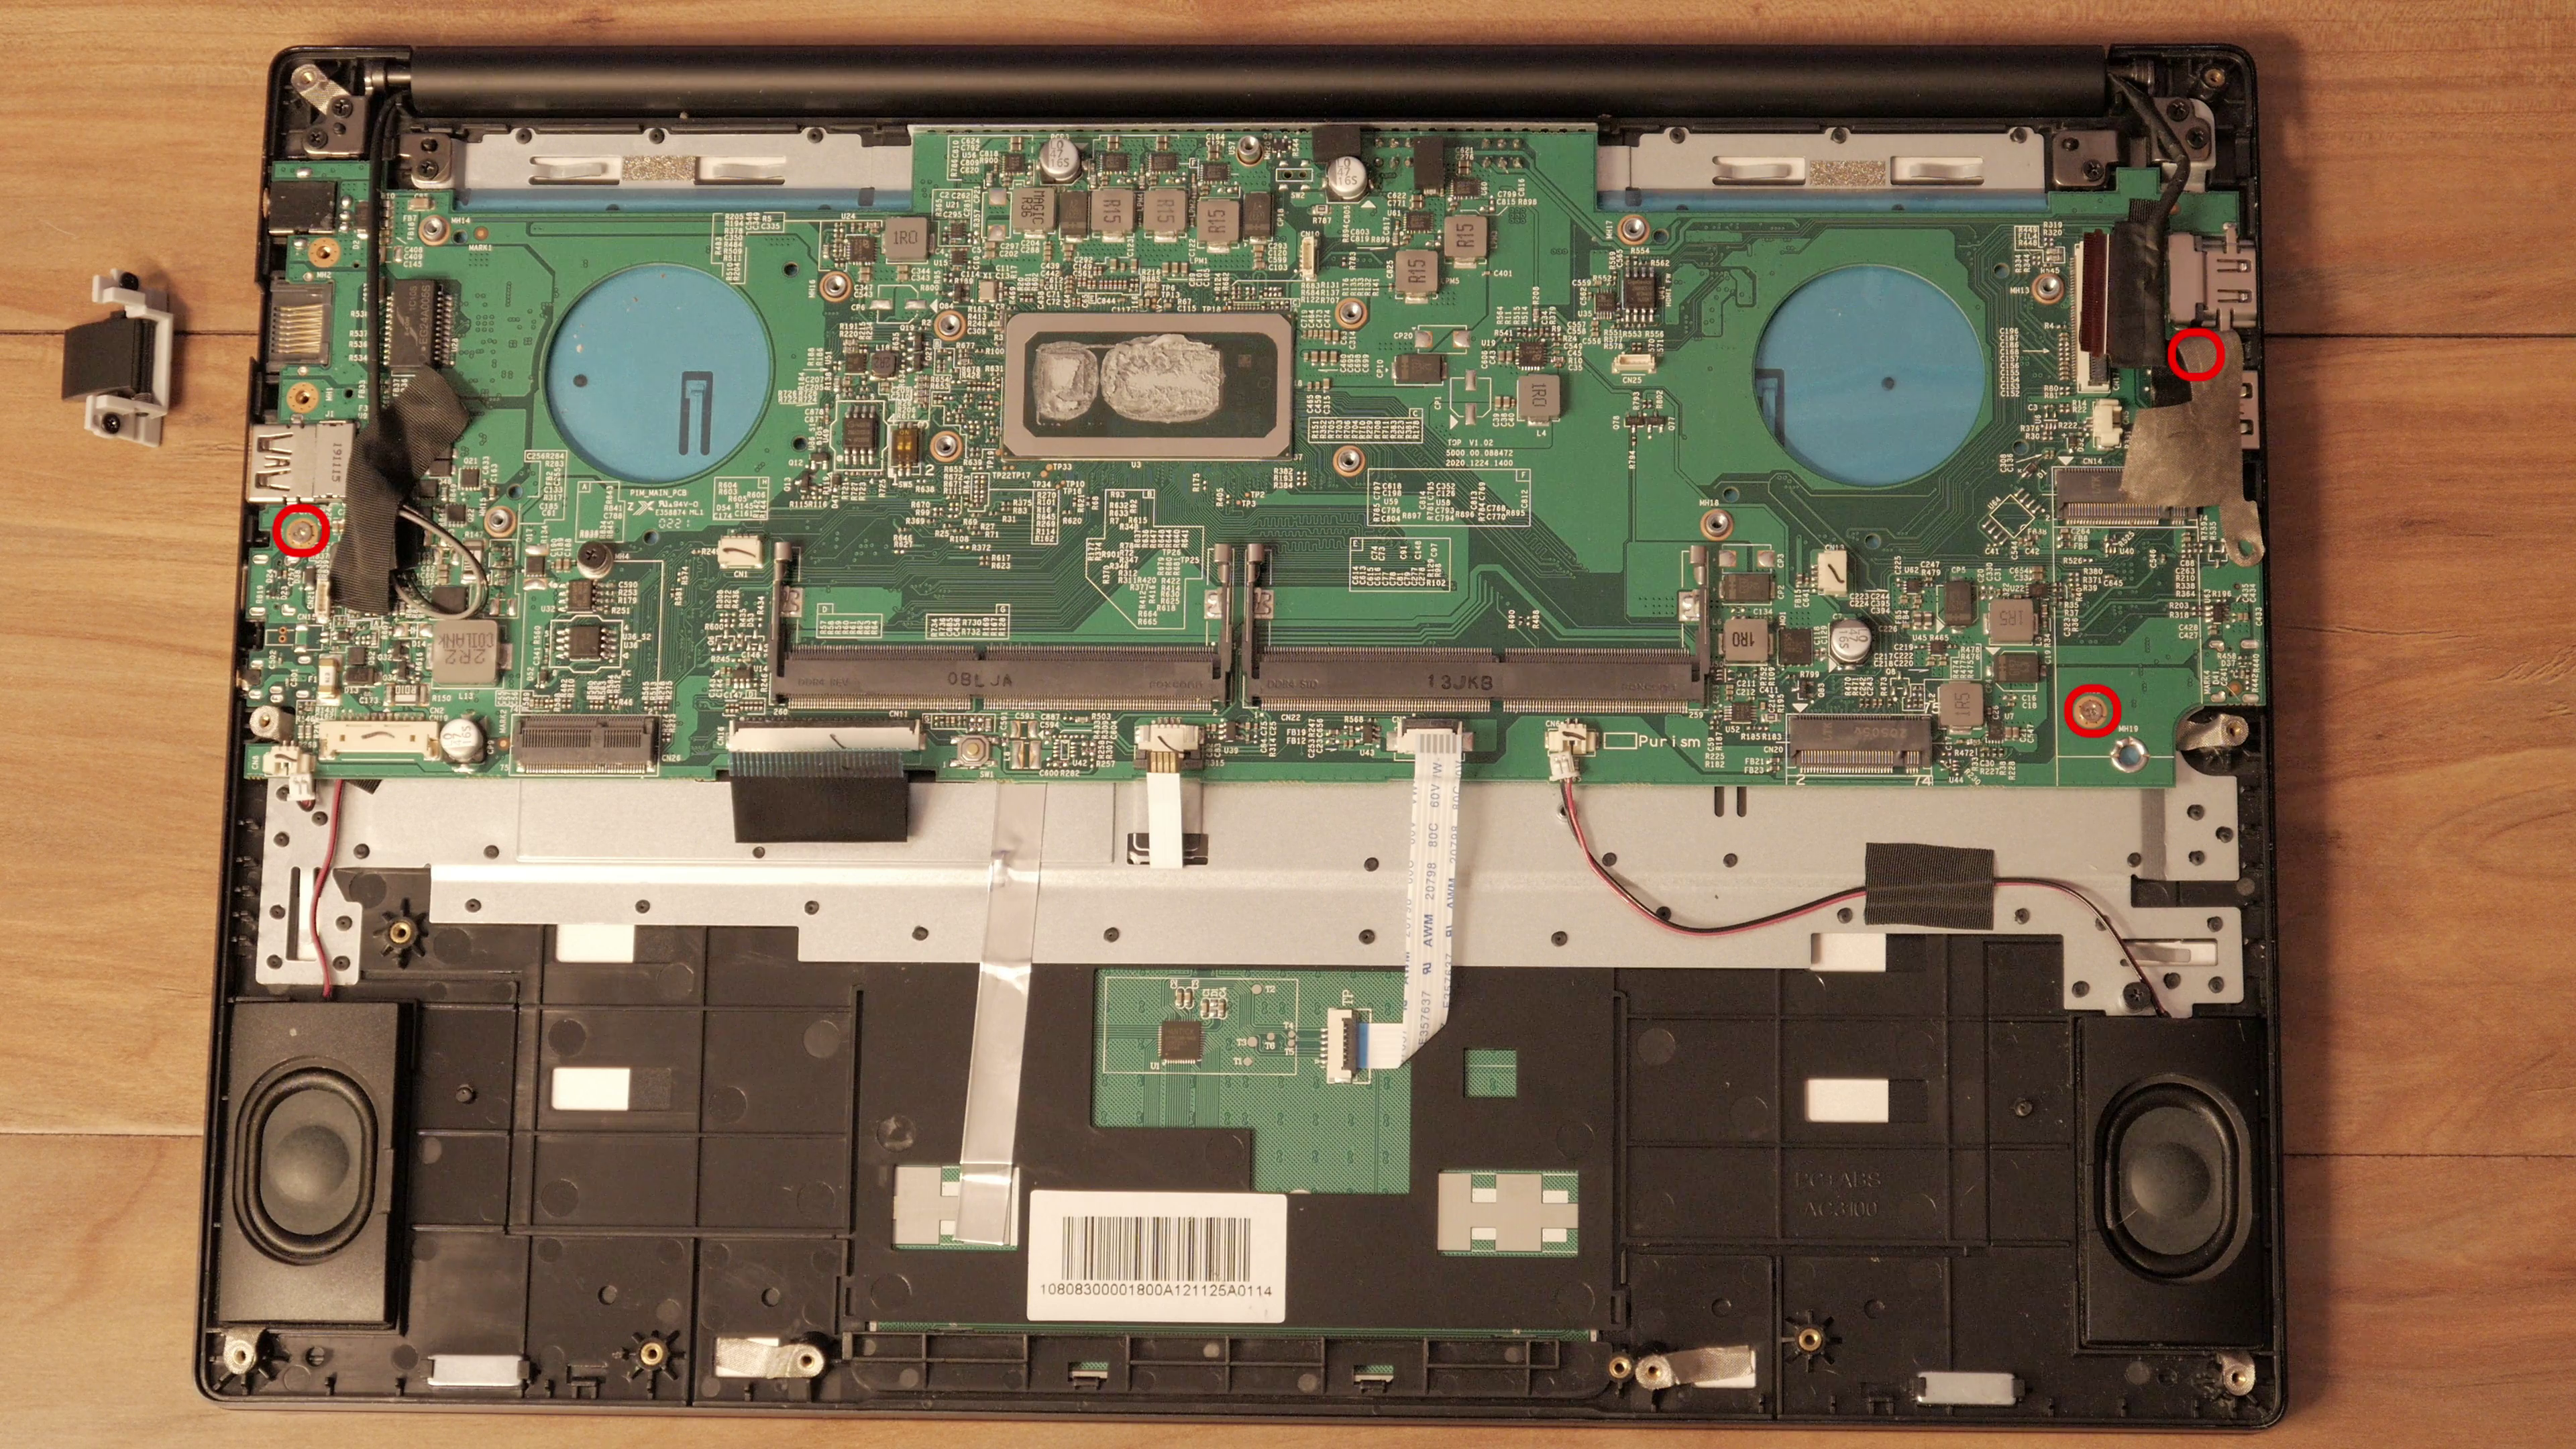 Once the three screws have been removed, carefully pull out the motherboard.
 The display is attached to the chassis with a few screws. To remove the screen, open it partway and support it open, so the hinge is not under pressure, then unscrew the monitor on both sides, and pull the screen free.
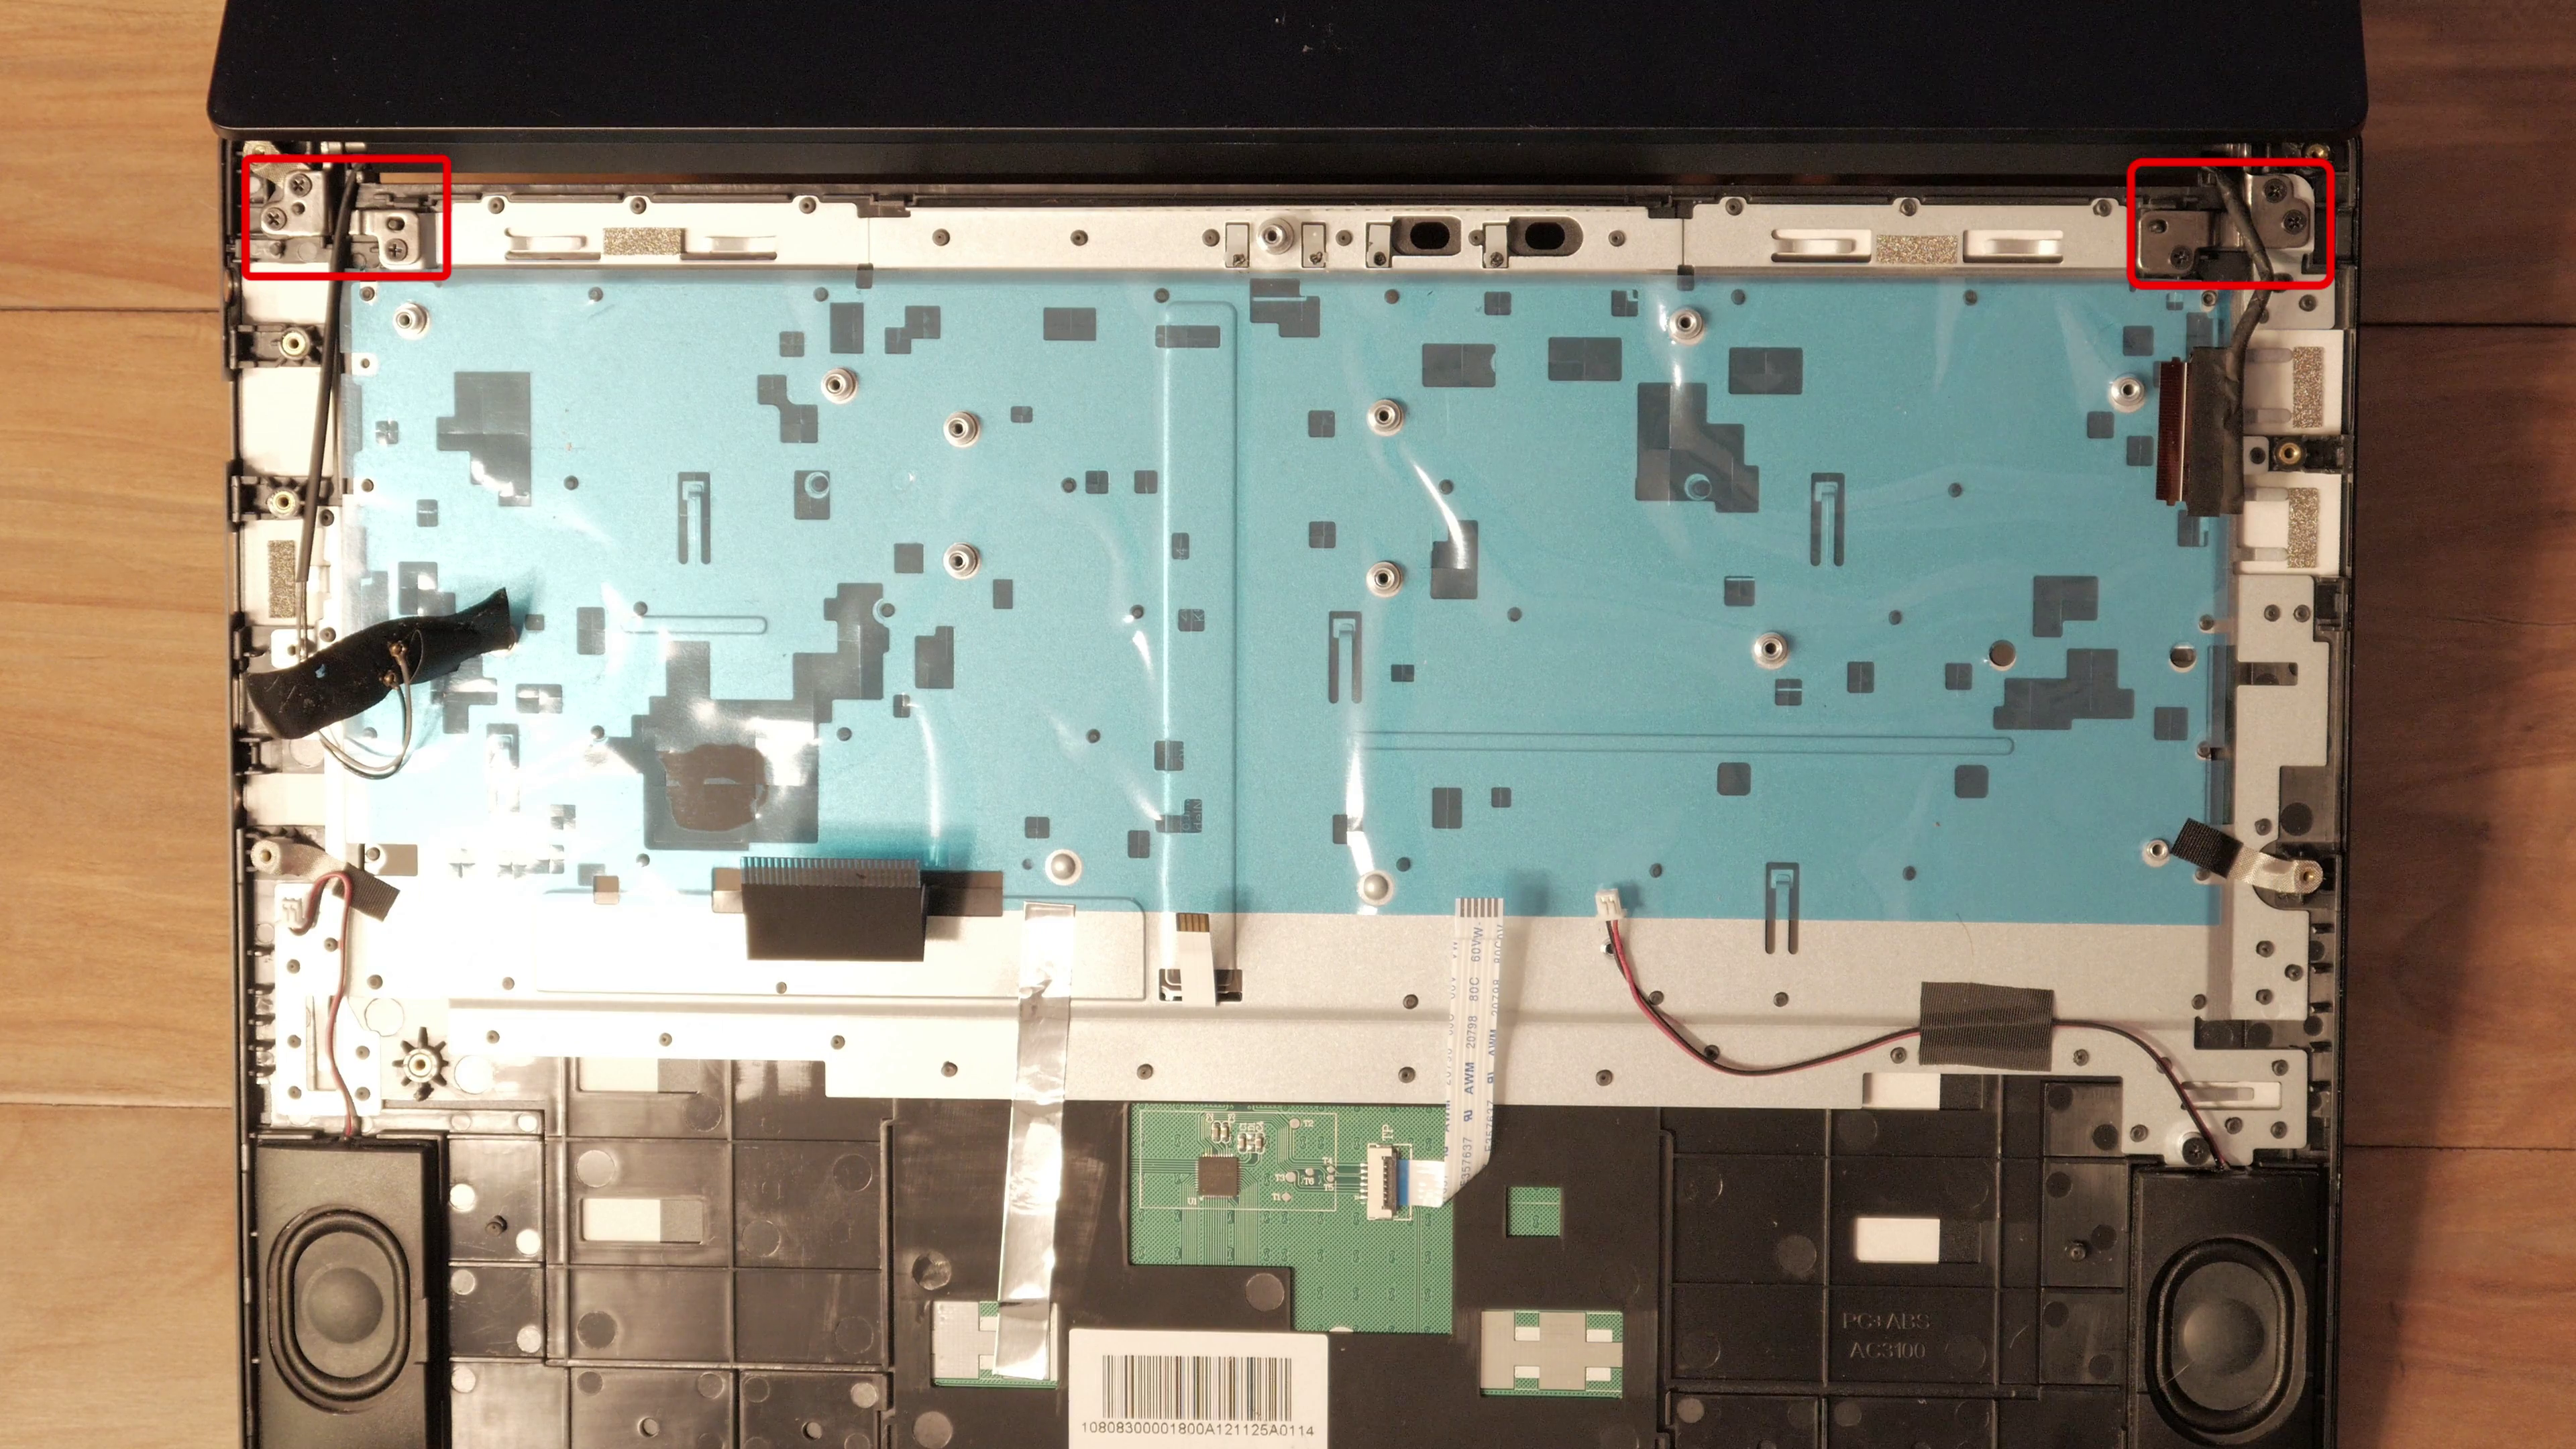
Resassembly
To put it all back together, realine the screen, and screw it down.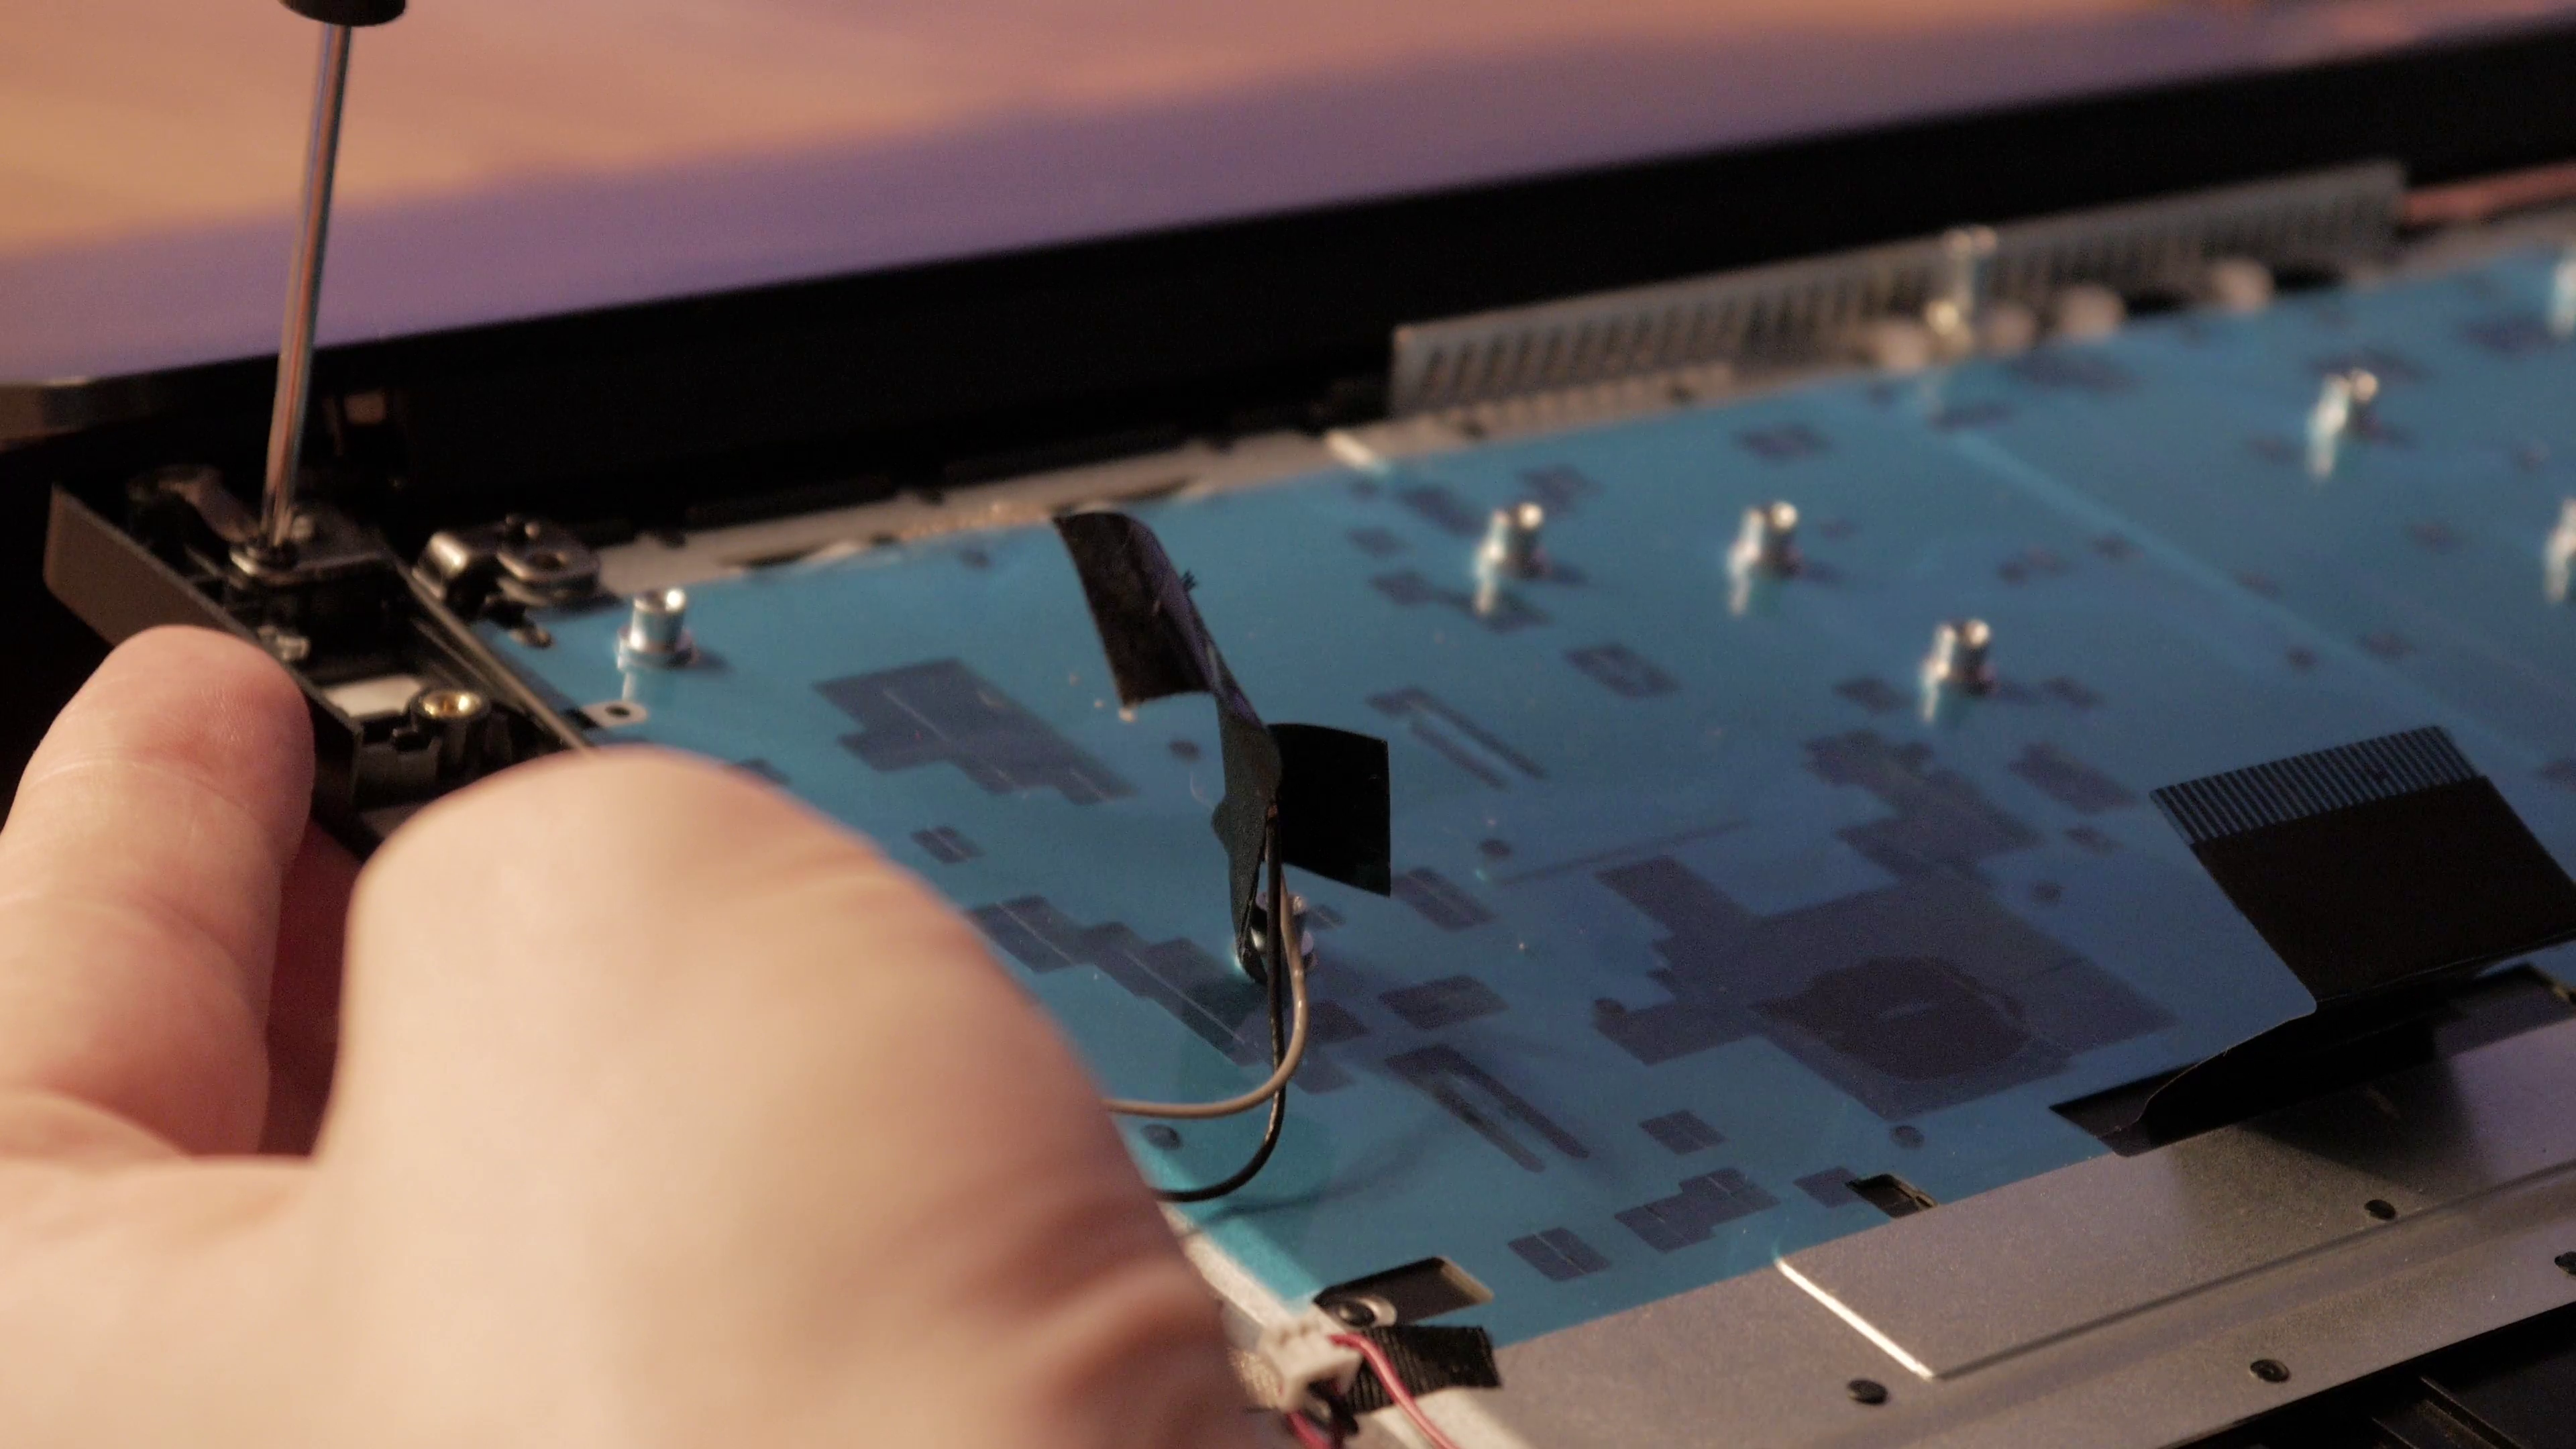 Carefully replace the motherboard. Make sure the board is not on top of any loose cables.
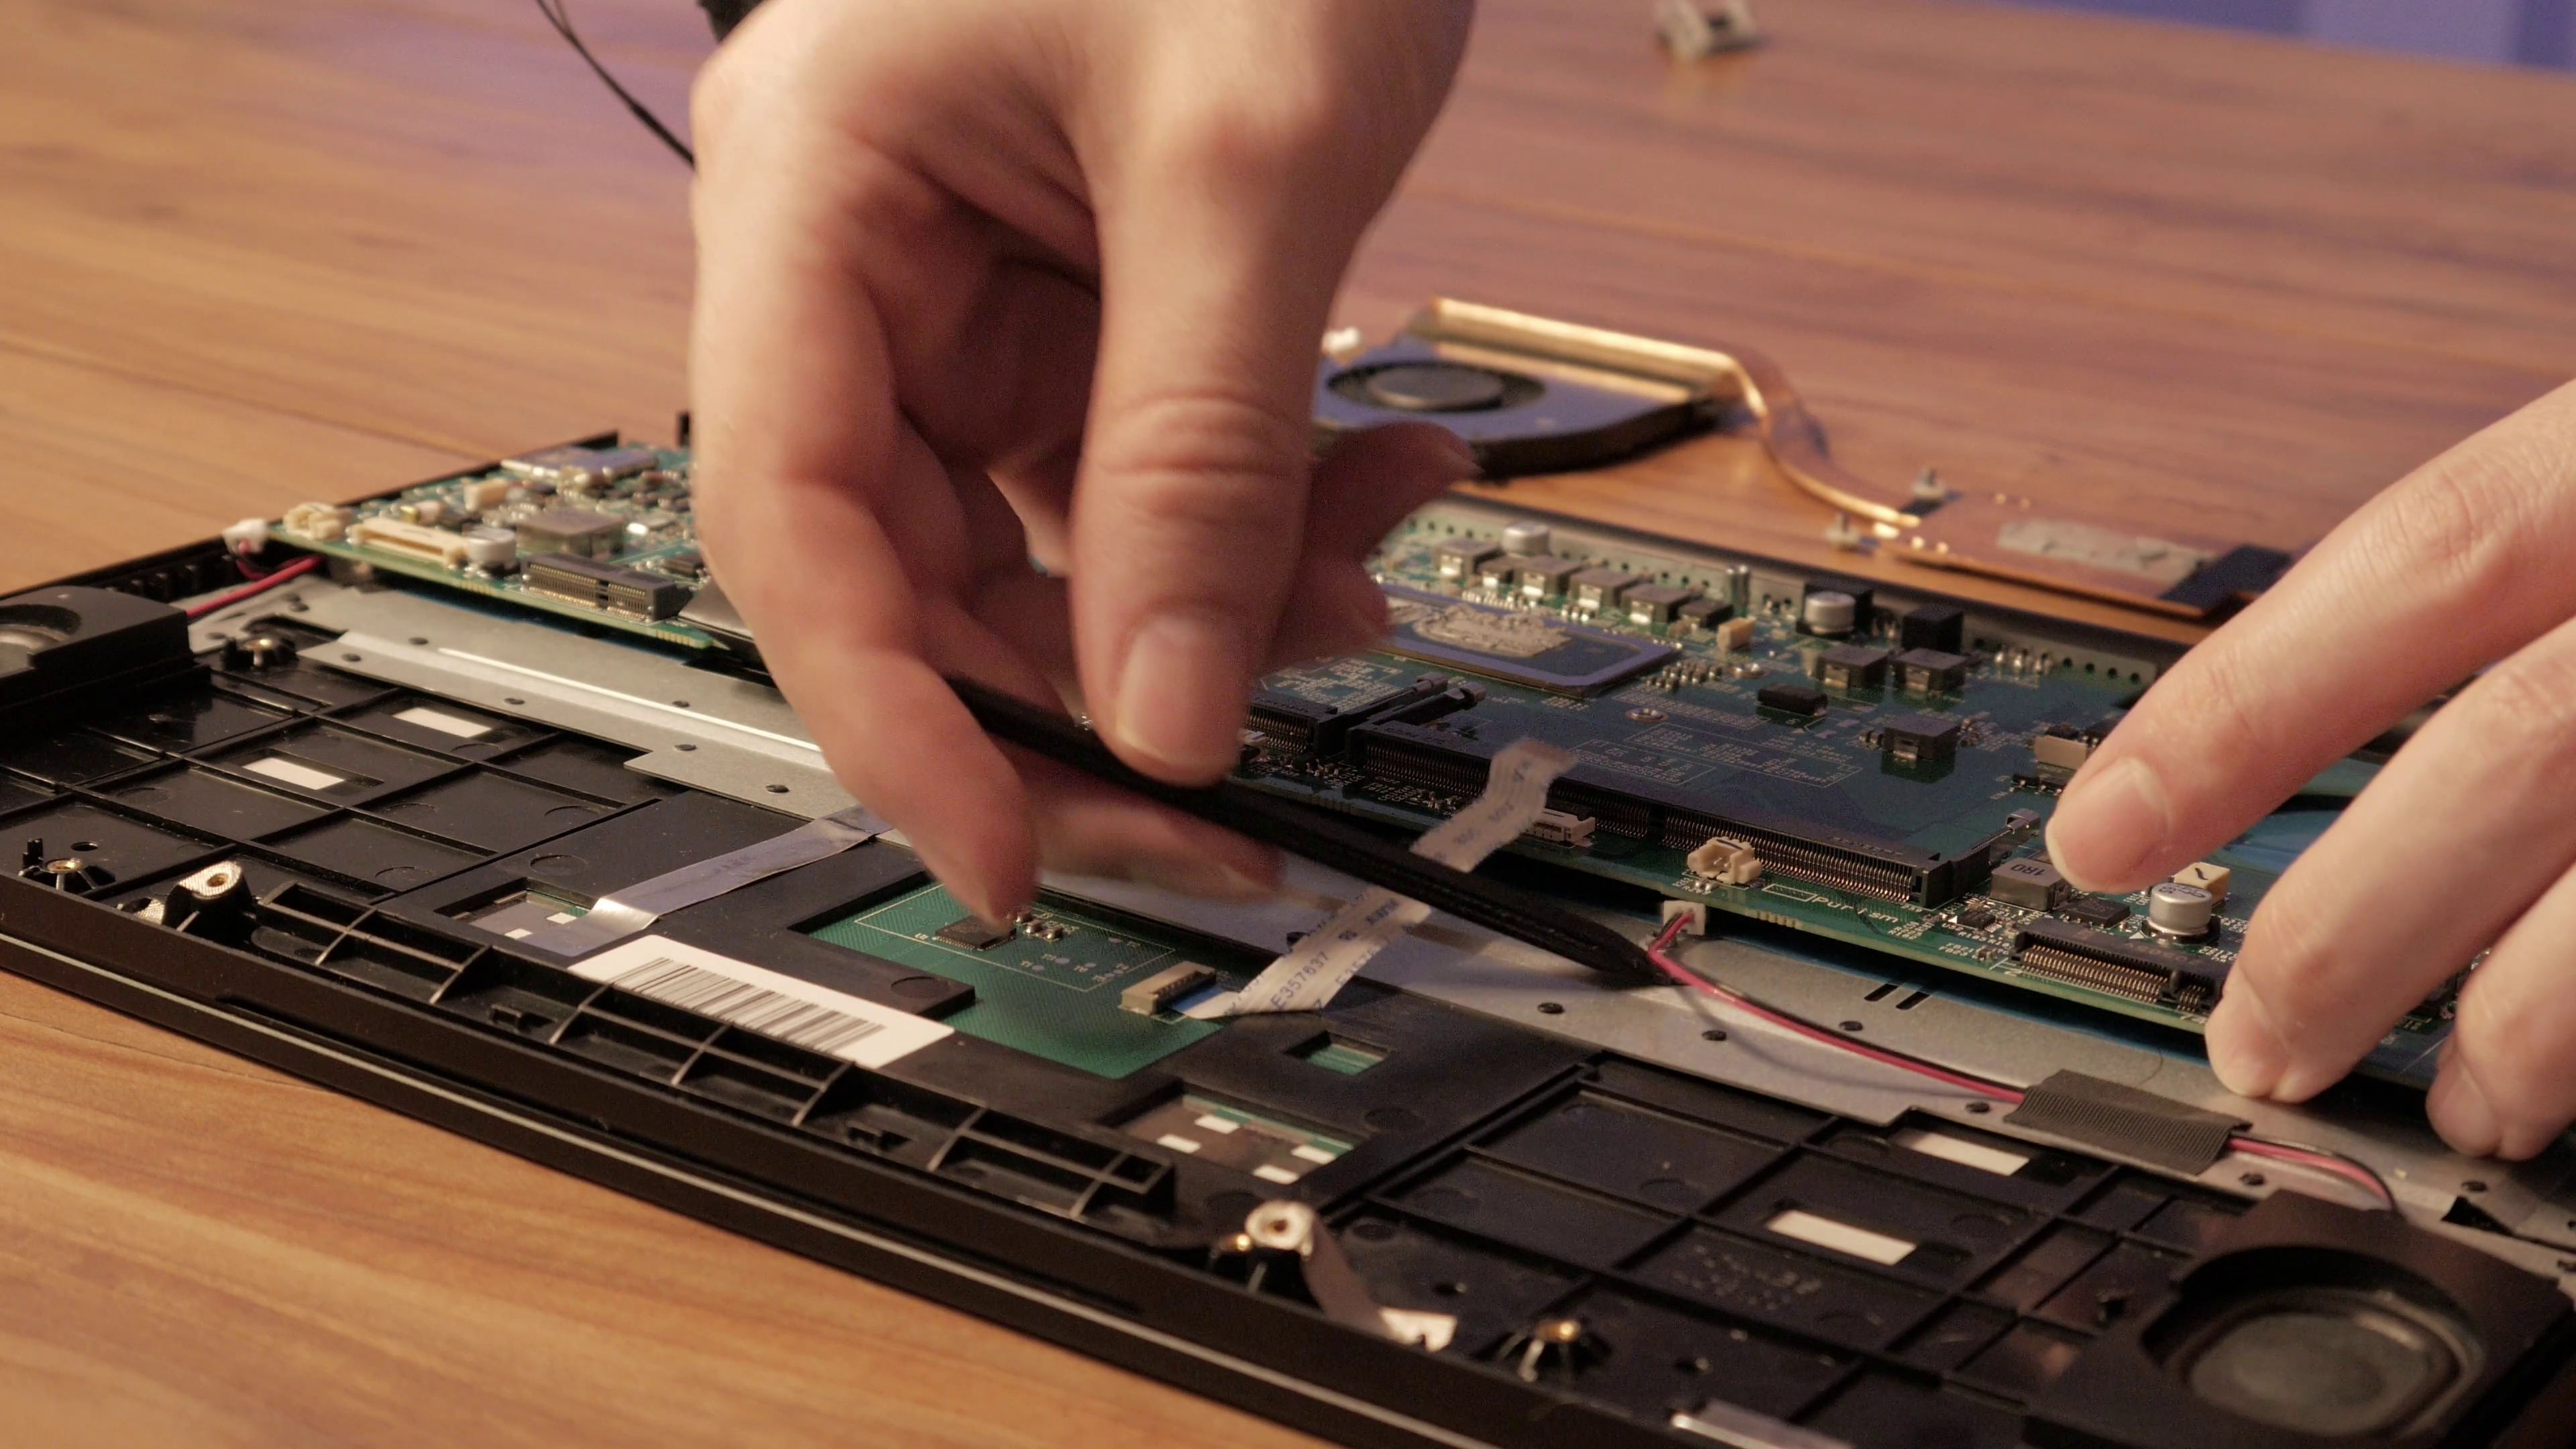 With the board laying flat, screw-down its three screws.
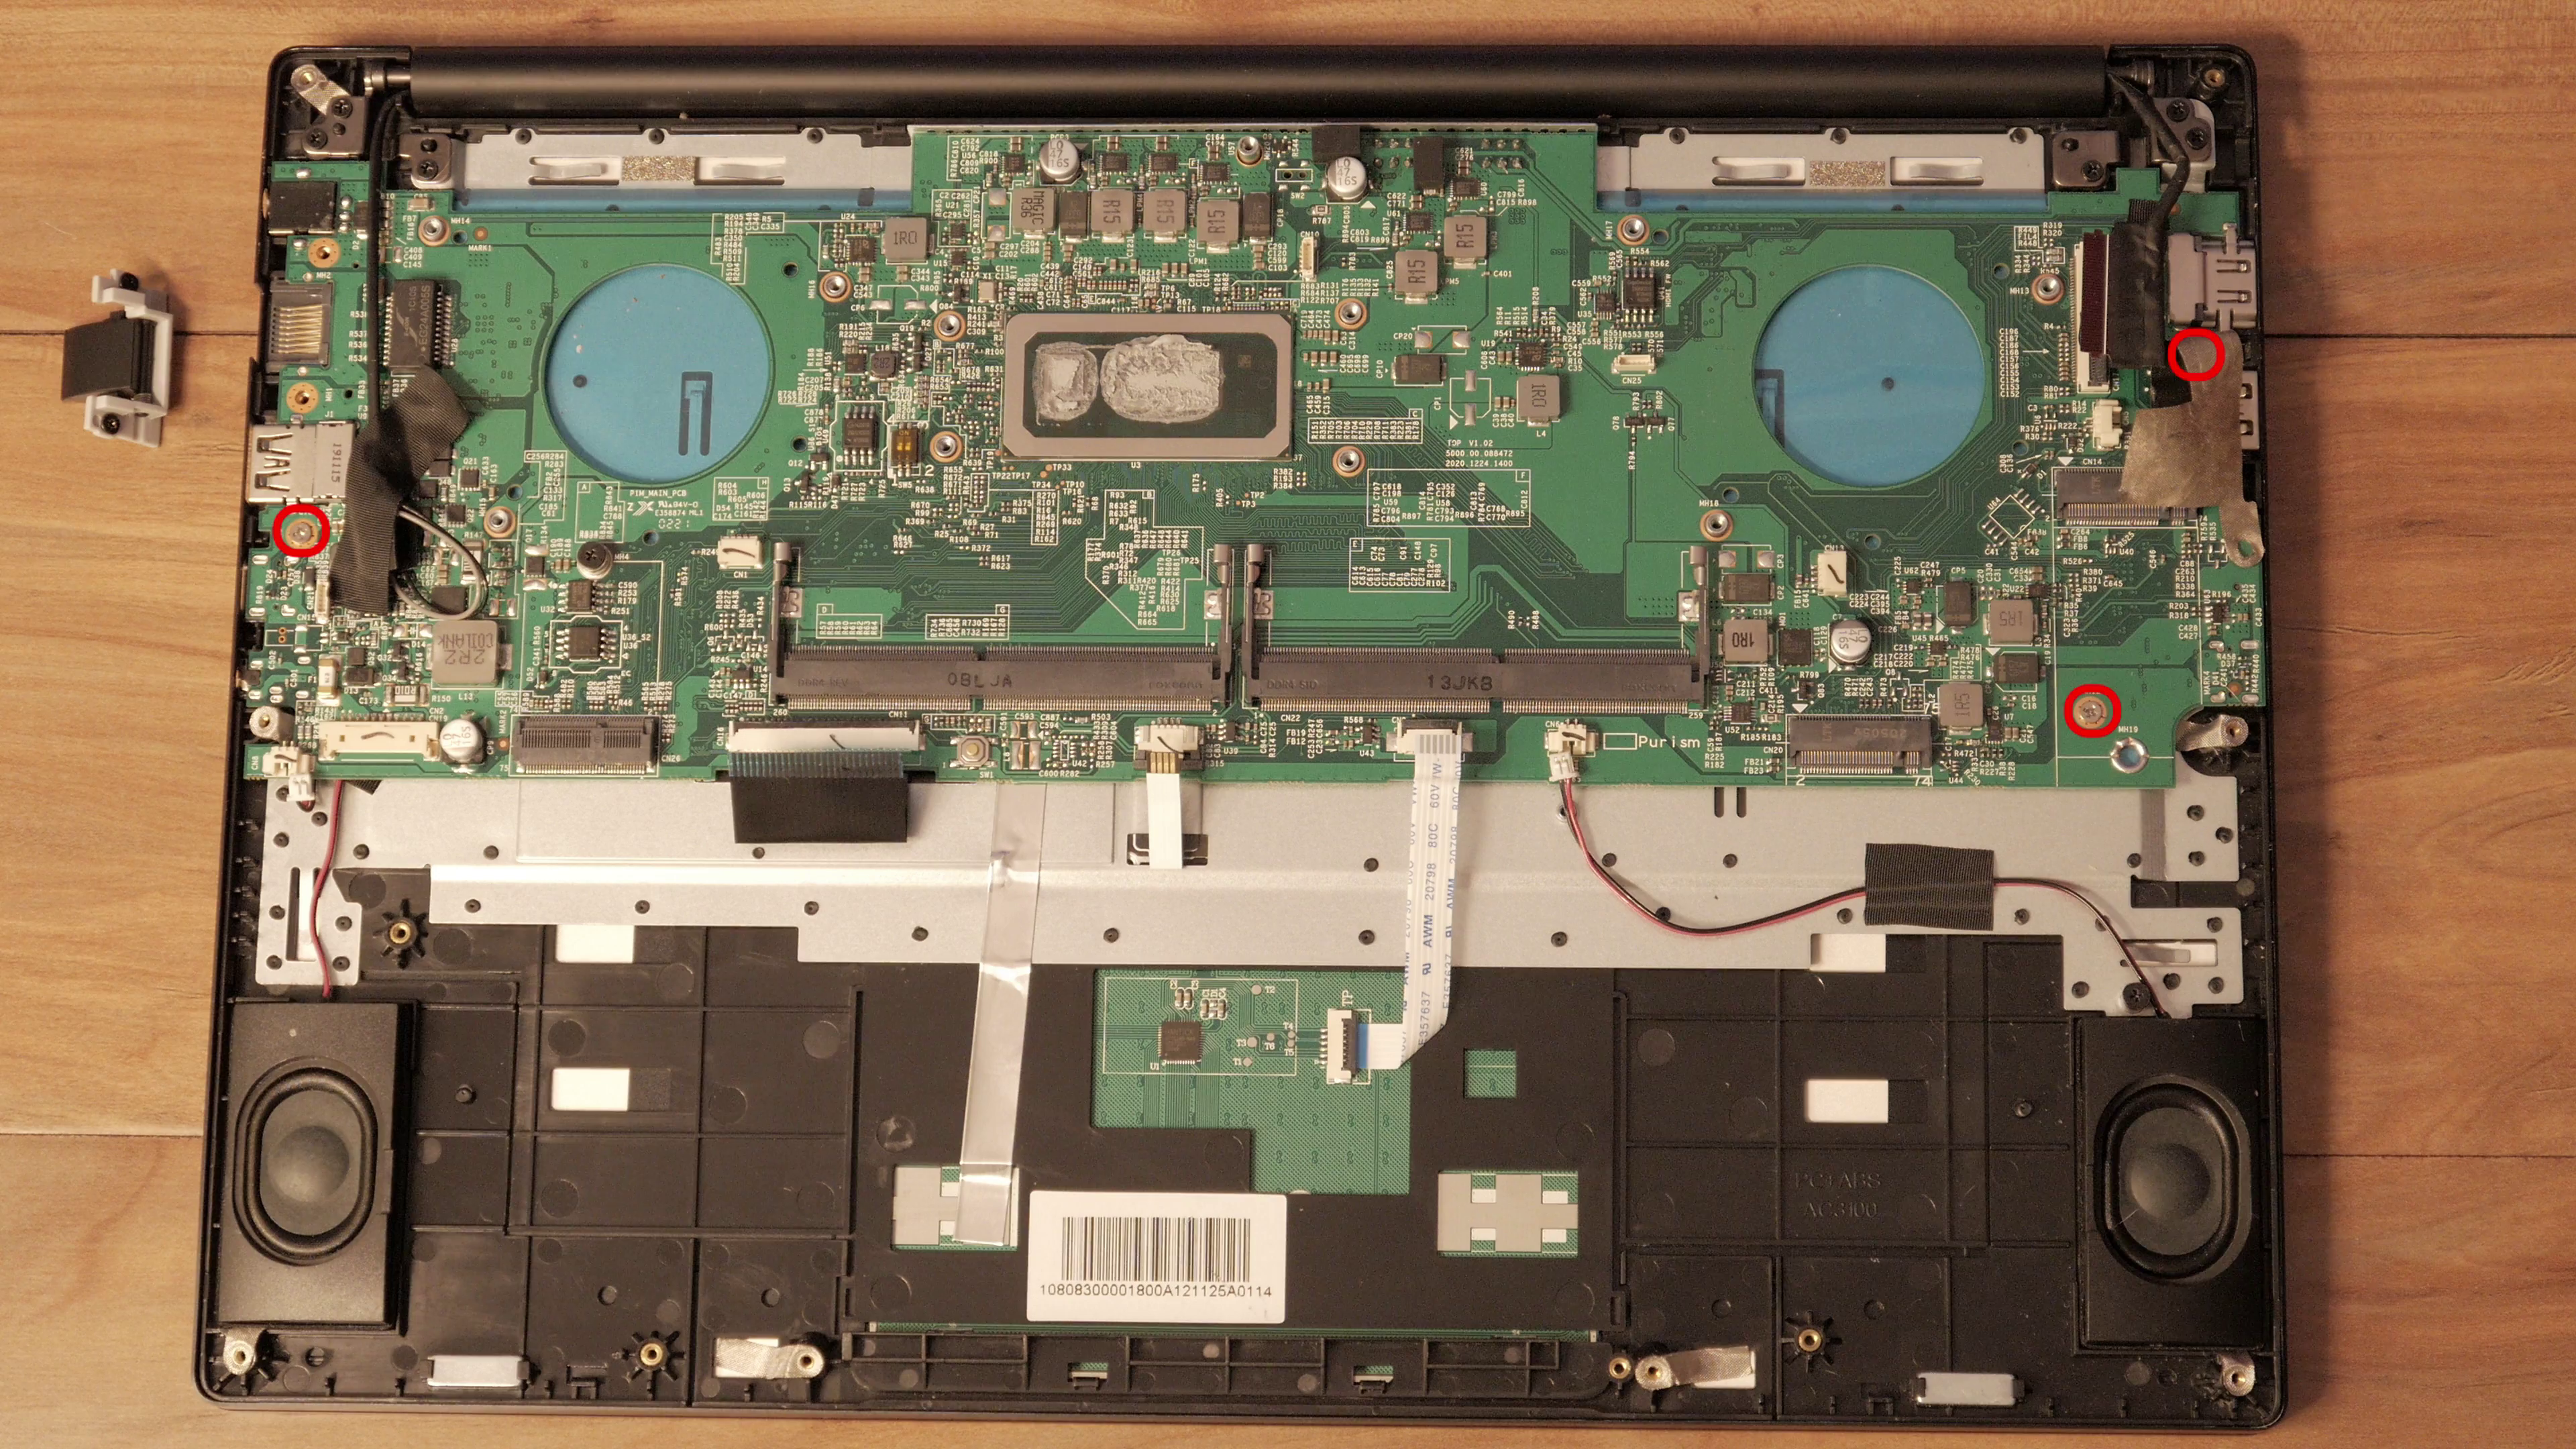 If you have access to replacement thermal paste, now is the time to replace the compound and clean off the old leftovers on the CPU.
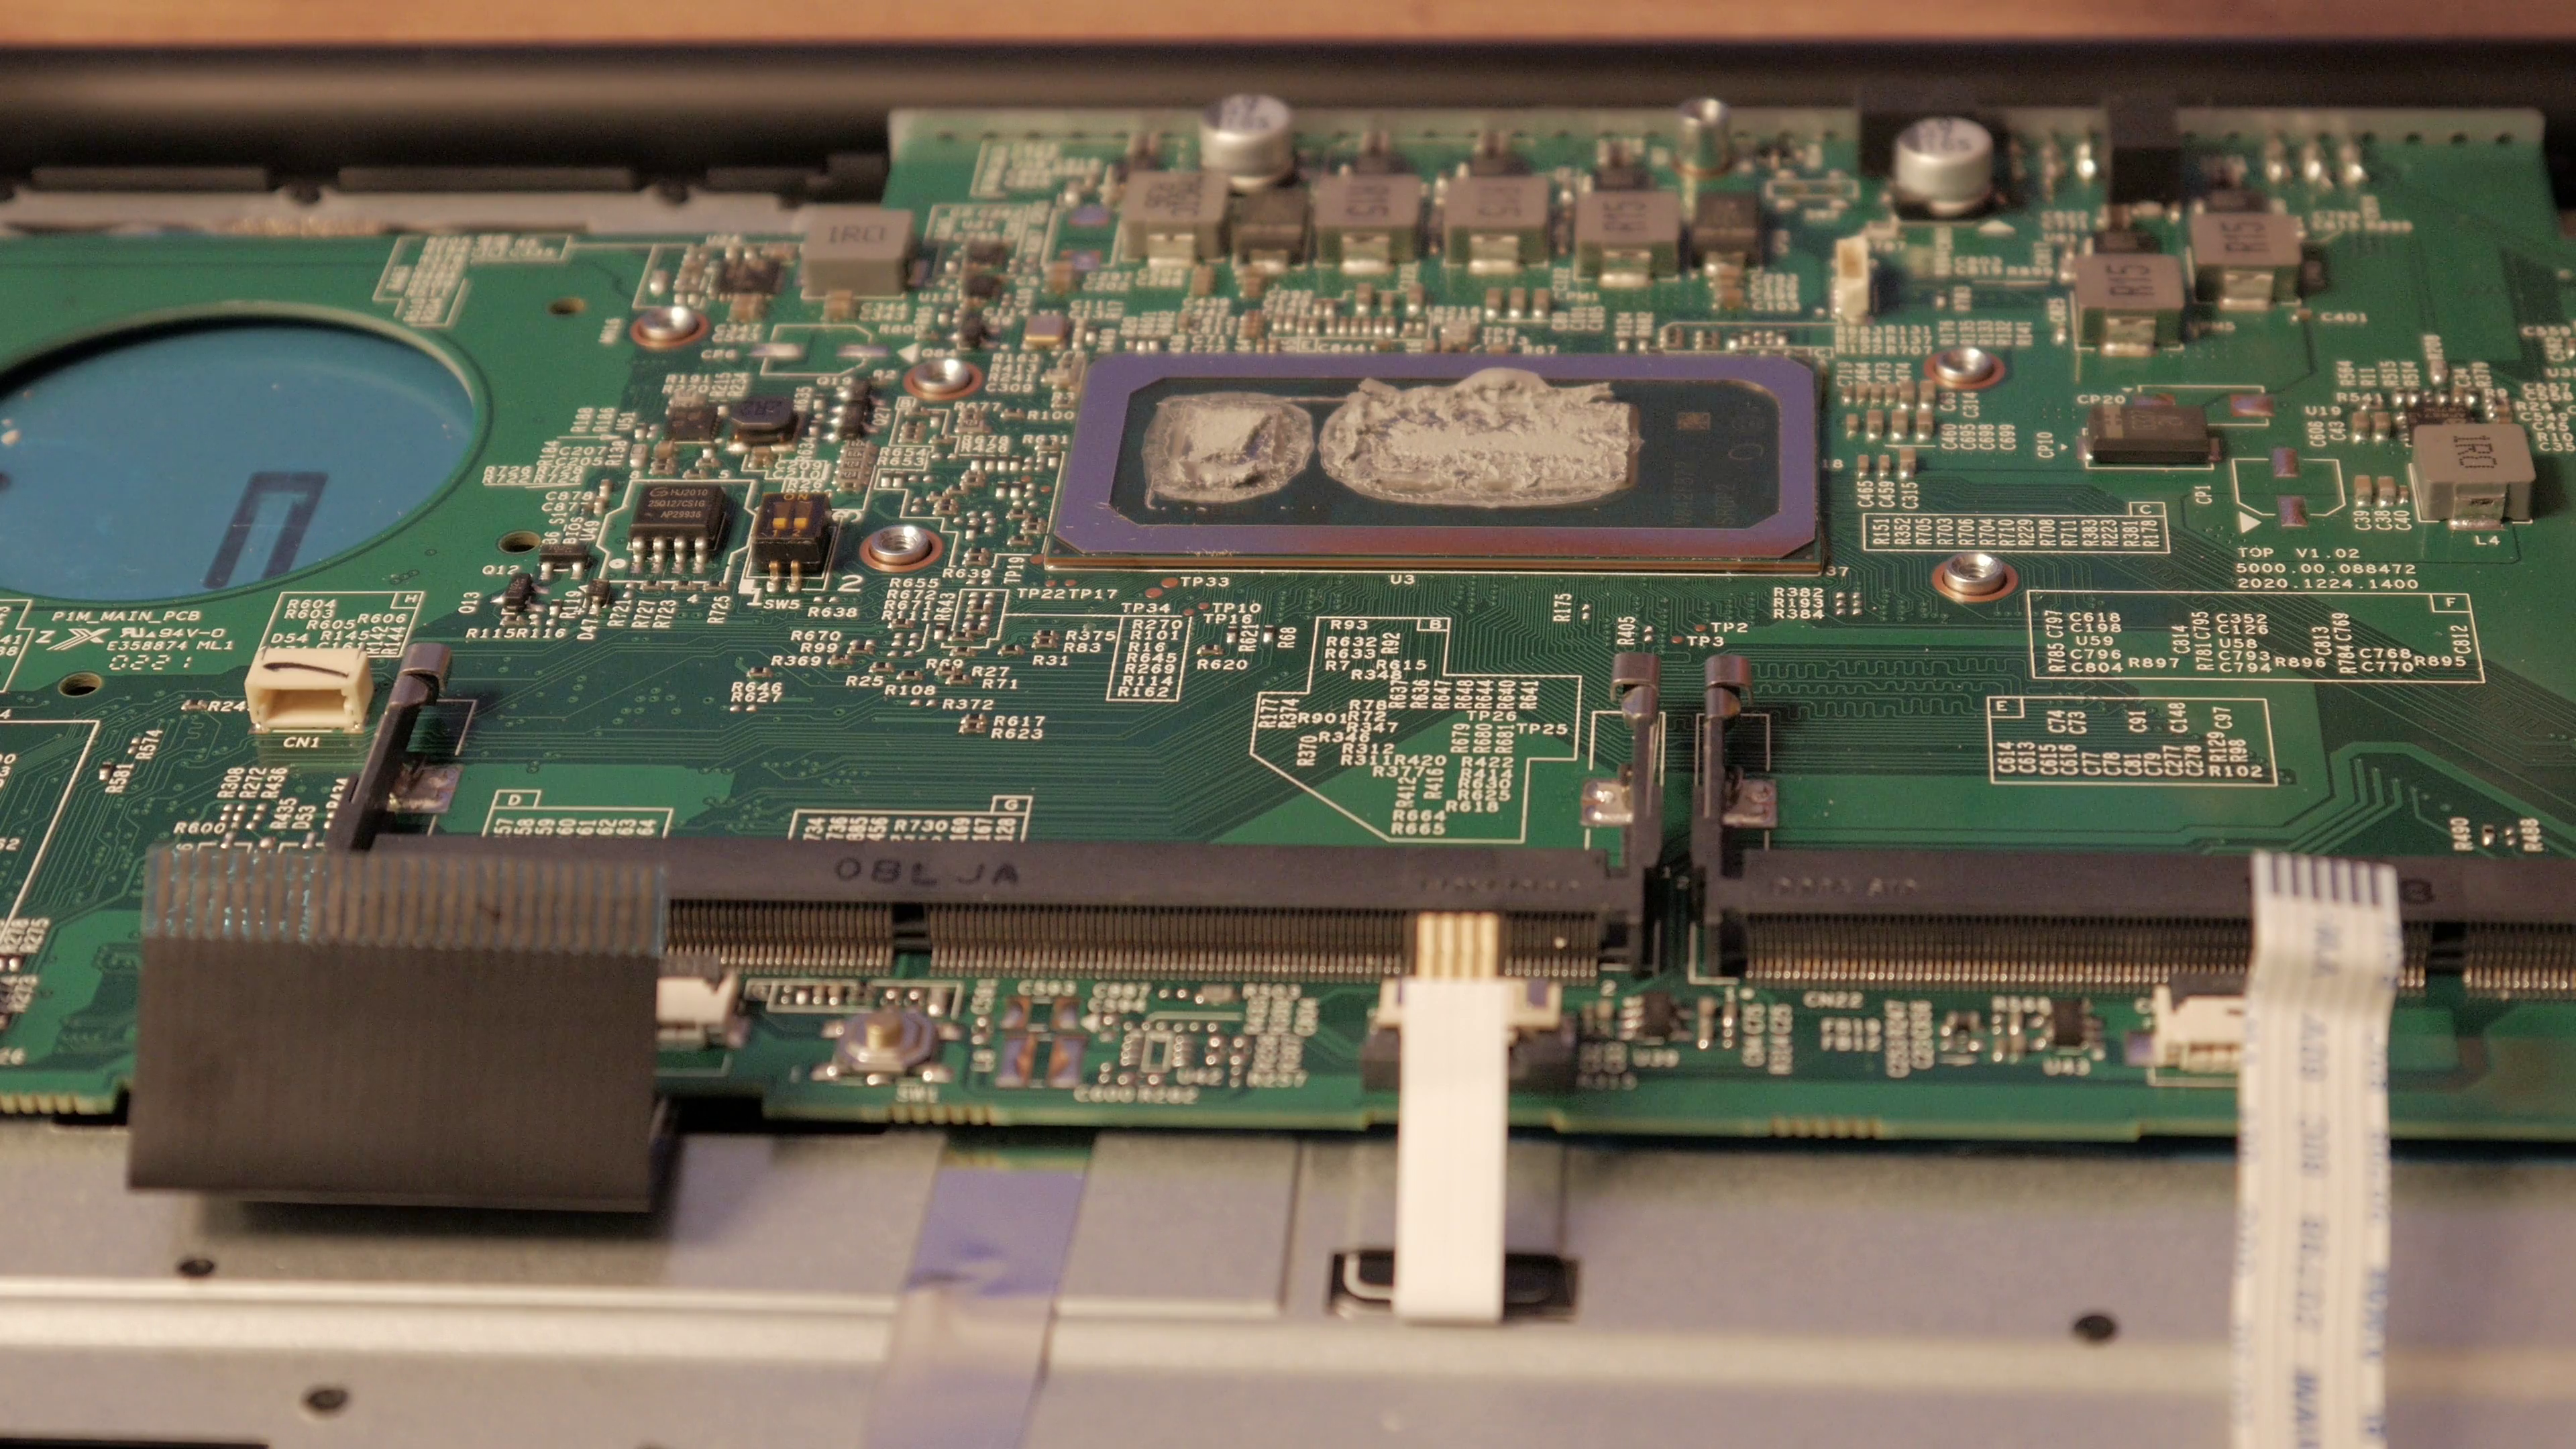 Carefully line up the heat sync and use the same criss-cross pattern to secure the CPU. Make sure to use small turns and don’t over-tighten these.
 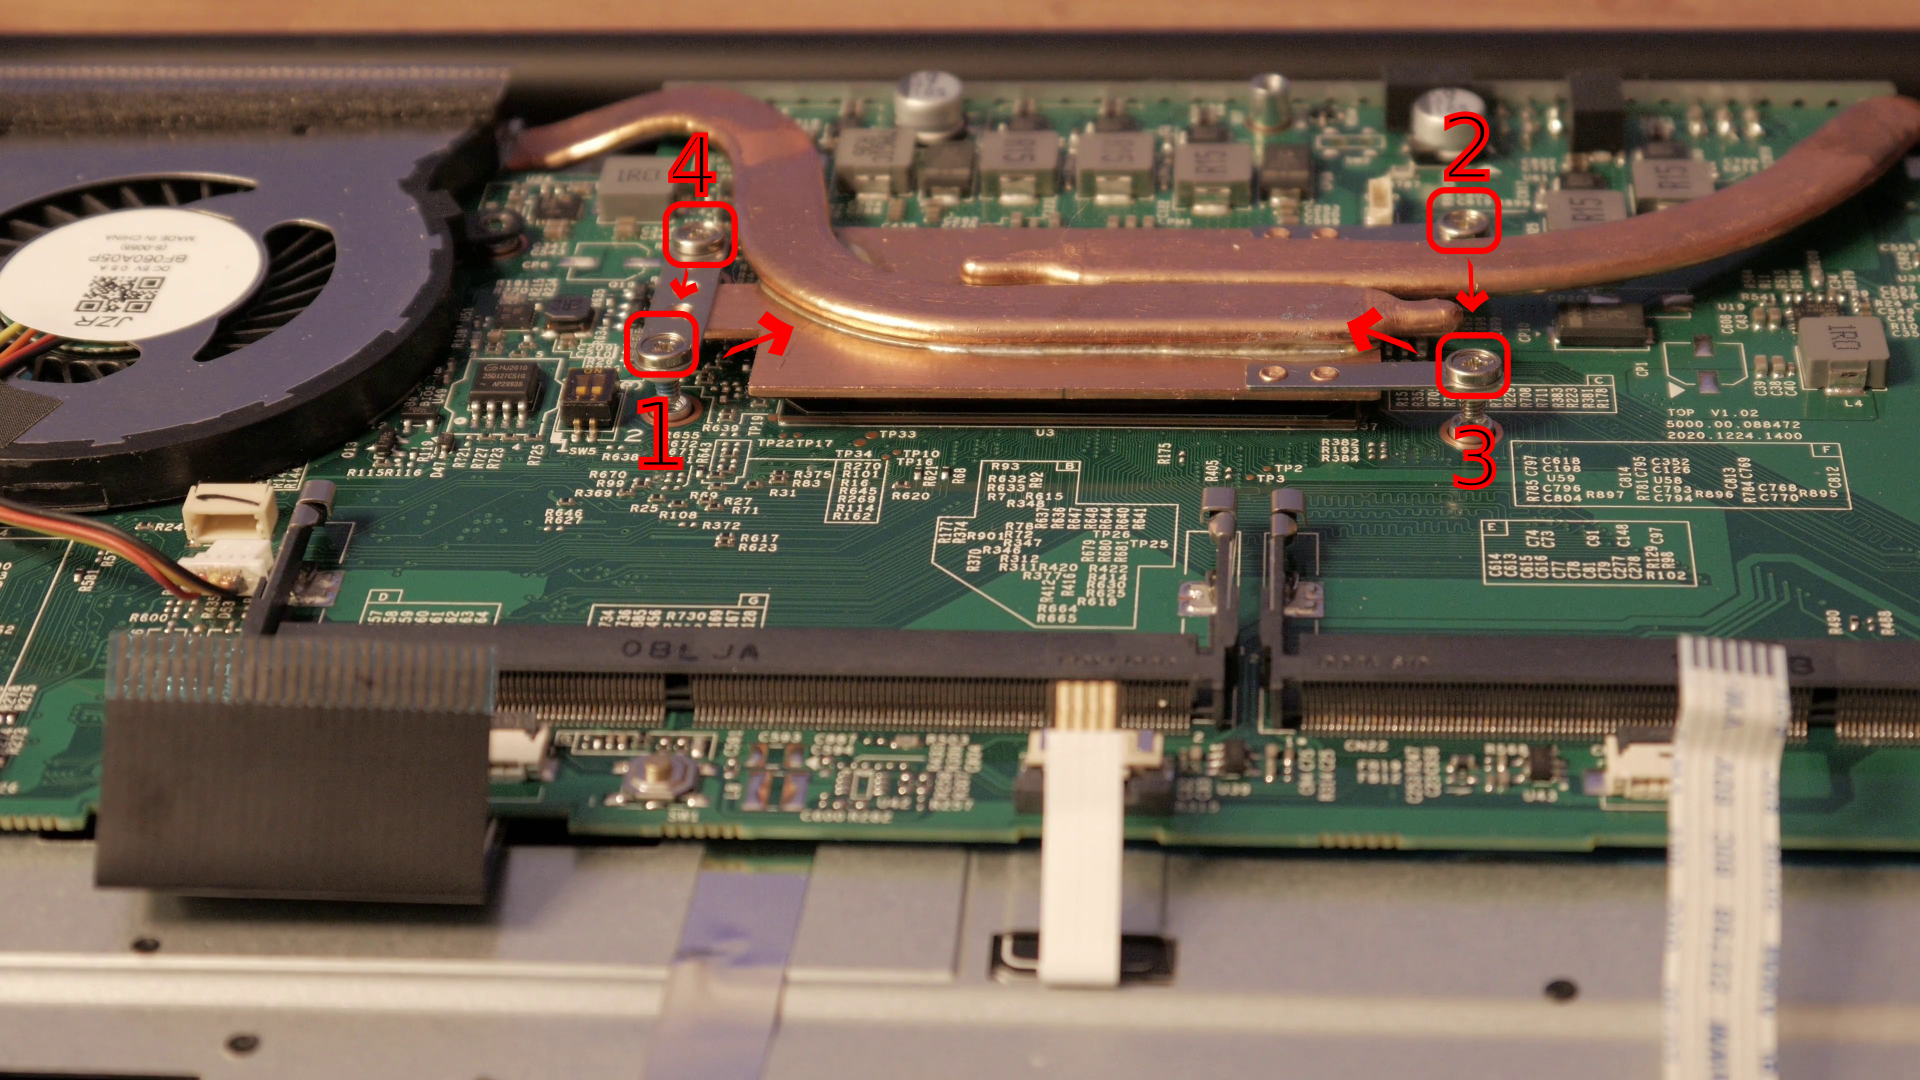 Screw down the heat sync fans.
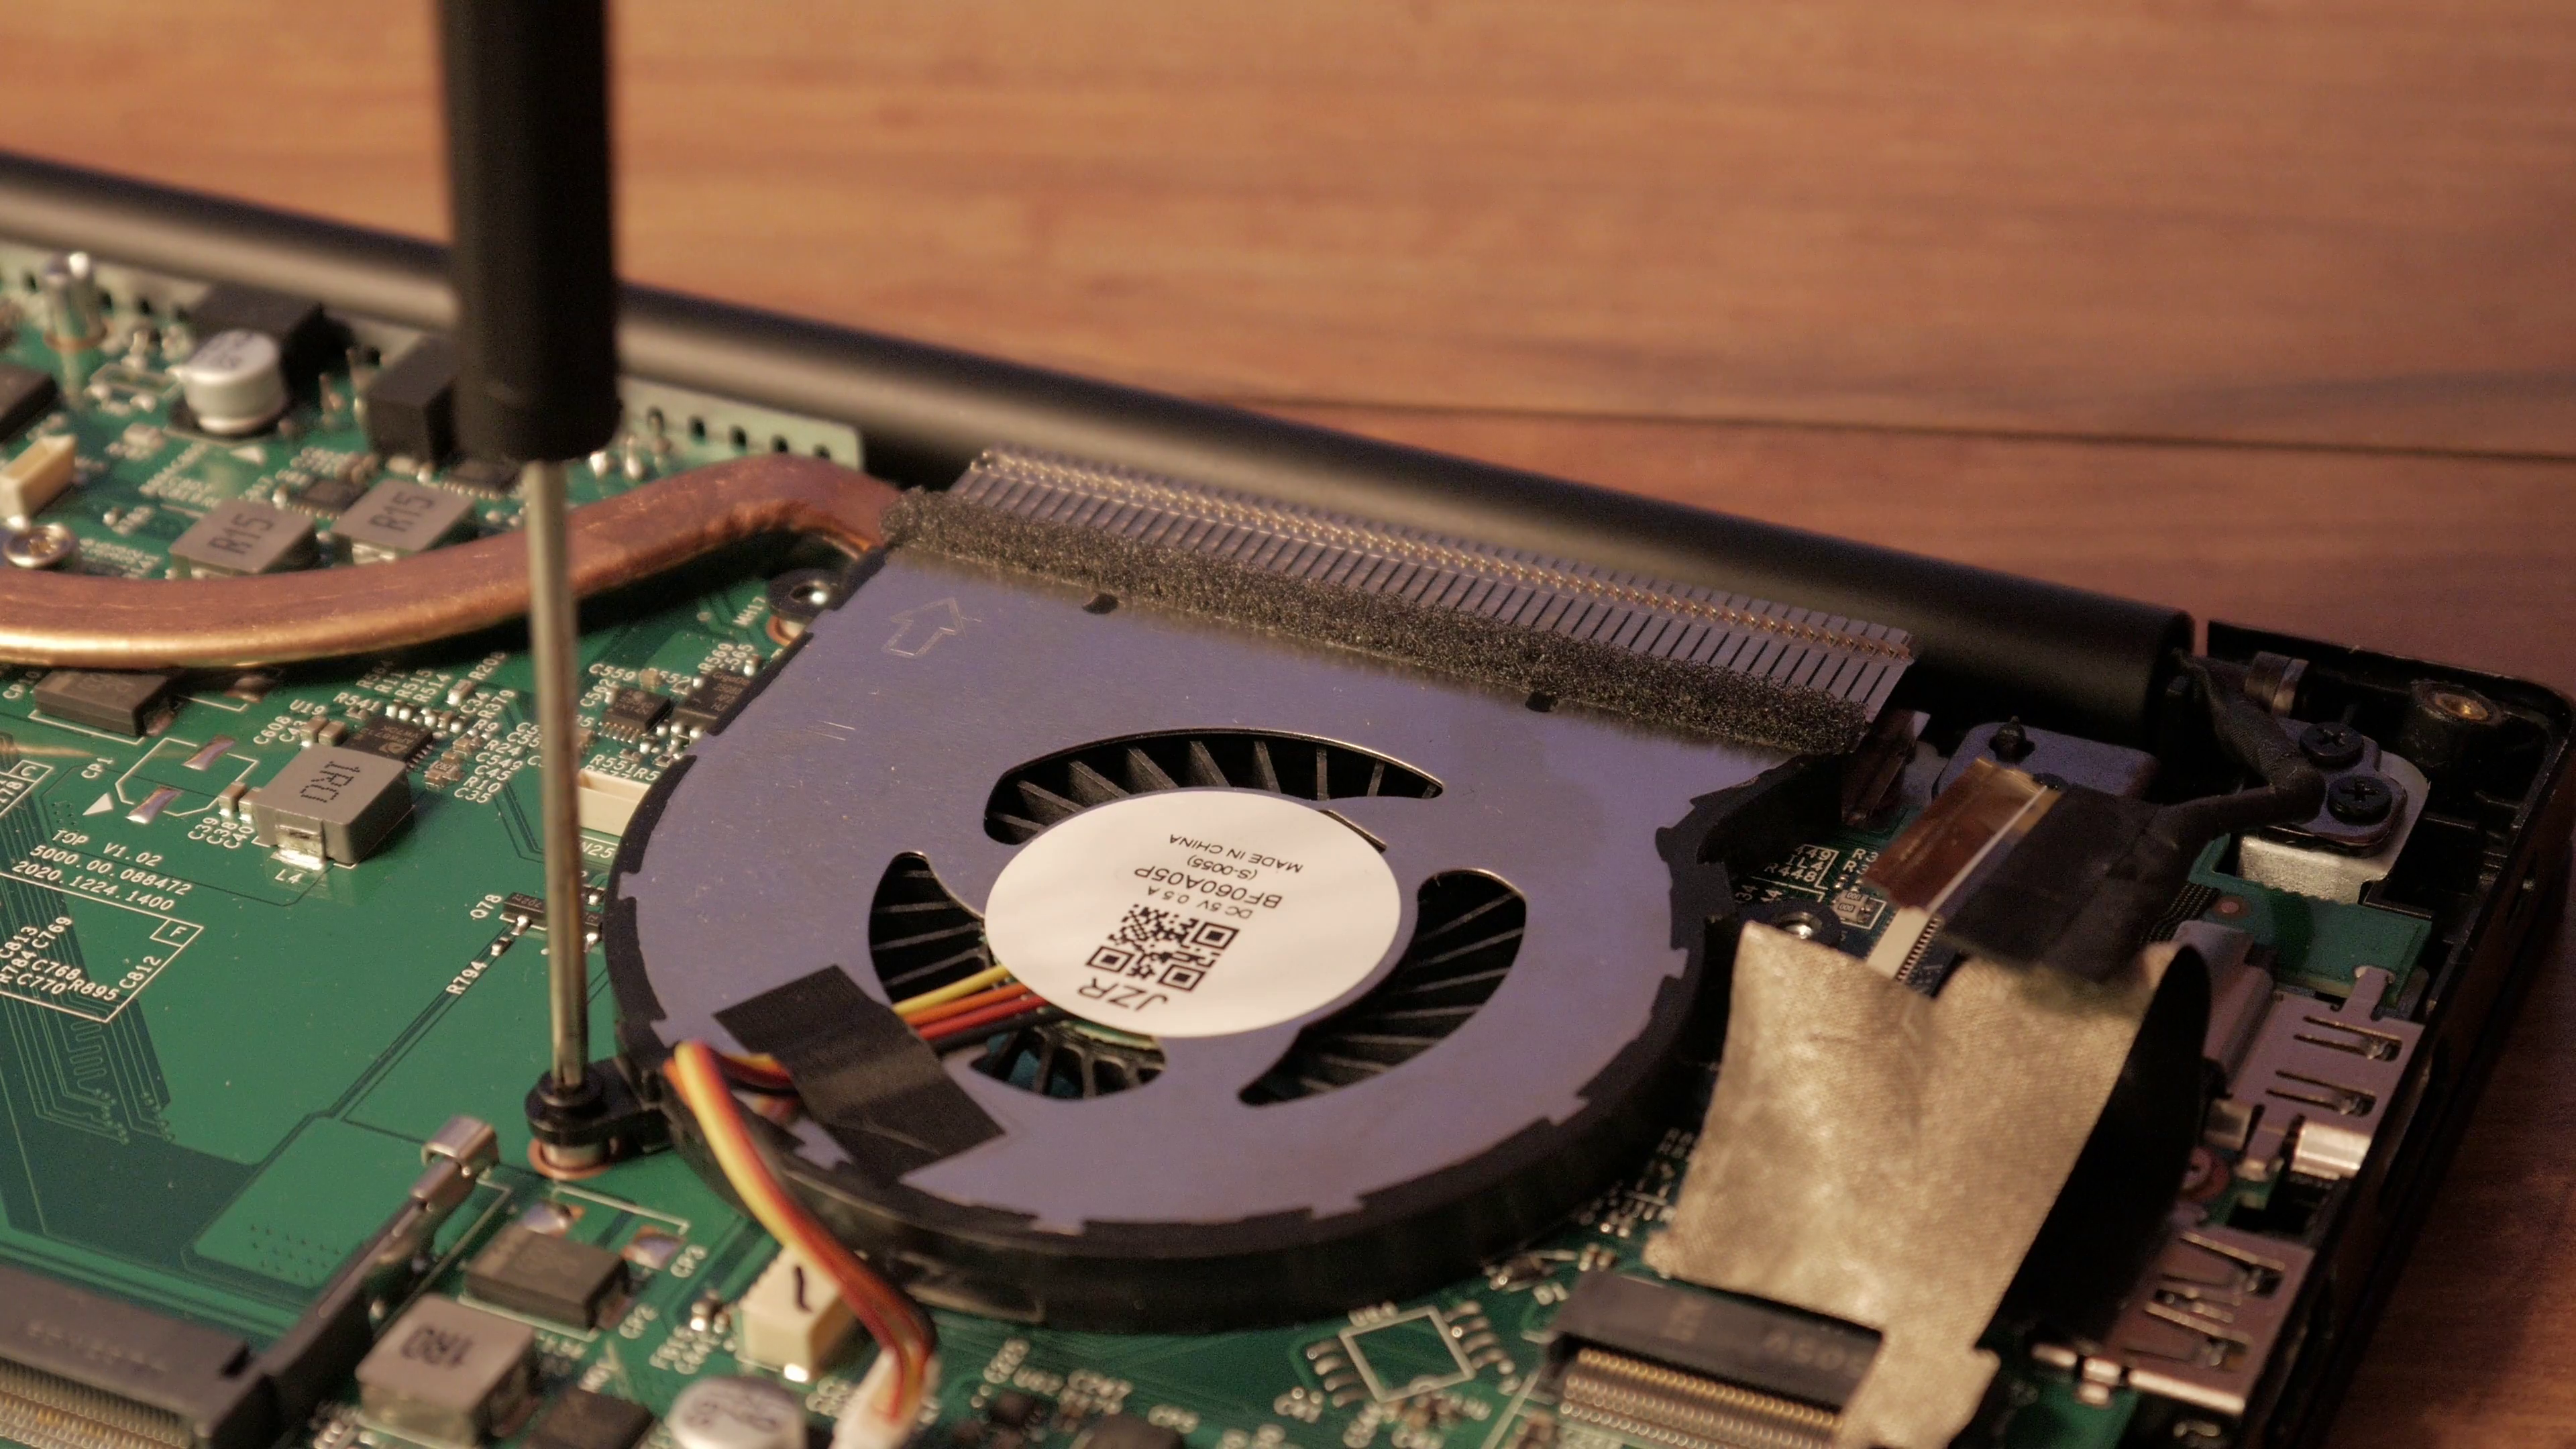 Now you can start connecting your devices. Reattach the monitor display and flatten the tape.
 Connect the onboard BIOS battery.
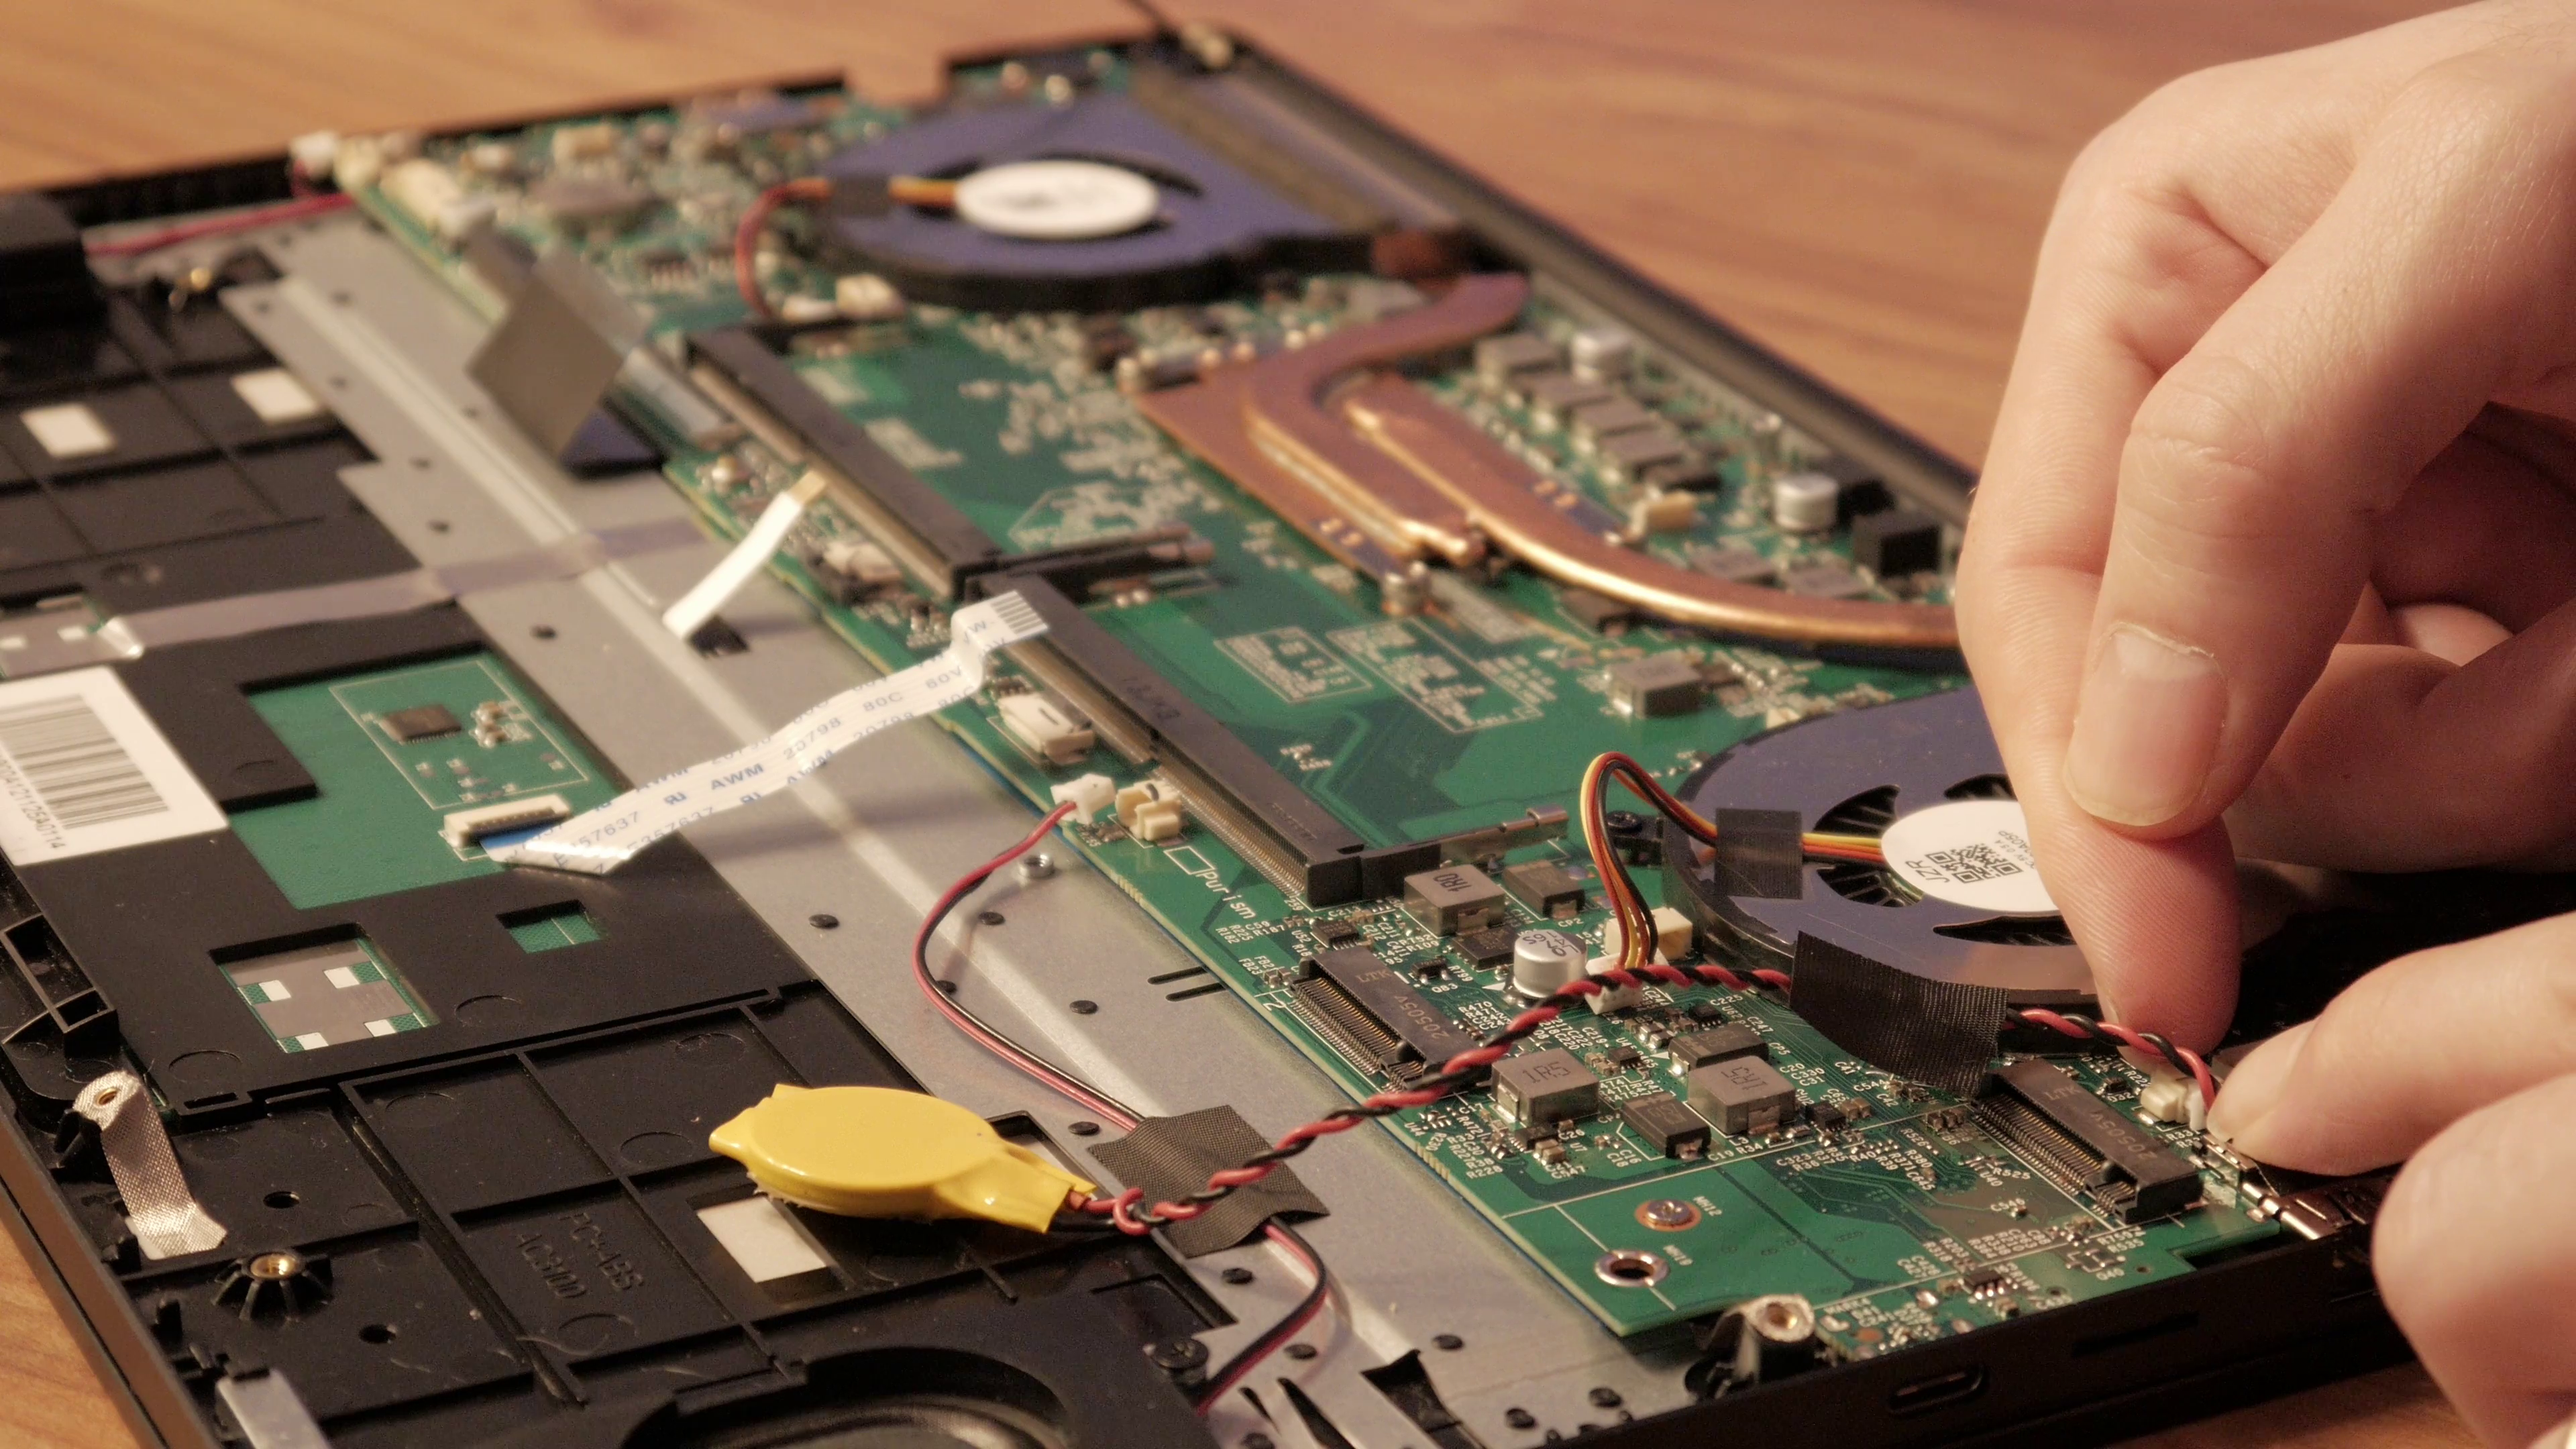 Reattach the speakers.
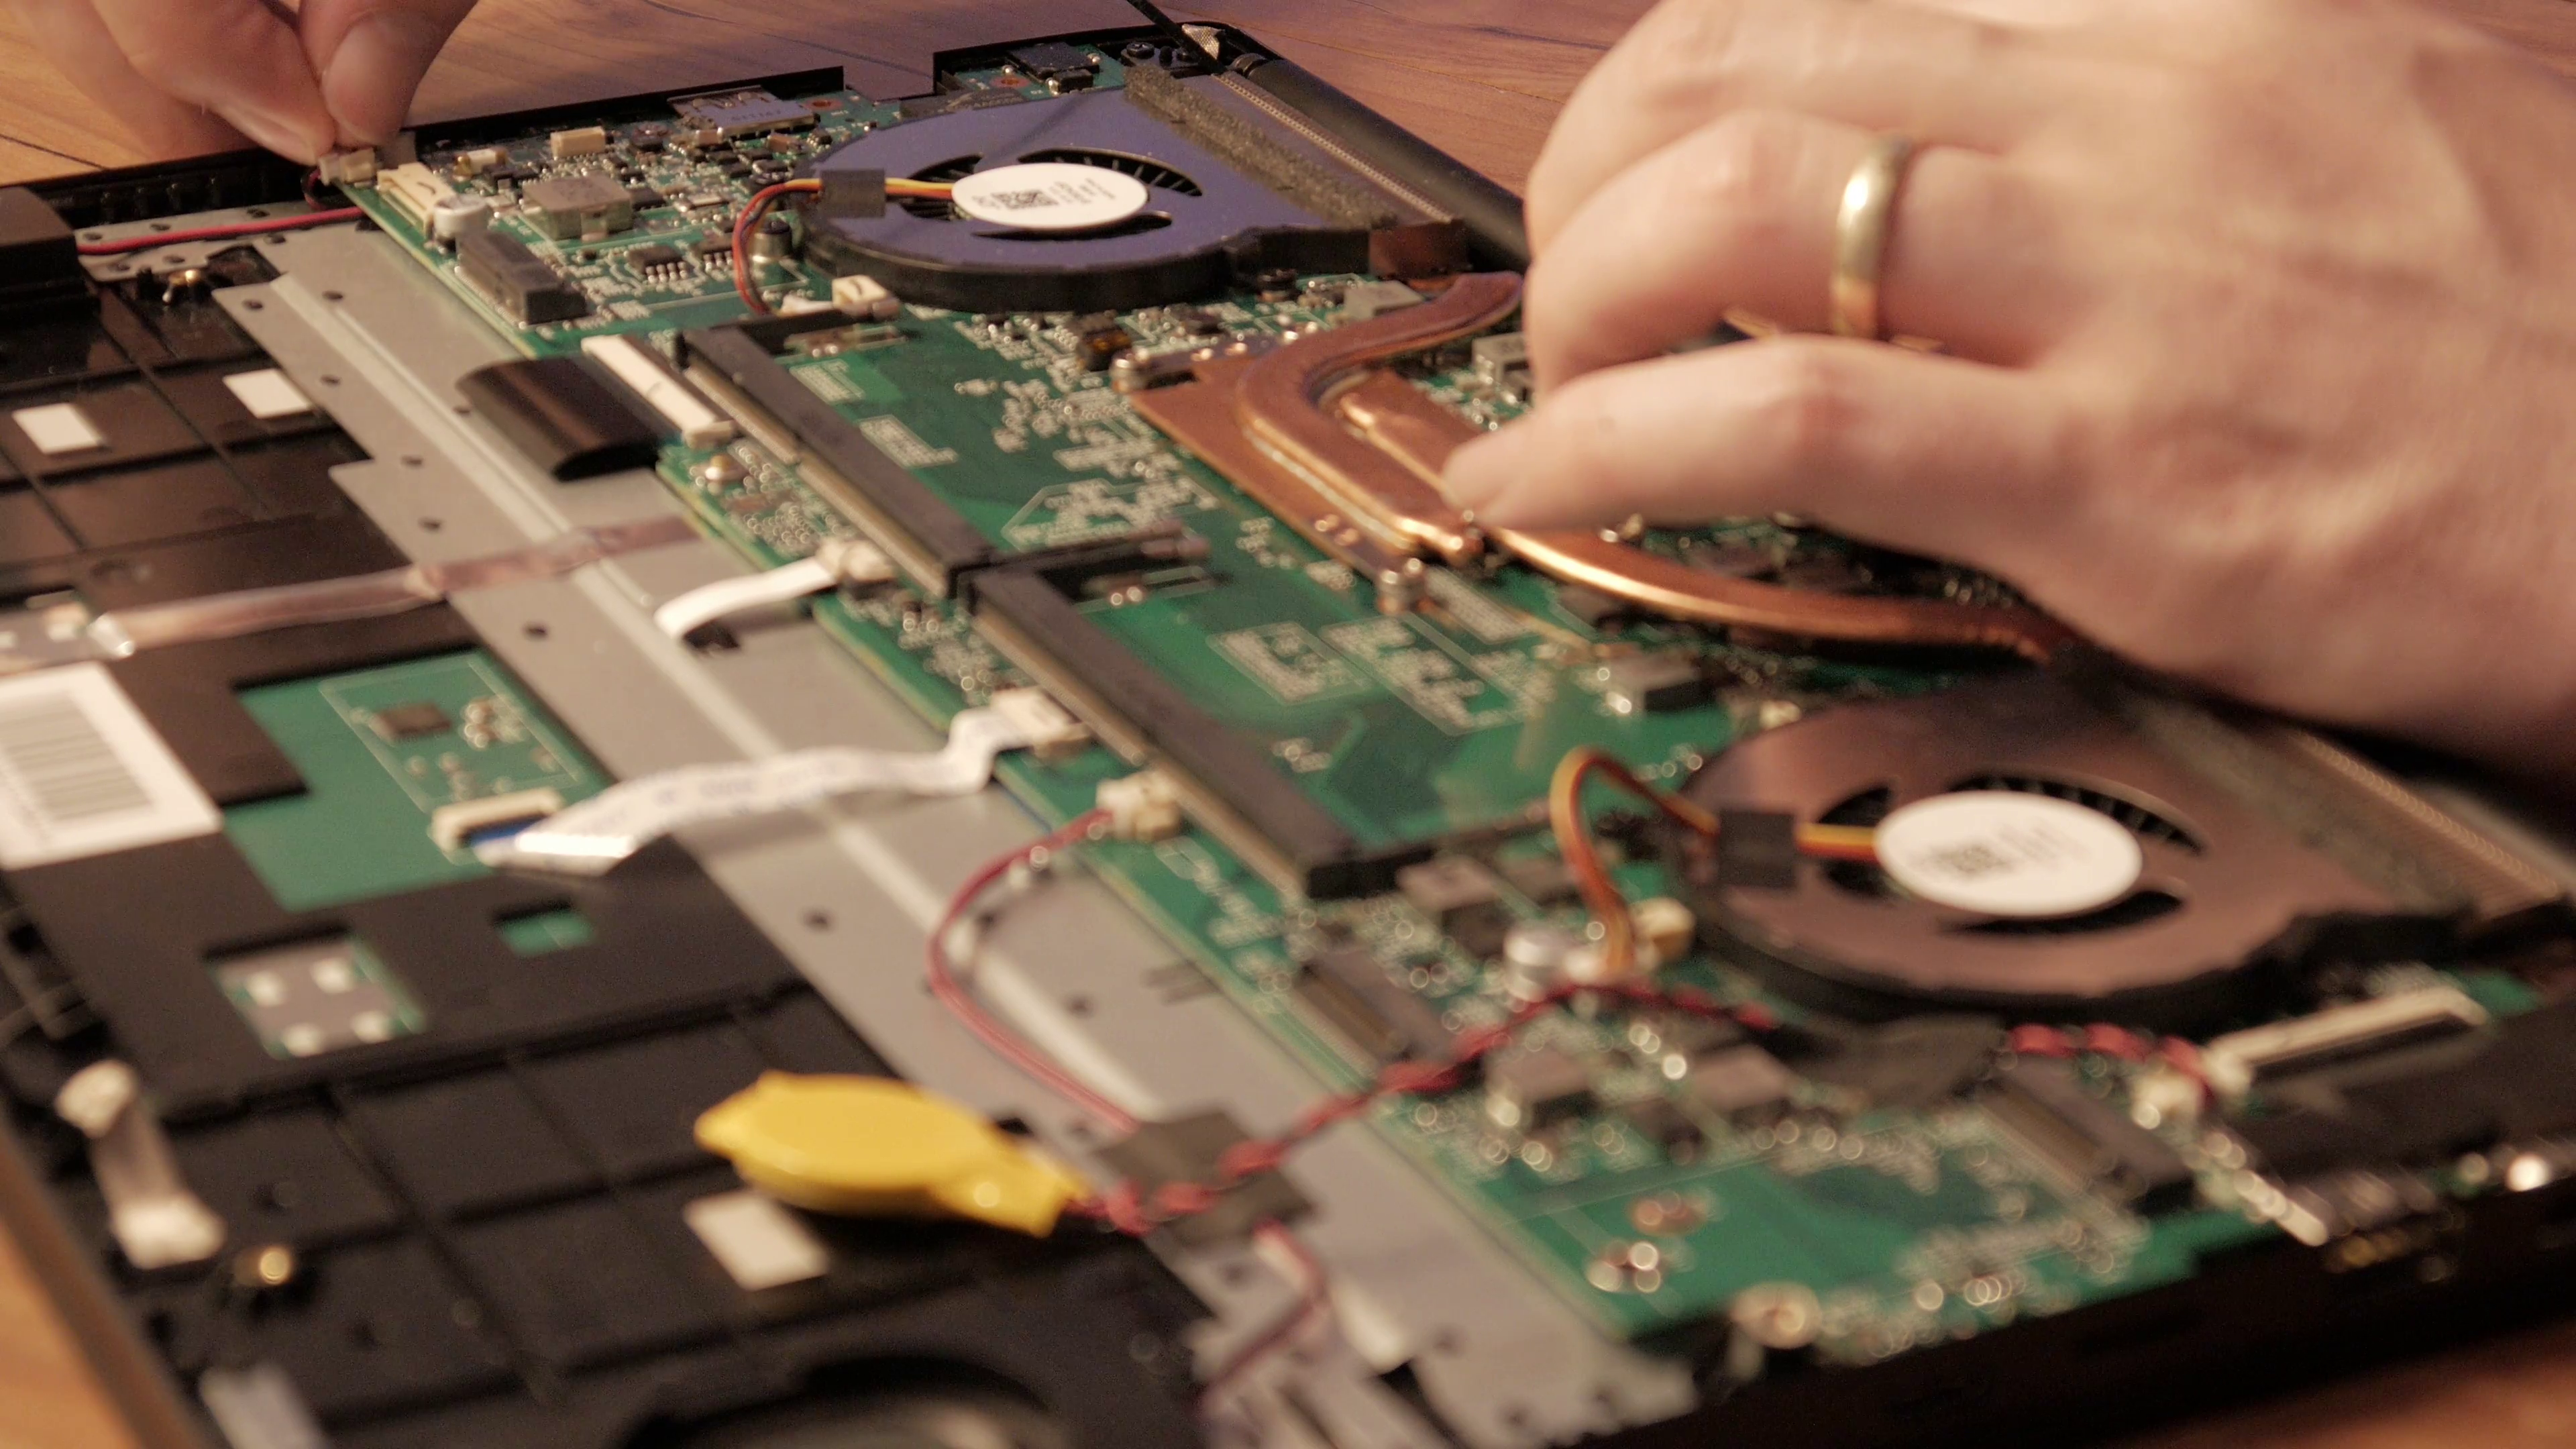 Carefully insert and lock down the Trackpad ribbon cable.
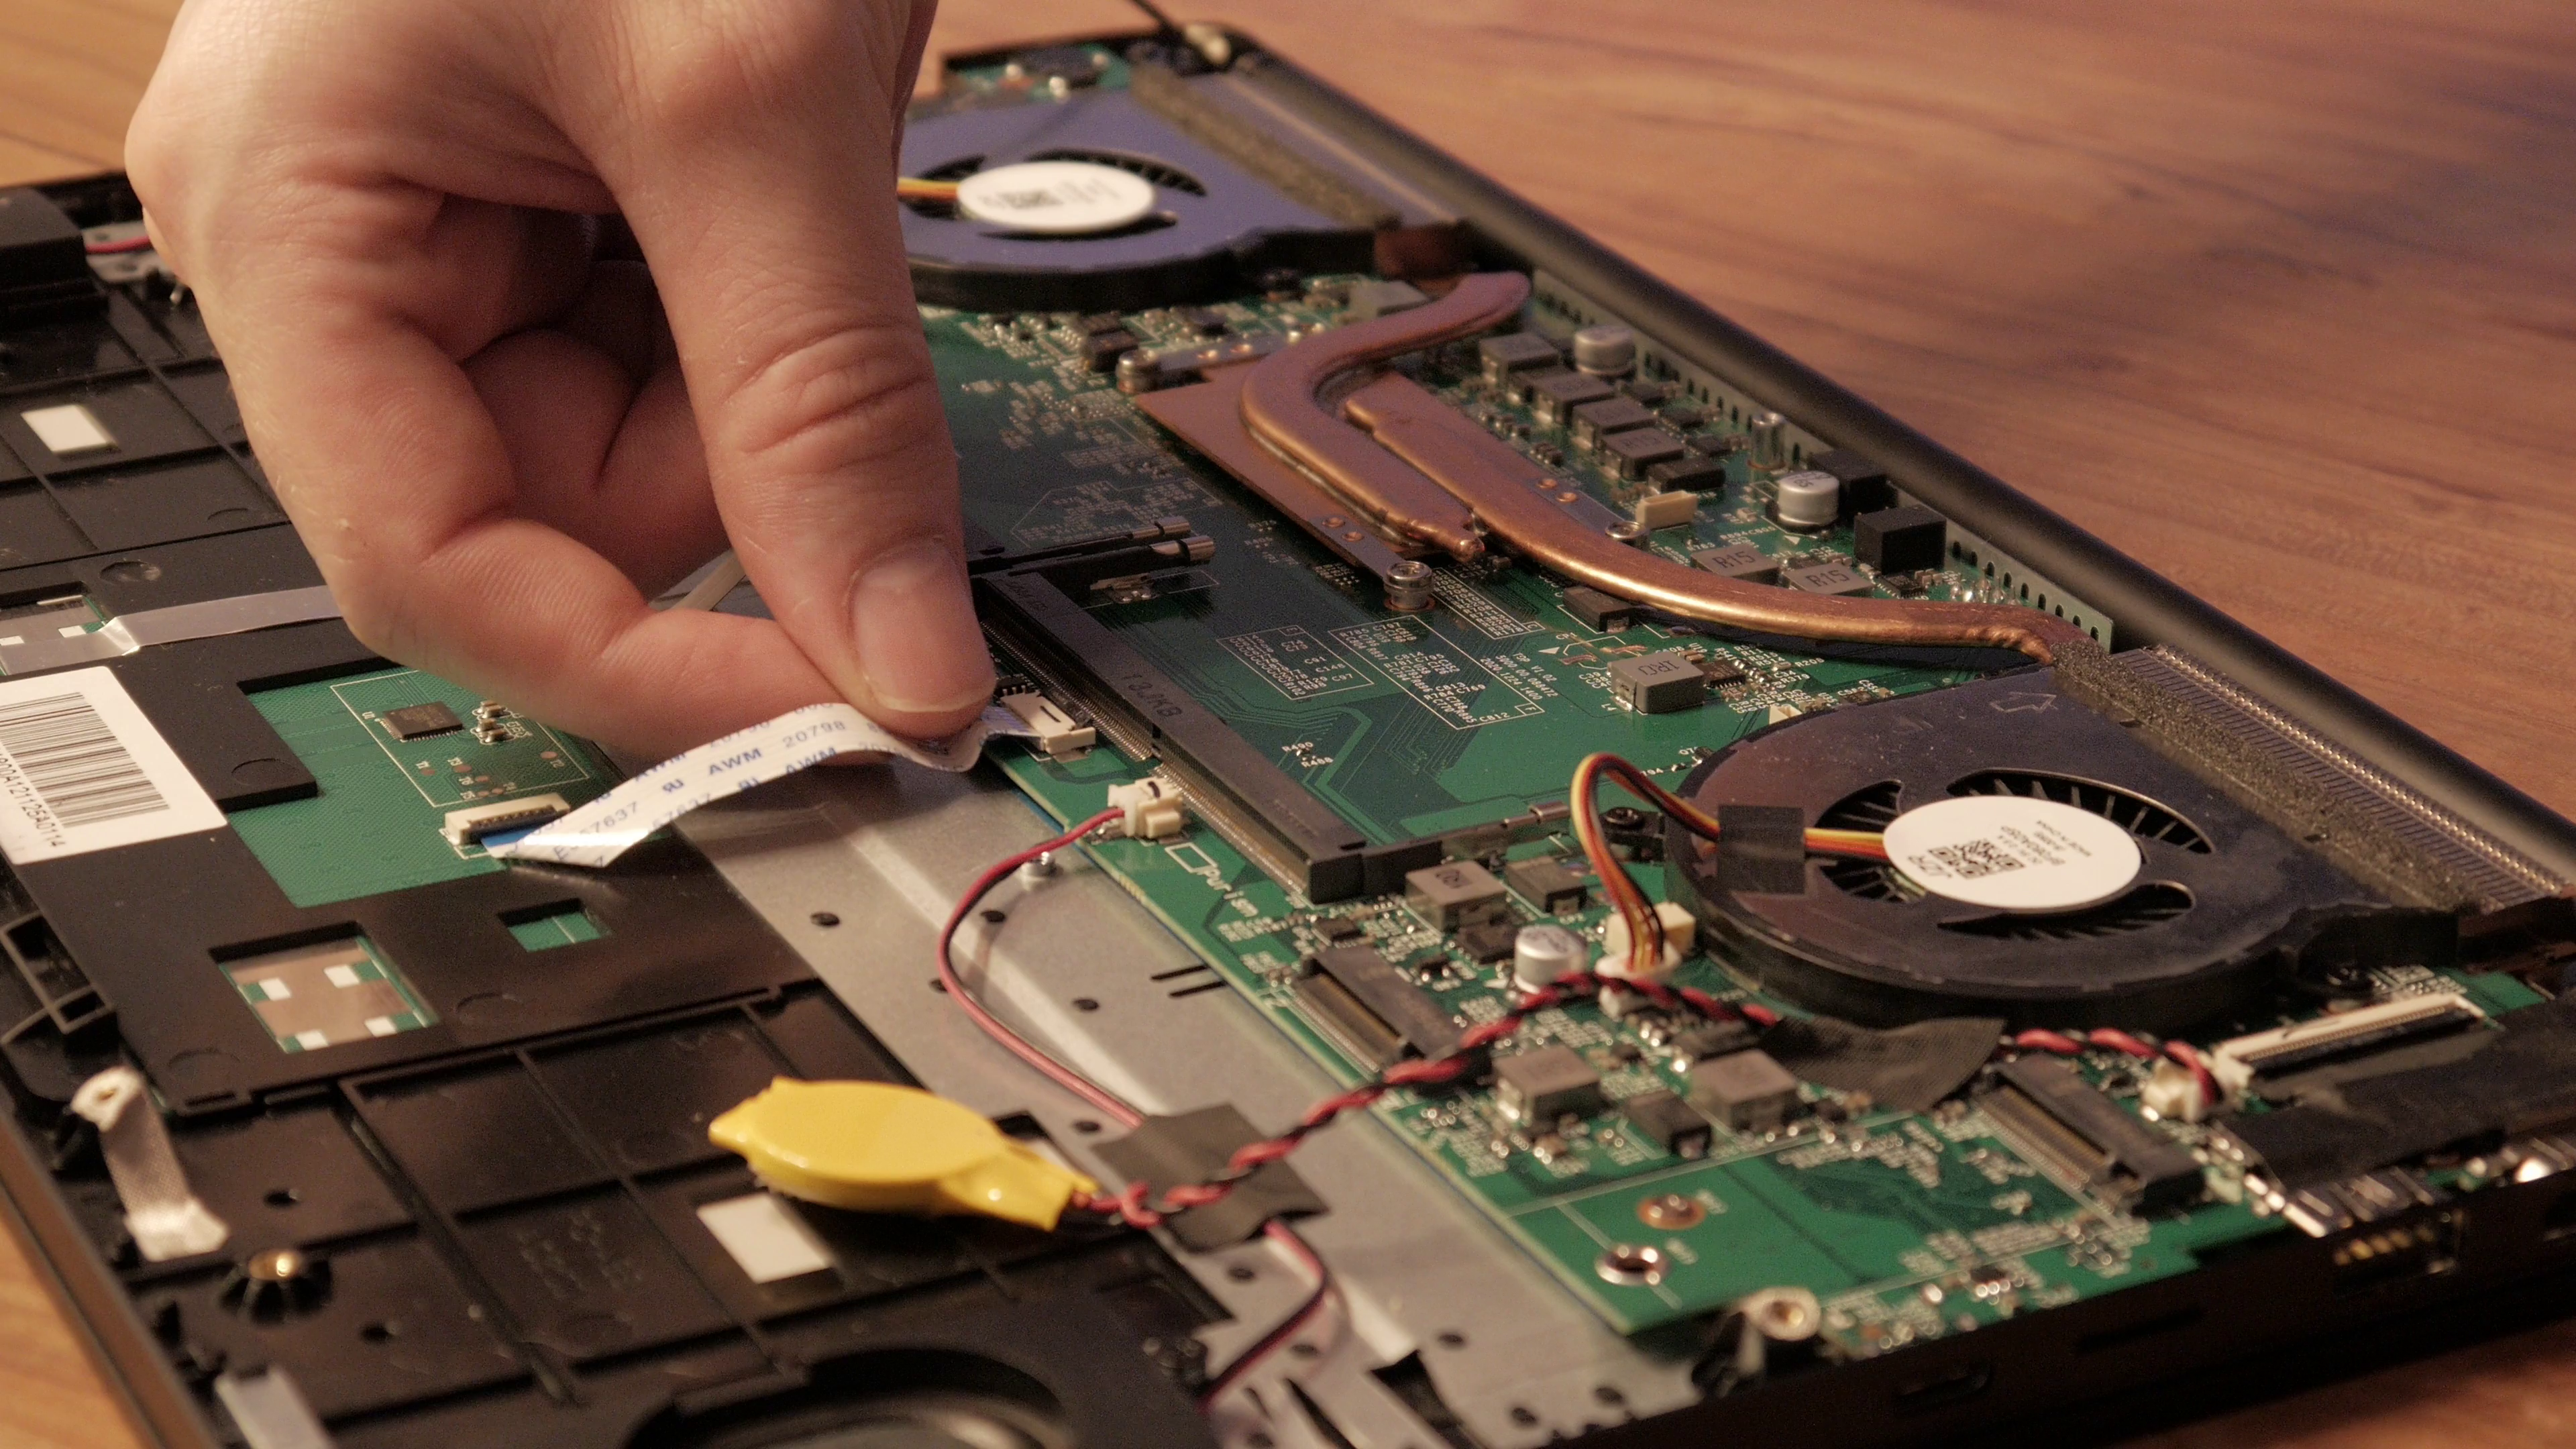 Connect the keyboard backlight.
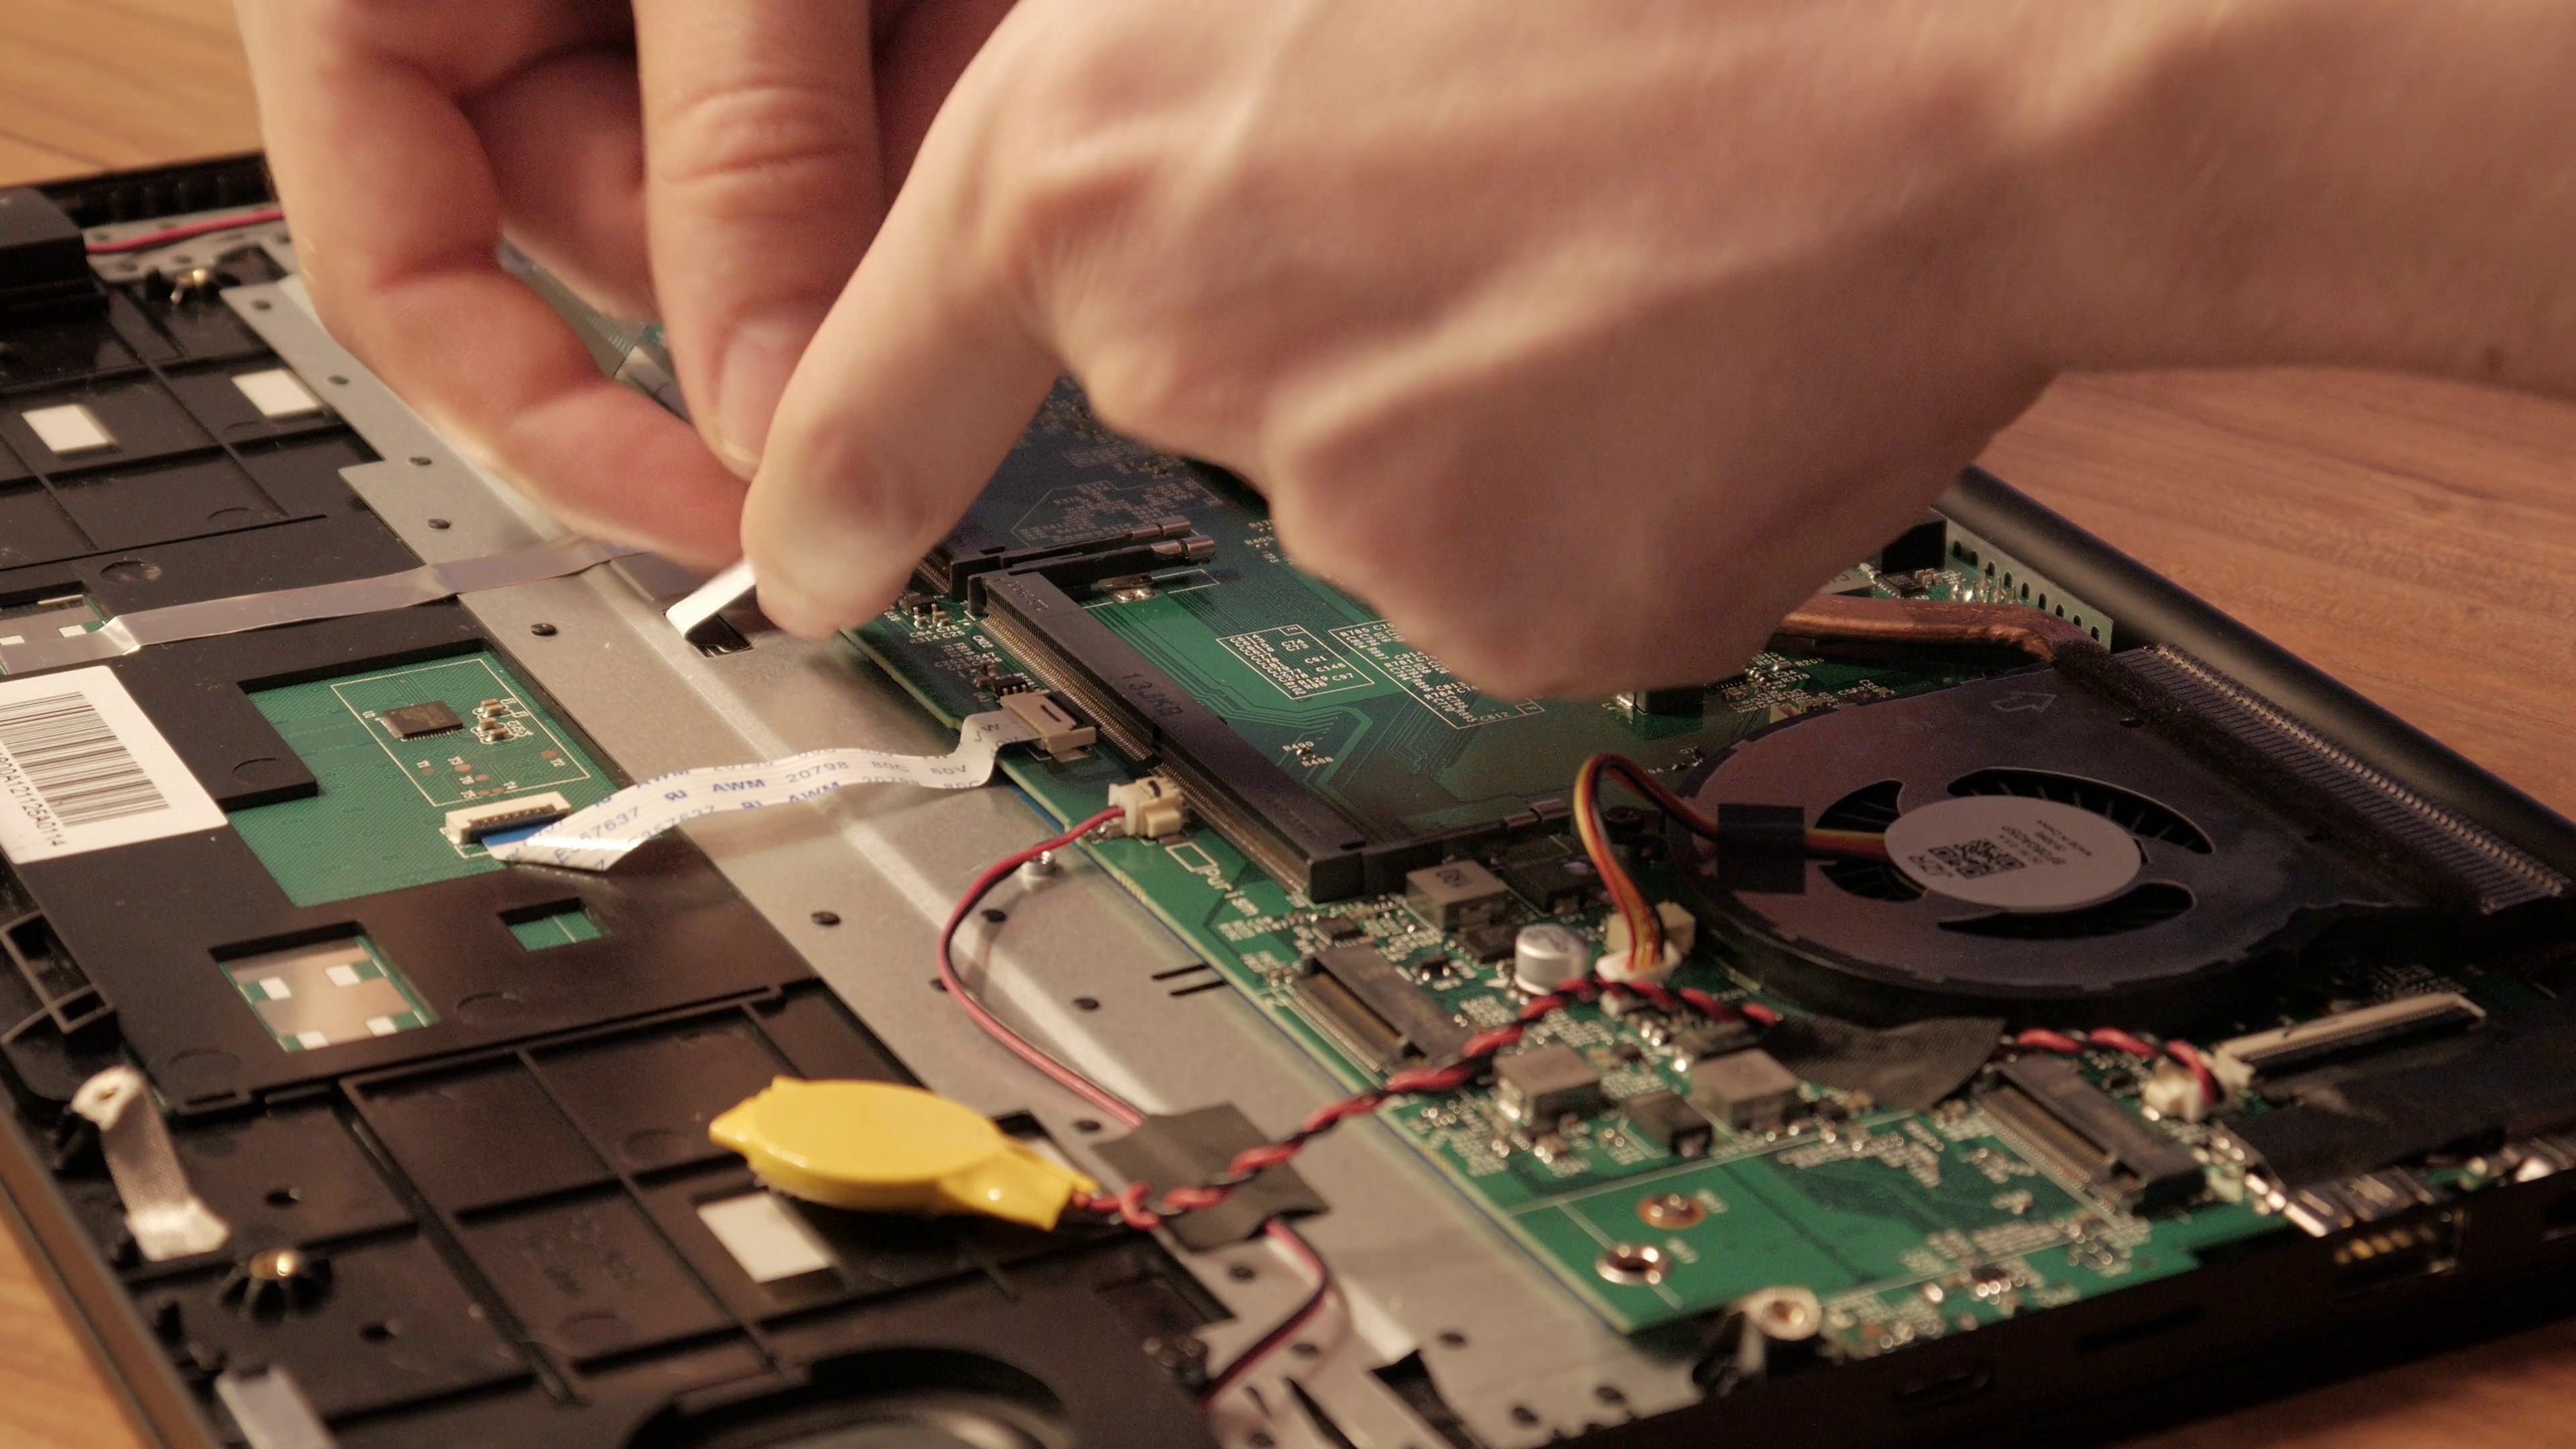 Connect the keyboard.
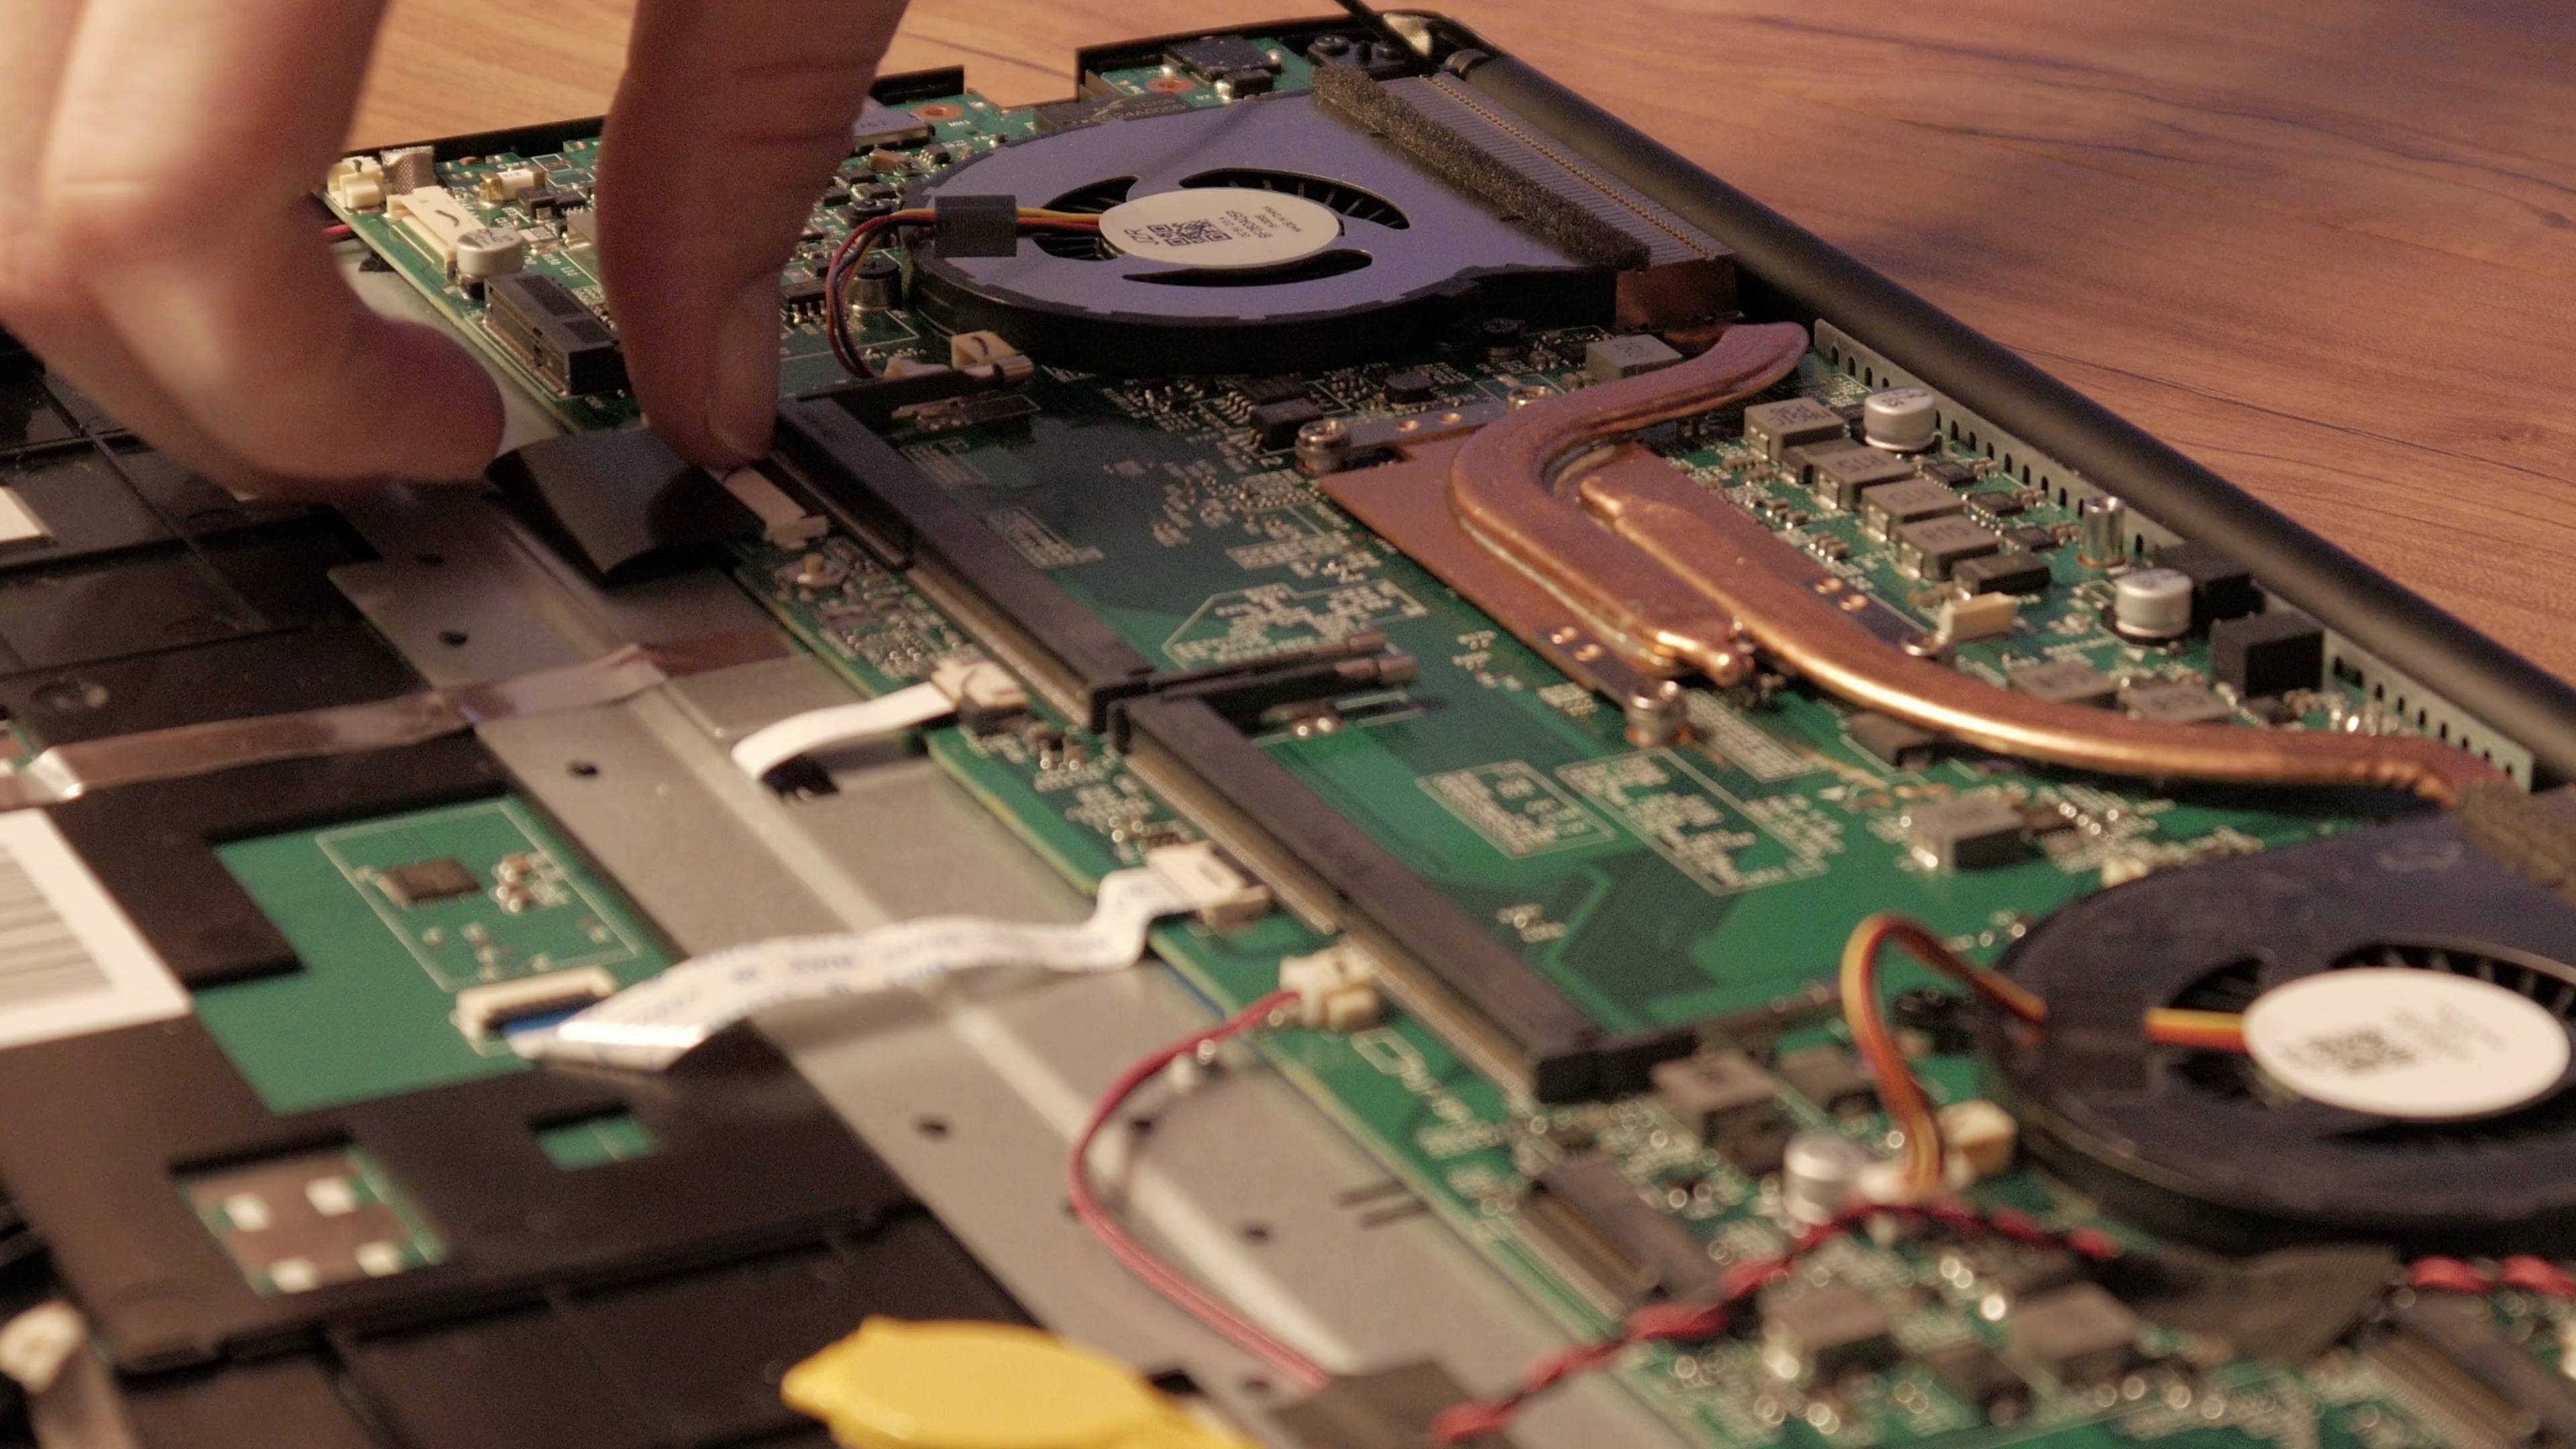 Plugin the CPU heat sync fans.
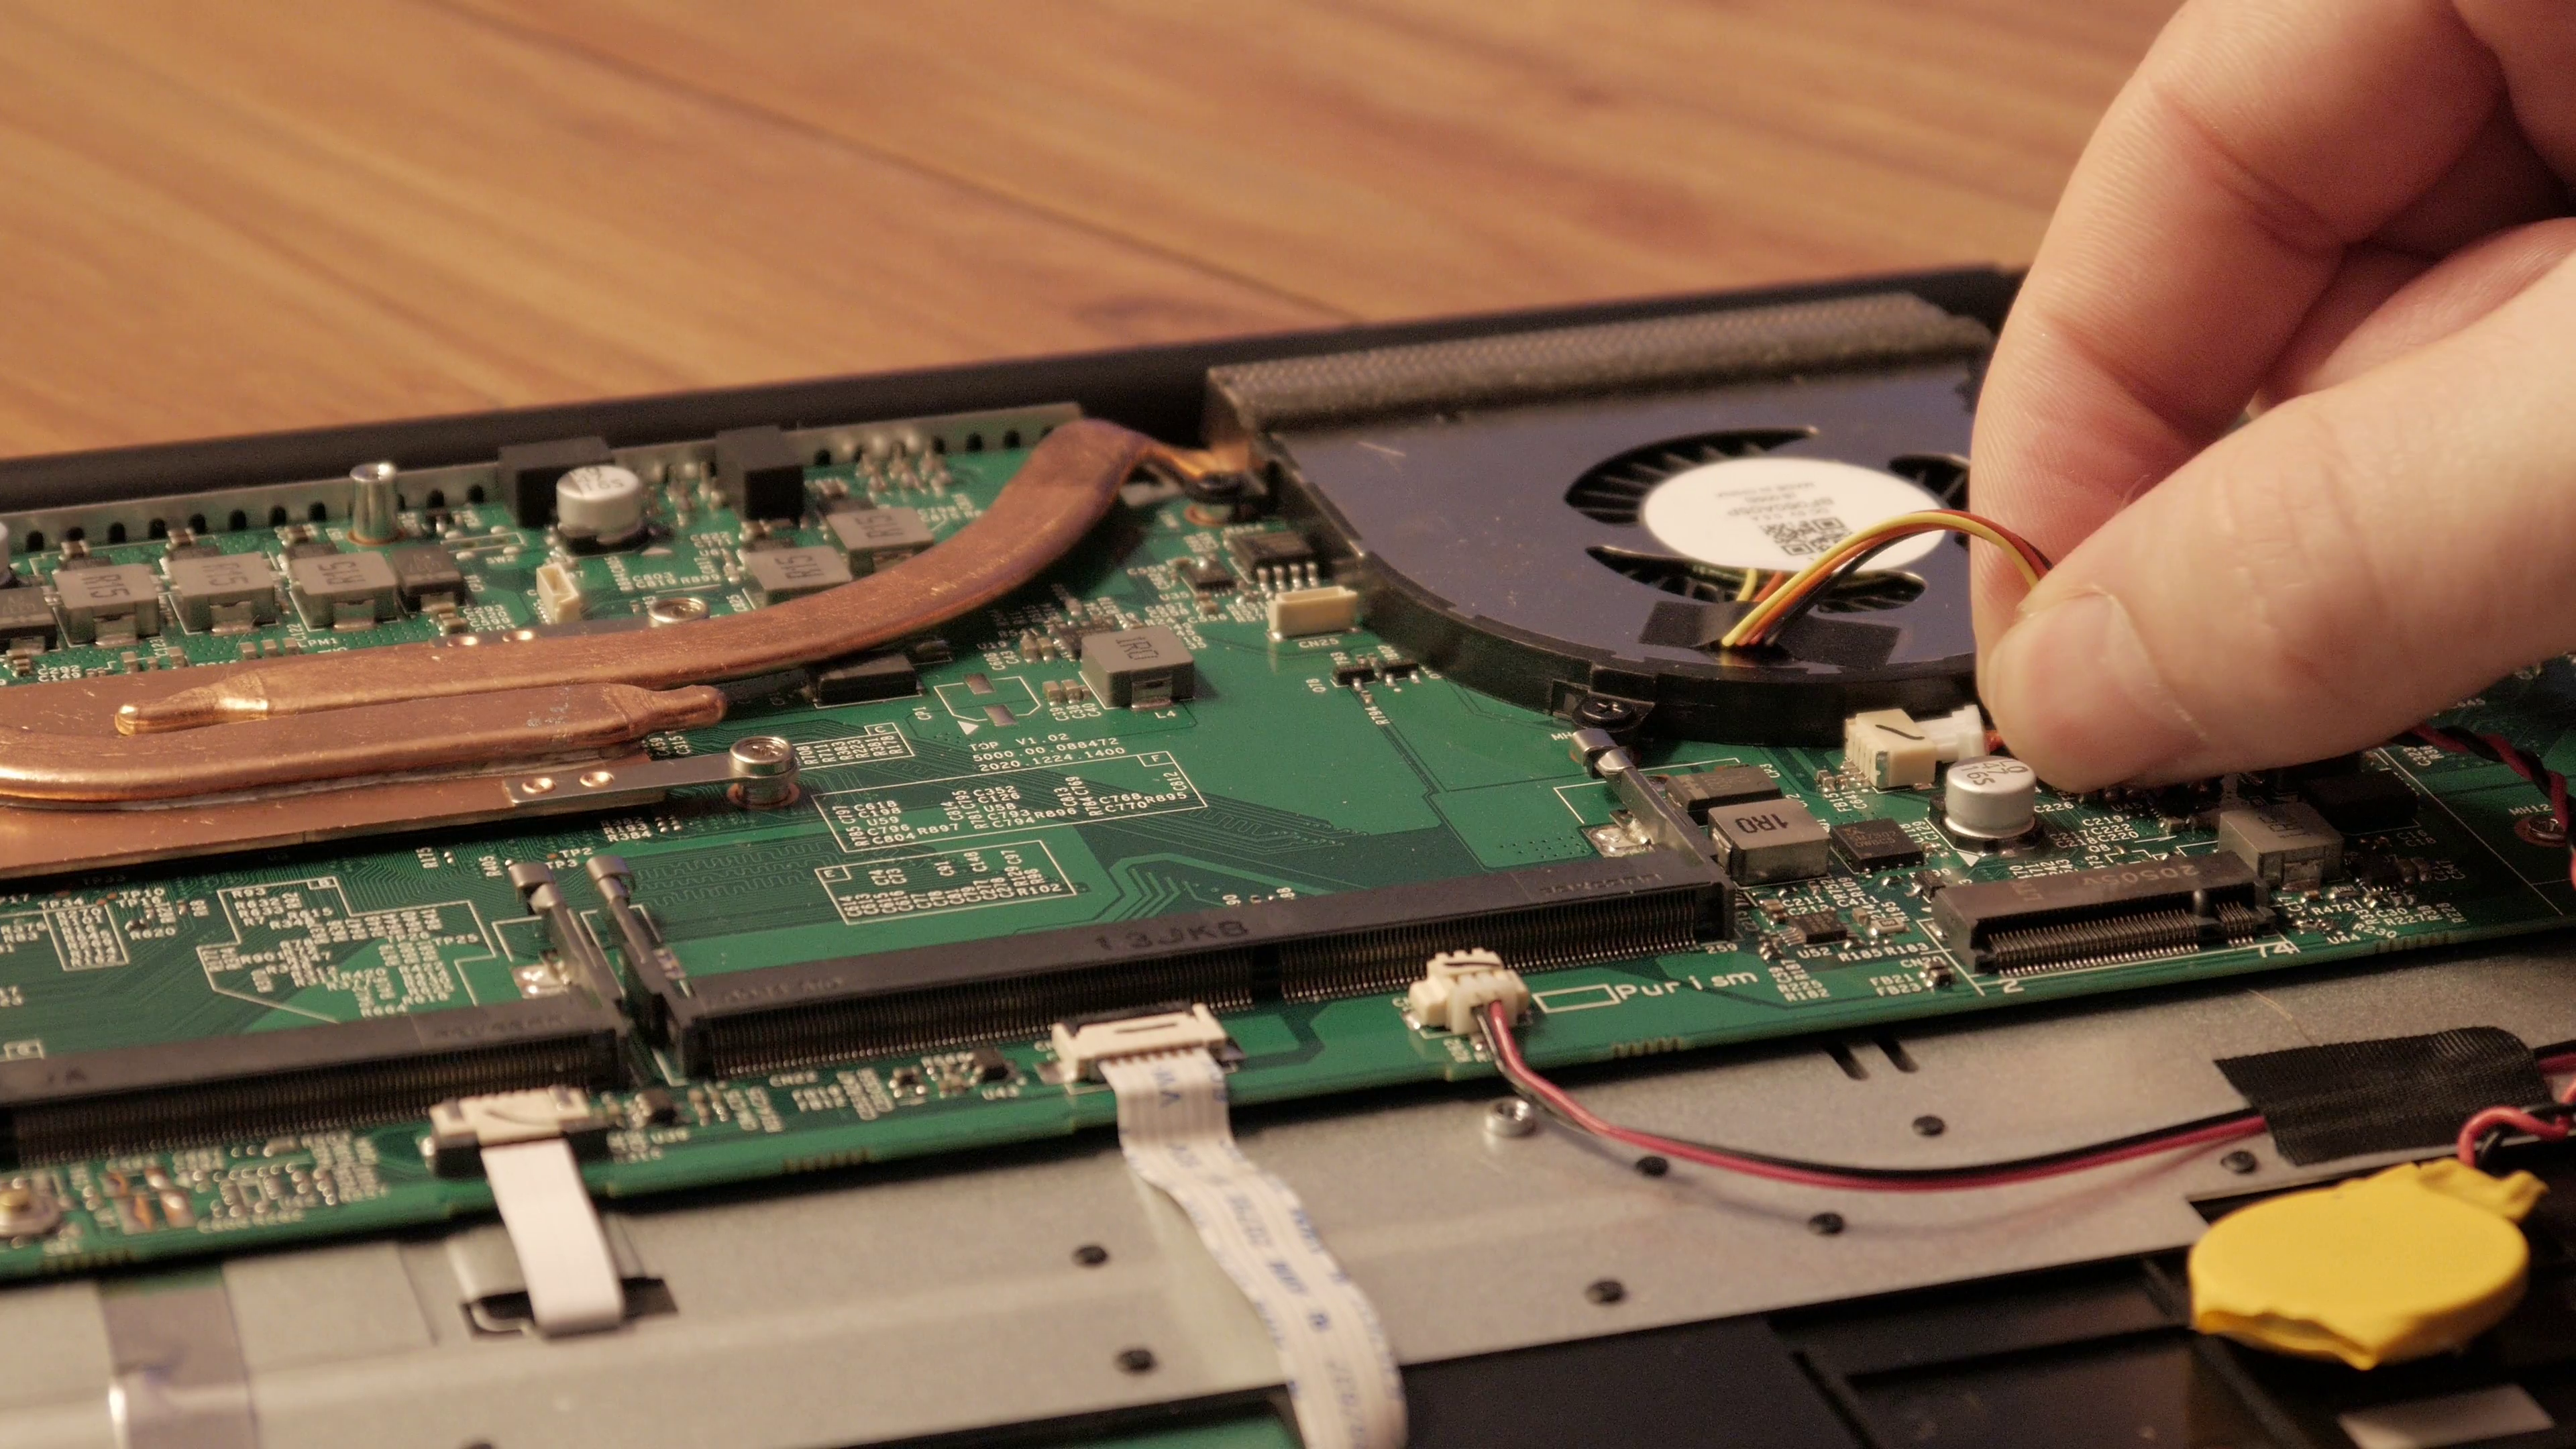 Reattach the Ethernet port.
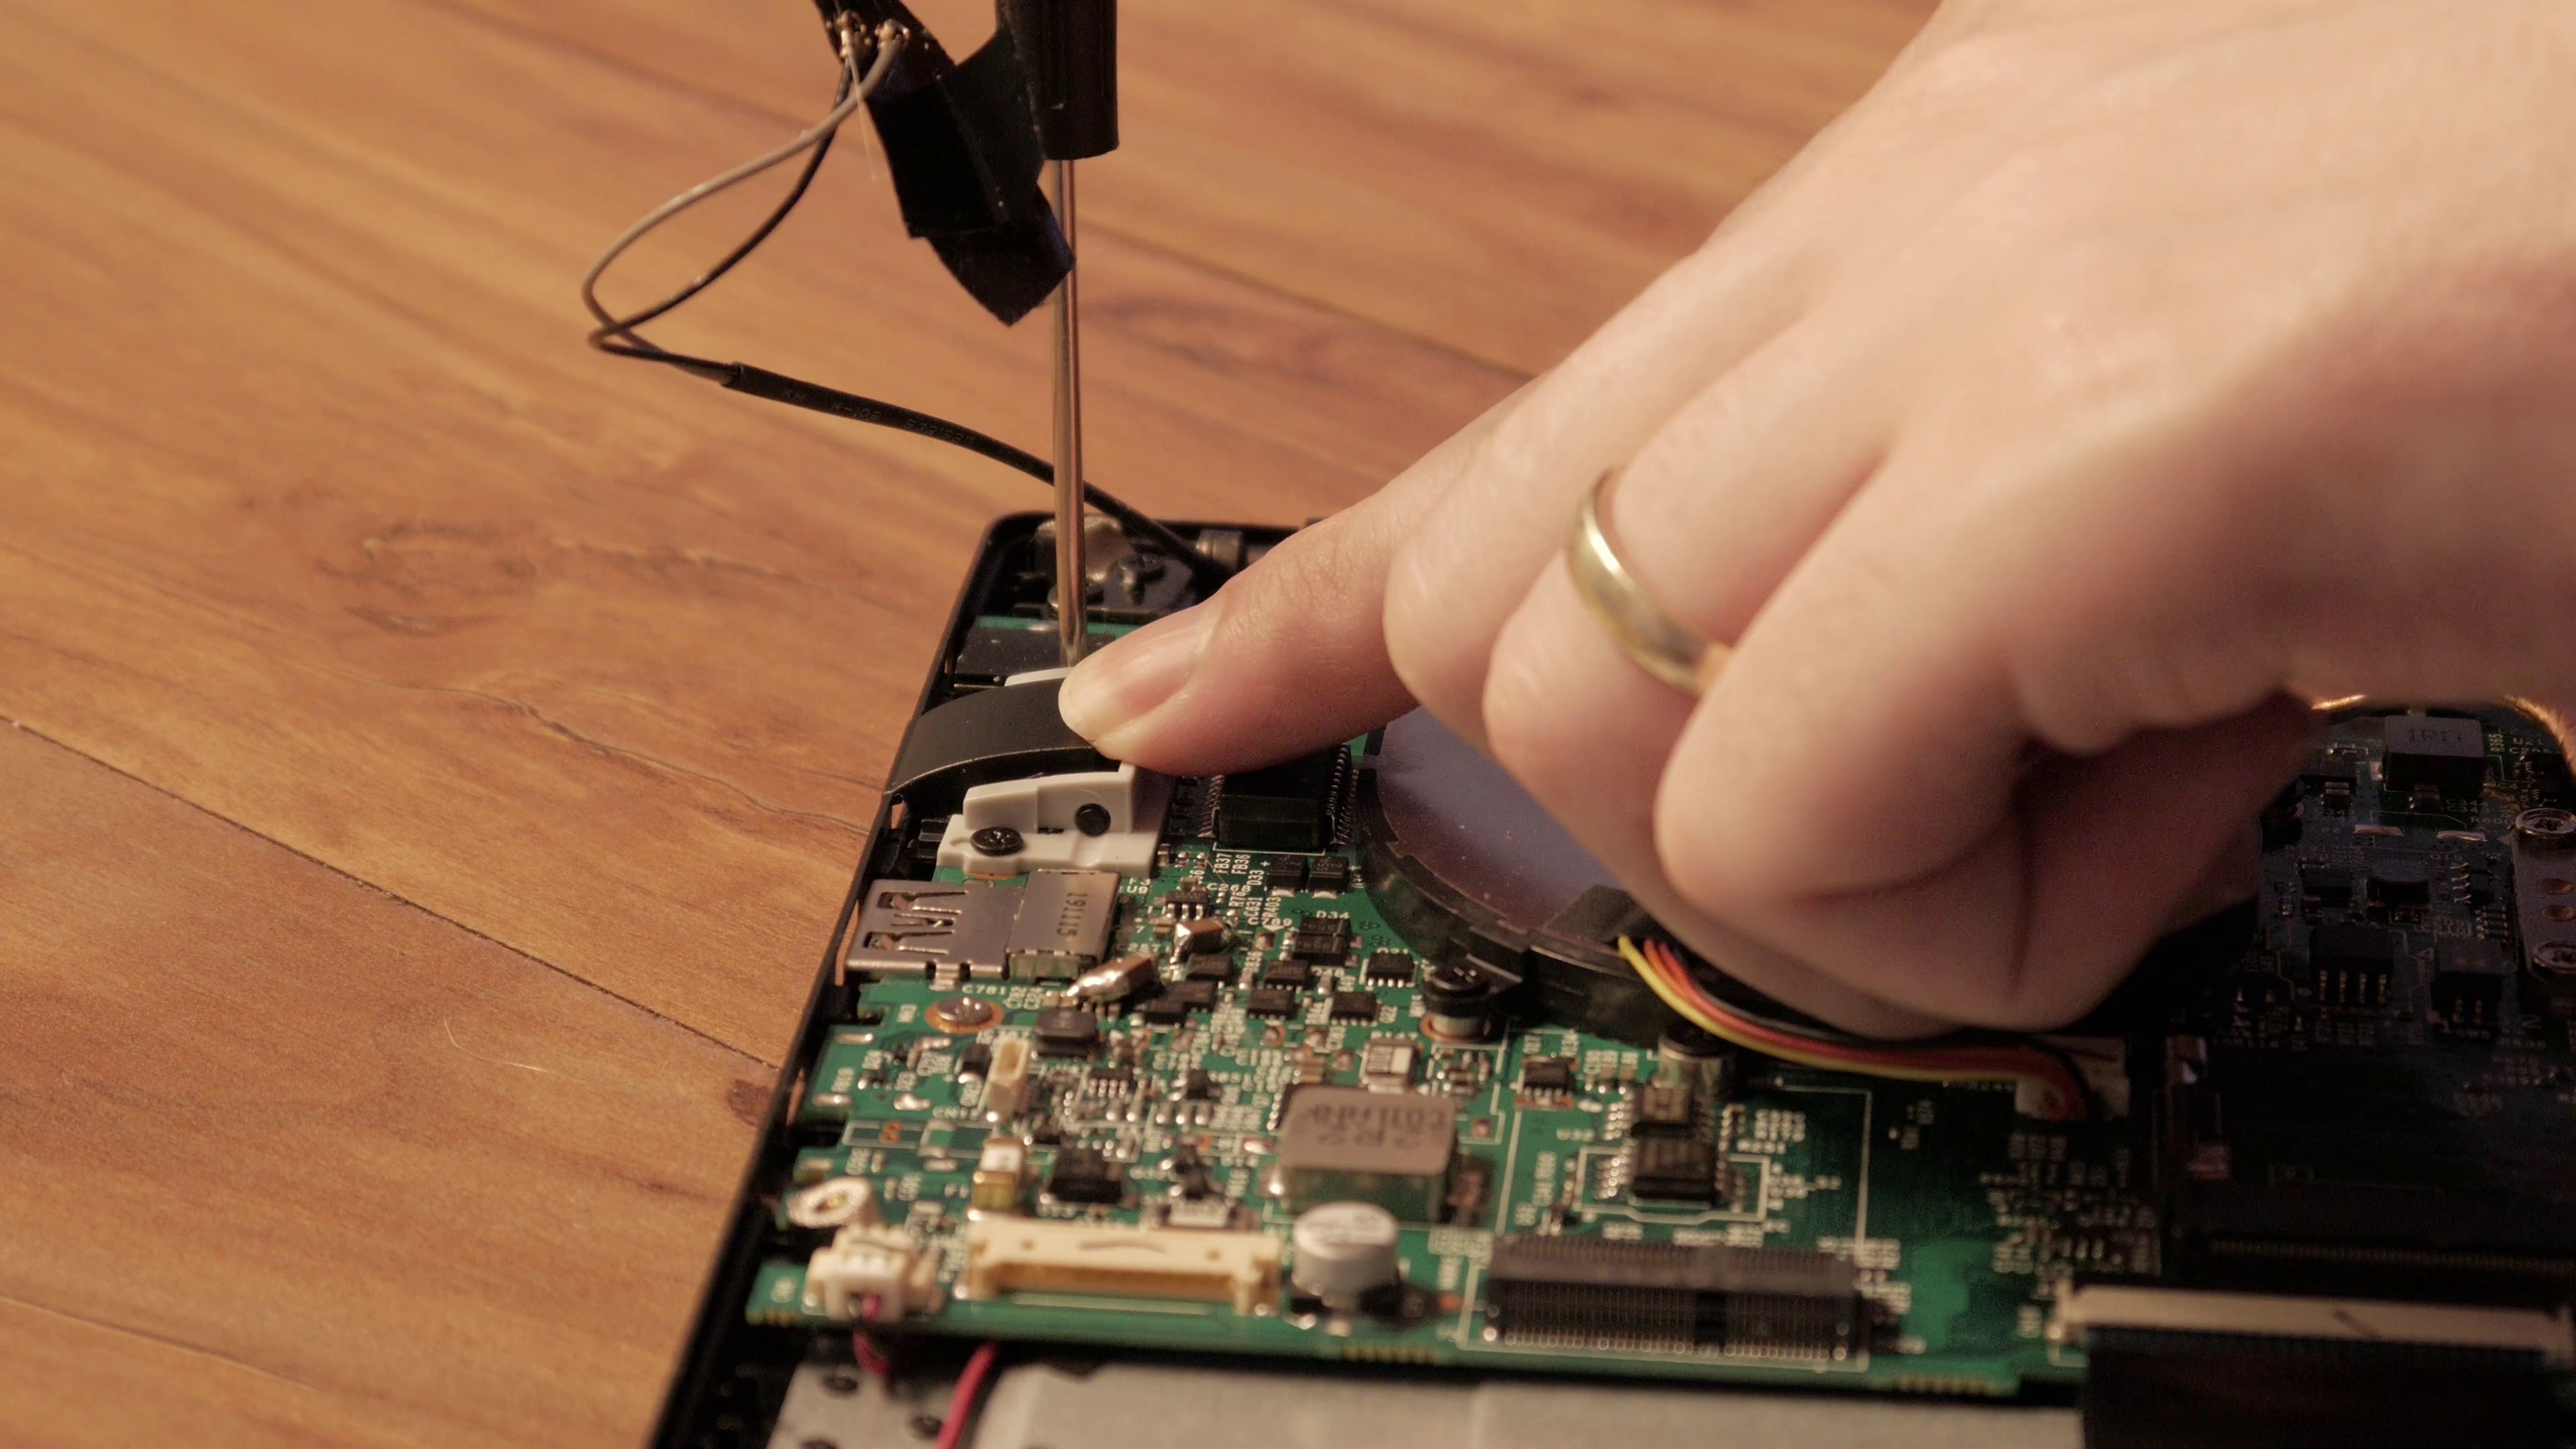 From here, you can reconnect the SSD, WiFi card, RAM, battery, then snap on the backplate; see part one for detailed directions.
Purism Products and Availability Chart
| Model | Status | Lead Time | ||
|---|---|---|---|---|
 | Librem Key (Made in USA) | In Stock ($59+) | 10 business days | |
 | Liberty Phone (Made in USA Electronics) | Available on backorder ($1,999+) 4GB/128GB | n/a | |
| Librem 5 | In Stock ($799+) 3GB/32GB | 10 business days | |
 | Librem 11 | Out of stock | New Version in Development | |
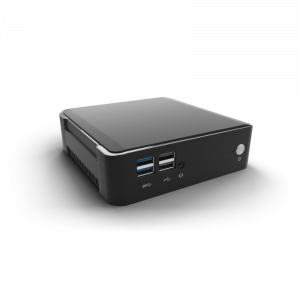
 | Librem 14 | Out of stock | New Version in Development | |
 | Librem Mini | Out of stock | New Version in Development | |
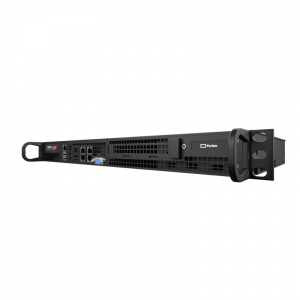 | Librem Server | In Stock ($2,999+) | 45 business days | |
 | Librem PQC Encryptor | Available Now, contact sales@puri.sm | 90 business days | |
 | Librem PQC Comms Server | Available Now, contact sales@puri.sm | 90 business days |
Recent Posts
Related Content
- Privacy Under Siege: Why Purism’s User Sovereignty Model is the Way Forward
- Privacy Under Siege
- Sim Swap Attacks Surging
- Consent On Everything?
- 60 Minutes Uncovers Hacks on America’s Infrastructure

