My Recommendations for the Most Secure Librem 14 Configuration
Purism
Latest posts by Purism (see all)
- A Quarter Century After Cyberselfish, Big Tech Proves Borsook Right - December 20, 2025
- PureOS Crimson Development Report: November 2025 - December 15, 2025
- Purism Liberty Phone Exists vs. Delayed T1 Phone - December 10, 2025
The Librem 14 is our most secure laptop to date. We aim to make the Librem 14 as secure as possible out of the box for the widest range of customers while also taking ease-of-use and overall convenience into account. We also avoid security measures that take control away from you and give it to us. While we think you should trust us, you shouldn’t have to trust us to be secure.
While we always keep the average customer’s security in mind, we also have a number of customers who face more extreme threats and are willing to trade some convenience for extra security. Those customers have sometimes asked me which combination of options would make their Librem 14 order the most secure.
In this post I will provide what I think are the highest security options you can apply to a Librem 14 order, along with some additional steps to take once you receive your Librem 14. Before I get started though, I want to note that even with these recommendations, there are still additional, more extreme steps a person could take. While I’m providing high security recommendations, my goal here is still to strike a reasonable balance between high security and some level of convenience. For those of you facing even more extreme threats with a higher tolerance for inconvenience, treat these recommendations as a baseline to build on.
The Hardware
Let’s begin with the hardware. On top of the standard Librem 14 configuration, there are a few options to consider for extra security so I will go over them now in the order they appear in our shop.
First let’s consider RAM. I recommend making sure you have at least 16GB RAM and the more, the better. We will be using QubesOS instead of PureOS in this secure config and even though QubesOS can work on 4-8GB RAM, I feel that 16GB RAM is a good minimum for having enough breathing room that you can really use Qubes as it’s intended to be used–with many different workflows isolated across VMs.
The next option to consider is WiFi. Some customers face the additional threat of advanced attacks over wireless networks, and while our hardware kill switches allow people to disable their WiFi card whenever they want, some customers want to remove WiFi entirely. In the past we referred to this as an “airgap” configuration option because the resulting laptop wouldn’t come with any ability to get on a network.
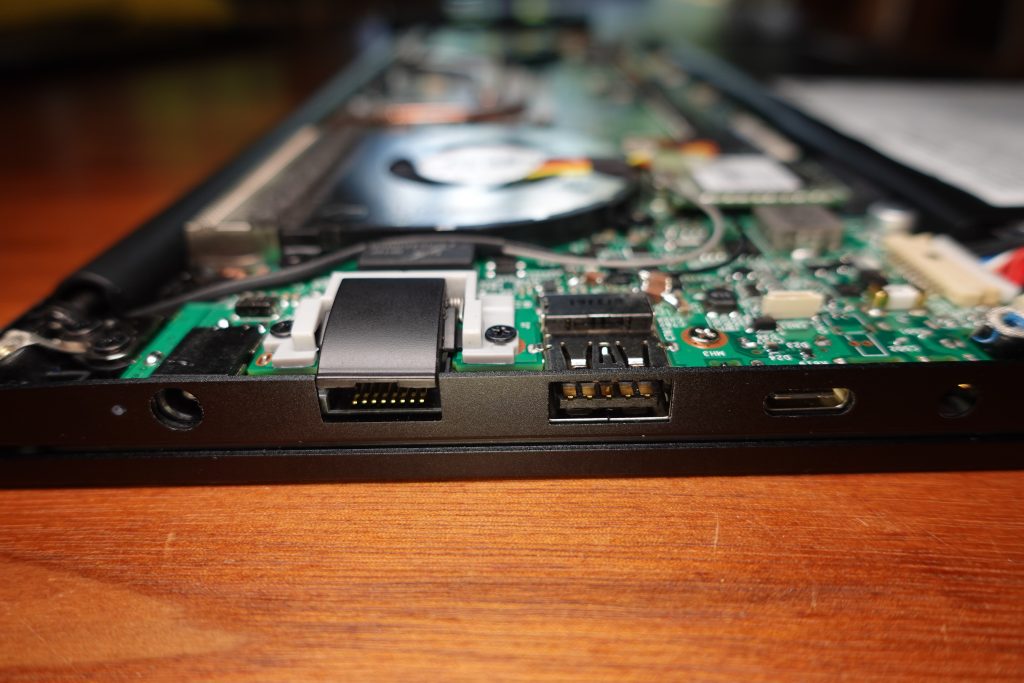
The Librem 14 brings back the drop-down RJ45 Ethernet port from the original Librem 13v1. With that, customers concerned about wireless network threats have the option of removing WiFi entirely without losing the ability to get on a network. If this is you, consider removing WiFi from your order entirely. If you are unsure, leave the WiFi card installed, and just ensure that it’s off using the hardware kill switch (or remove the WiFi card yourself if you change your mind later).
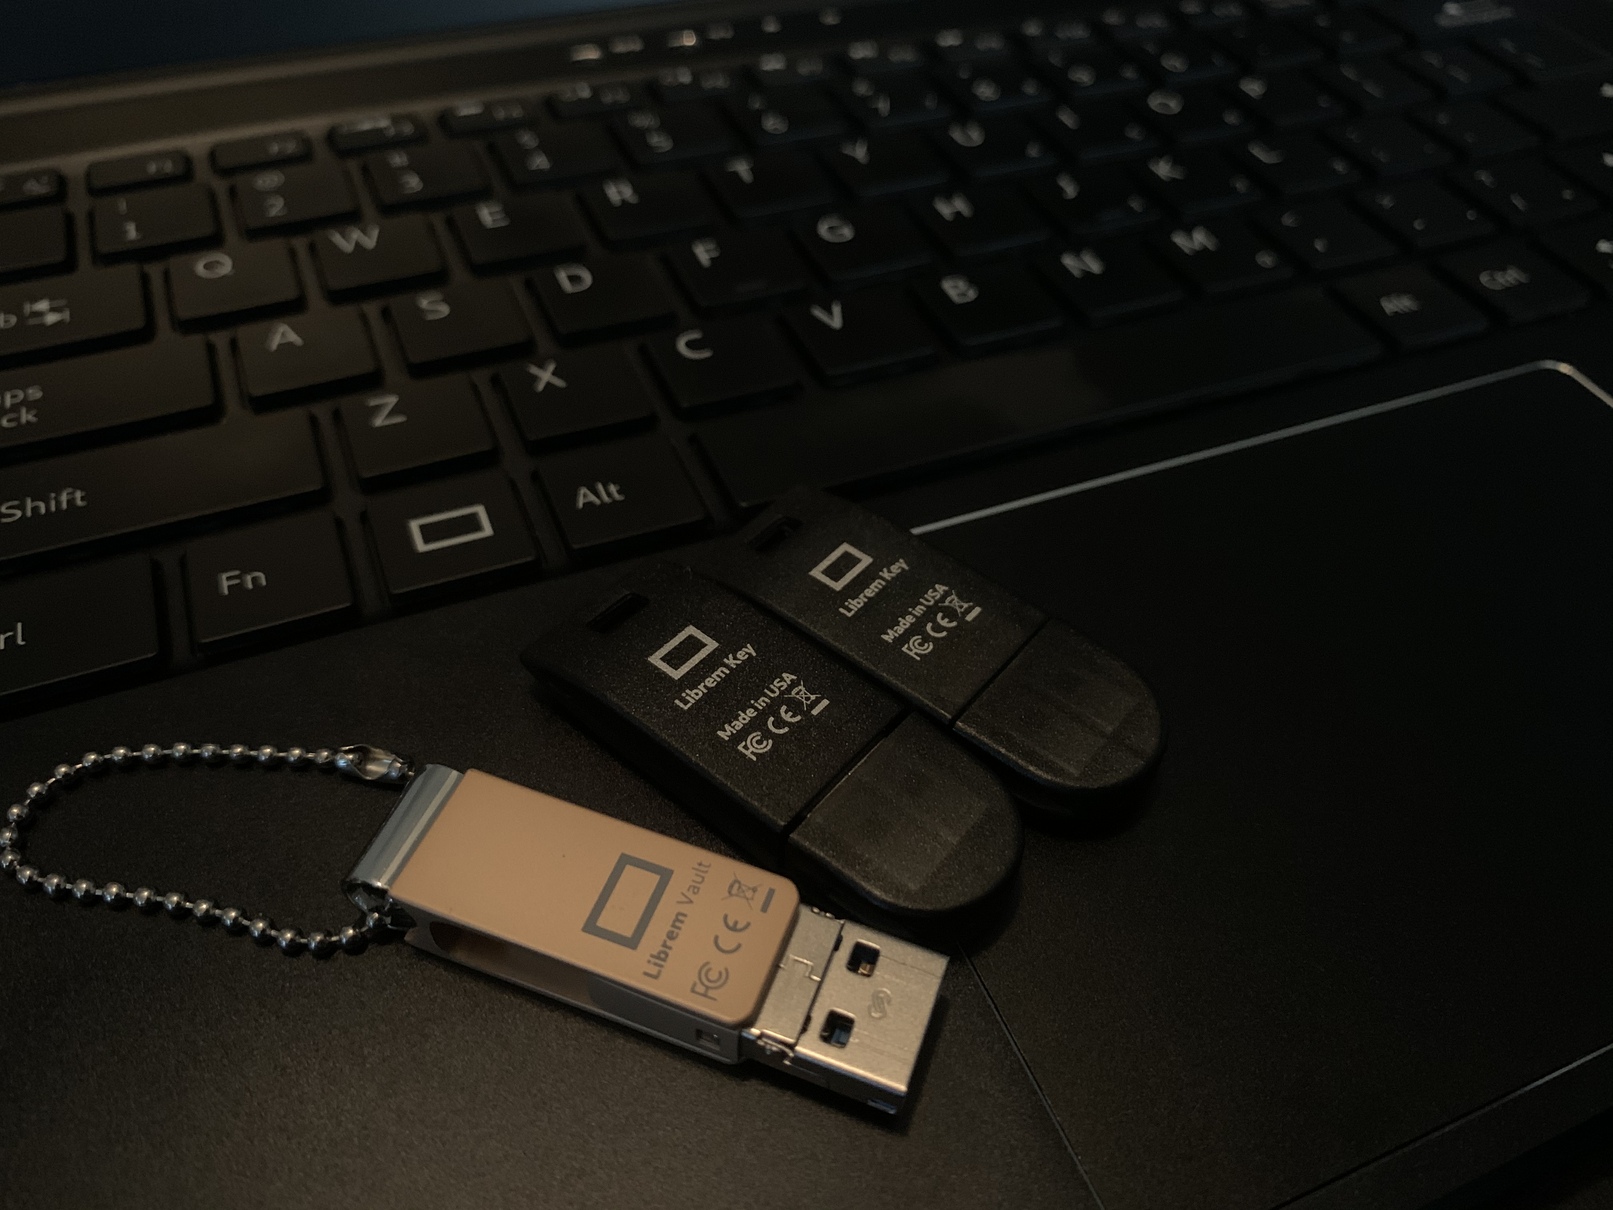
In the firmware menu, select “PureBoot Bundle Anti-Interdiction” which pre-installs our high-security PureBoot firmware, adds a Librem Key to the order and configures it with PureBoot, as well as adds our anti-interdiction service. It also adds a “Librem Vault” USB thumb drive that will contain the GPG public key we generate on the system as we set up PureBoot, but that we intend for you to use to store a copy of your own GPG public and private keys or other sensitive files offline. PureBoot will help you detect tampering in both the boot firmware and the OS, and I will discuss that in more detail later. Our anti-interdiction service adds custom measures to help you detect whether someone tampered with your computer during shipment. In the next section I will go over our anti-interdiction service in more detail and explain which specific anti-interdiction options I recommend for extra security.
In the OS menu, select QubesOS. We now offer QubesOS as a fully-supported pre-installed OS option so you can get right to setting up your VMs after the first boot.
Finally, go to the Privacy Screen menu and add a privacy screen to your order. The privacy screen reduces the viewing angle for your screen, making it more difficult for someone to look at your screen when you are in a public place.
Anti-Interdiction
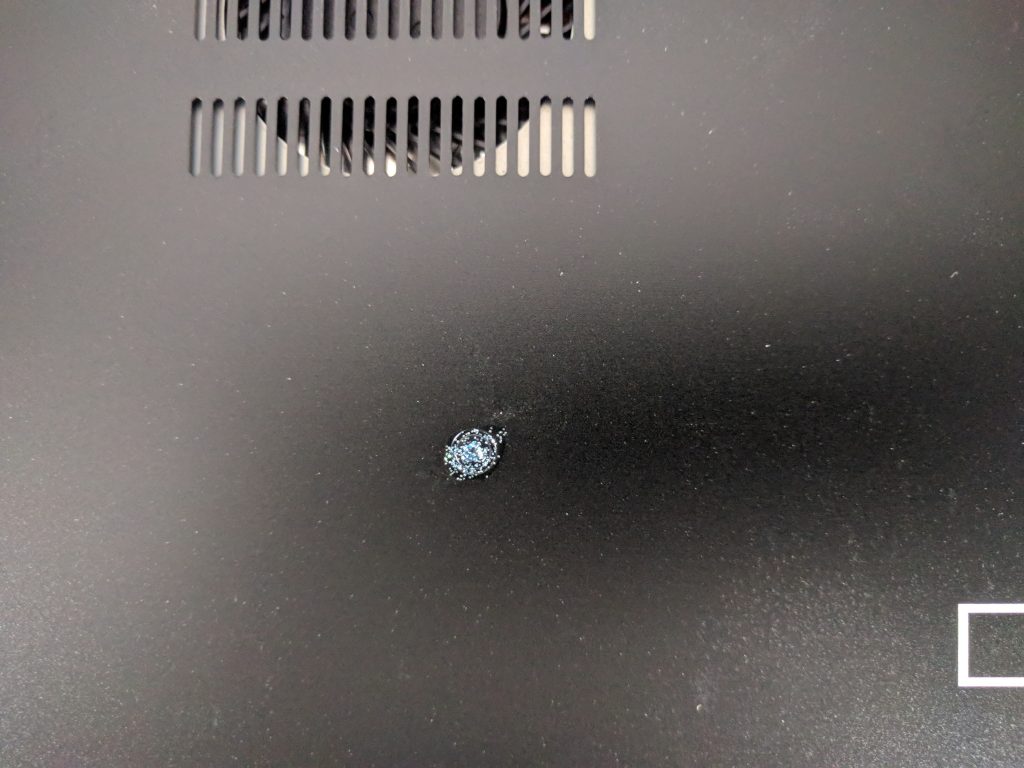
Our anti-interdiction service is something pretty unique to Purism. In addition to adding standard tamper-evident seals to the packaging, this service also takes pictures of those seals, as well as pictures of the bottom of the computer with the case removed. We also offer the option of painting screws on the bottom of the case with glitter nail polish, so an attacker who attempts to remove the bottom case to tamper with the hardware will have a hard time replicating the unique pattern of glitter. We can then share all of these pictures with you over a secure channel, on your request, so you can compare the computer you received against what we shipped.
When you add the anti-interdiction service, we work with you to establish a secure means of communication. For high security orders this means we exchange GPG keys and use GPG-encrypted email to select which anti-interdiction measures you choose so it can be kept a secret. We customize each anti-interdiction order based on the particular threats a customer faces.
For a high security order I would recommend the following anti-interdiction options:
- Glitter nail polish on all Librem 14 case screws, using the color you choose among our list of color options (orange looks pretty nice against the black, while silver blends in better with the metal).
- We generate a custom, random PIN for PureBoot and the Librem Key that we share with you after you receive your laptop.
- The Librem Key is shipped ahead of time to a different address than the computer. The computer is only shipped after you confirm receipt of the Librem Key.
Once you receive the order, you would contact us to confirm it arrived and request that we share the custom PIN and pictures with you over encrypted email. You can then follow our PureBoot Getting Started Guide, which will walk you through what to expect on your first boot and first reboot. You may decide to take your own pictures of the glitter nail polish so you can compare them to the laptop later on, any time it’s left unattended in an insecure location (like a hotel room).
The Firmware
PureBoot is our high security boot firmware that allows you to detect tampering both in the boot firmware itself as well as files in /boot. For the best security, you will want to make sure you pay attention to any warnings PureBoot might present and look at your Librem Key’s LED when you boot.
Each time you boot, you will insert your Librem Key which has been paired with the computer with a shared secret. The computer will actually authenticate itself to the Librem Key using a 6-digit HOTP code. If the boot firmware’s measurements match the known-good measurements, the TPM chip on the Librem 14 will release a shared secret that gets converted into a 6-digit HOTP code and sent to the Librem Key over USB. If that code matches what the Librem Key itself generated, the green LED on the Librem Key will blink a few times, and the computer will proceed with the boot process automatically. Otherwise the Librem Key’s red LED will blink steadily, indefinitely, until you unplug it.
Once it confirms the boot firmware hasn’t been tampered with, it will check all of the files in /boot for tampering as well. This includes kernel binaries, initrd files, and your GRUB configuration. If any of these files change, PureBoot will warn you and prompt you to re-sign them. These files do change sometimes when you update software, so it helps to be aware of the software your system is updating so you can better tell whether a change is a result of updates, or a rootkit.
PureOS reboots into a limited environment to apply system updates so it’s easier to tell whether a change to a file in /boot is the result of a software update or not. However if you are using Qubes it performs system updates within the regular desktop so you when you see a prompt to perform updates for dom0 I recommend that you first reboot the system and confirm that PureBoot detects no changes in /boot, then boot into the system and update, then reboot again and confirm that PureBoot sees the changes caused by the software update in /boot. You can then re-sign those changes as you have a higher level of confidence they are legitimate.
Check for Root Disk Tampering
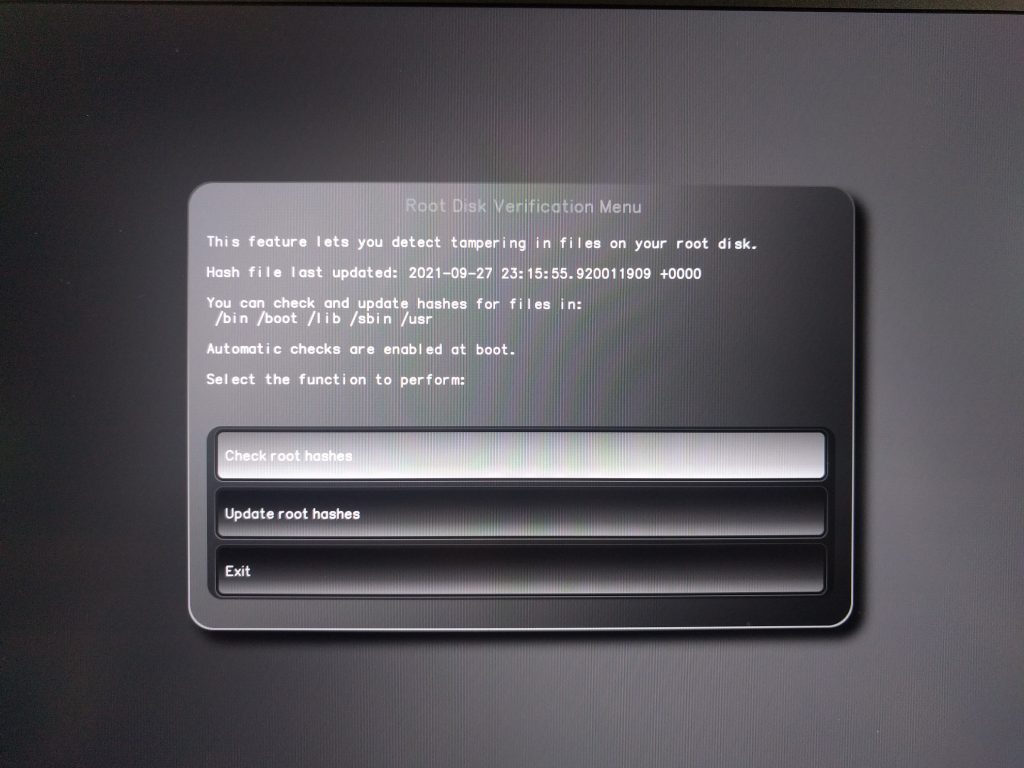
For customers with strong security requirements who are willing for the boot process to take an extra minute or so, I recommend enabling the new root disk tamper check we’ve added to recent versions of PureBoot. This allows you to detect tampering within important directories on your root file system. Note that in addition to making boot take longer, this will also prompt you to re-sign files each time you perform system updates.
To enable the option select Options->Check/Update file hashes on root disk and then follow the prompts to create a hash of your system files on your root disk. Then exit the menu and from the Options menu select Change configuration settings and select “Check root hashes at boot” and then “Save the current configuration to the running BIOS” to ensure that it performs a tamper check each time you boot the system.
Future Hardening: Write-Protect Switch
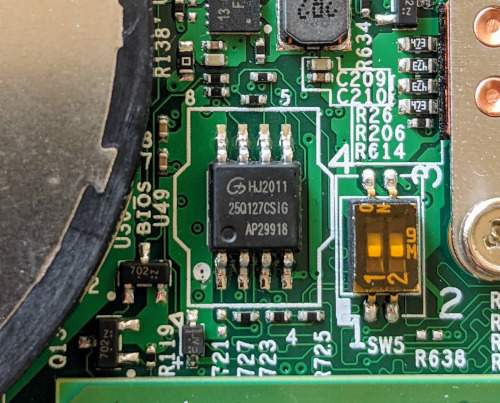
The Librem 14 also features a set of switches on the motherboard that in the future will allow customers to write-protect their boot and embedded controller firmware. The idea behind this feature is to prevent an attacker from changing your firmware without physical access. At the moment this feature is not implemented, and is pending a few updates to add necessary support to coreboot, as well as finalizing which areas of flash will be write protected. Once this is implemented I would recommend any customer with strong security requirements to enable write protection by default, and only disabling it briefly when they need to perform firmware updates.
The Software
I have used QubesOS exclusively on my laptops for many years and have used it on my own Librem 14 for a number of months now. In a recent article I wrote about how the Librem 14 with QubesOS exceeded my expectations. While Qubes has a lot of great security features, it isn’t magic–you can still bypass a lot of the benefits of Qubes if you don’t adapt how you use your computer to fit with Qubes’s model of compartmentalization.
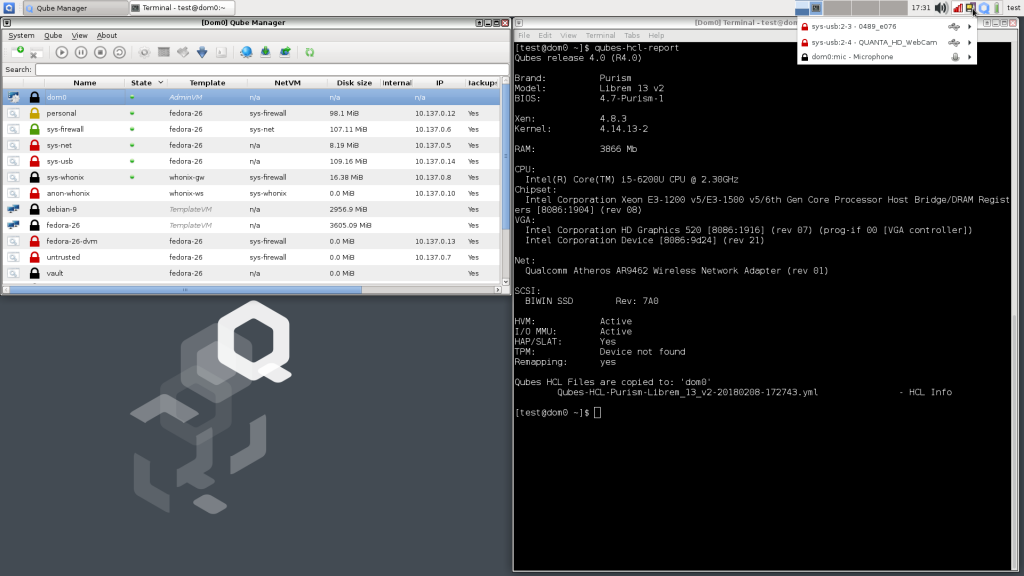
The idea behind compartmentalization in Qubes is to identify different workflows (chat, checking email, authenticated web browsing, random web browsing) and isolate each of them along with the files and tools they use into their own VM. You can then colorize VMs based on their level of trust so that at a glance you can tell whether you are looking at a trusted or untrusted application.
Qubes also isolates USB devices into their own VM and you attach them to specific VMs that need them. This helps protect you from malicious multi-purpose USB devices (like the USB Rubber Ducky) as well as attackers that might plug in devices while the laptop is unattended.
This article isn’t intended to be a primer on using Qubes, but I did write about it at length both in a chapter of my book Linux Hardening in Hostile Networks, as well as an article series for Linux Journal:
In particular I’d suggesting reading my article that focuses on compartmentalization. It walks through how to split files and tasks up into common workflows. At a minimum I recommend you use the untrusted VM for web browsing, that you configure your email client to open untrusted attachments in a disposable VM, and that you run your password manager from inside the “vault” VM which has no network access at all. Beyond that it’s worth looking into the firewall features Qubes offers to restrict which external hosts and ports a particular VM has access to.
Once you have your VMs set up, it’s important to be consistent in how you use them. If you set up a special VM just for authenticated web browsing (which I recommend), be sure you don’t visit a site that requires a username and password from your untrusted VM. If you set up a special VM just for banking, only perform your banking from that VM. Take advantage of Qubes’s ability to spawn disposable VMs to open untrusted files or websites. If something is malicious, it will be isolated to that disposable VM and any changes it makes will be erased once you close the window.
Daily Use
Outside of how you use Qubes specifically, there are also standard best practices you should perform on your Librem 14 if you want it to be as secure as possible. These include:
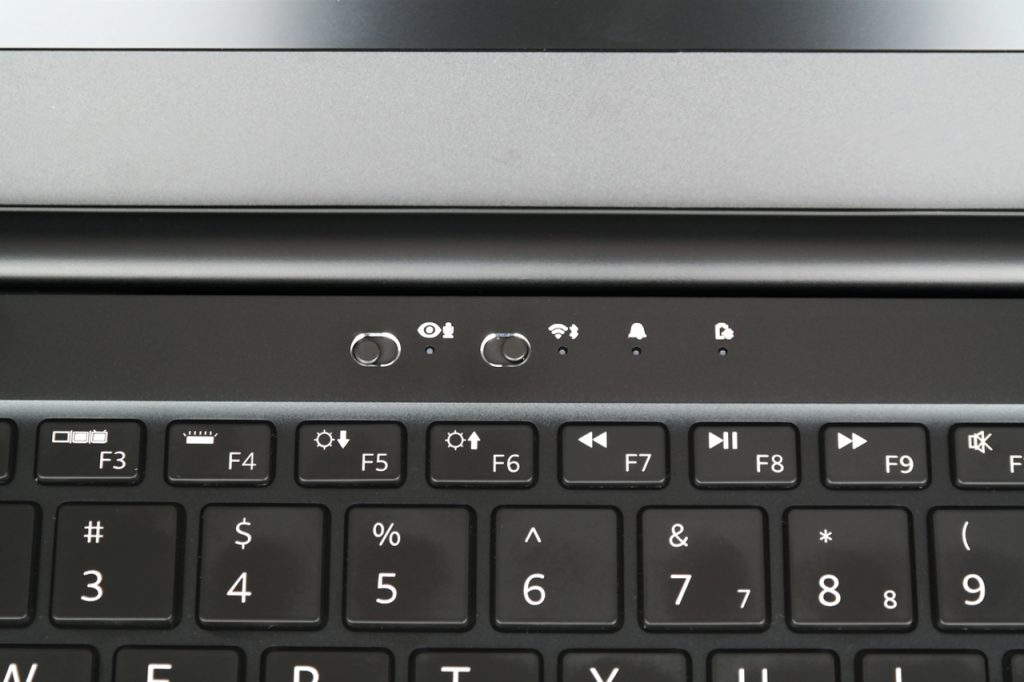
- Disable the camera/mic and WiFi via the hardware kill switches, whenever those devices aren’t being used.
- Lock your computer whenever it’s unattended.
- Unplug your Librem Key and keep it with you, when you leave the laptop unattended.
- Power down (not suspend) your computer whenever it’s unattended for an extended period of time, especially if it will be outside of your control. That ensures your disk encryption keys won’t be in RAM, and you will be able to test for tampering immediately when you power the computer back on.
- Apply software updates often, whenever the OS alerts you to them.
- Use a strong disk unlock passphrase and strong login passwords. Store all other passwords in a password manager.
Conclusion
If you have been considering a Librem 14 and have high security requirements, I hope you have found this article helpful. Between the hardware, the firmware, the software, and the anti-interdiction service, the Librem 14 offers a unique combination of strong security features that put you in full control of your own security. With the Librem 14 you hold the keys.
Purism Products and Availability Chart
| Model | Status | Lead Time | ||
|---|---|---|---|---|
 | Librem Key (Made in USA) | In Stock ($59+) | 10 business days | |
 | Liberty Phone (Made in USA Electronics) | In Stock ($1,999+) 4GB/128GB | 10 business days | |
 | Librem 5 | In Stock ($799+) 3GB/32GB | 10 business days | |
 | Librem 11 | In Stock ($999+) 8GB/1TB | 6+ weeks | |
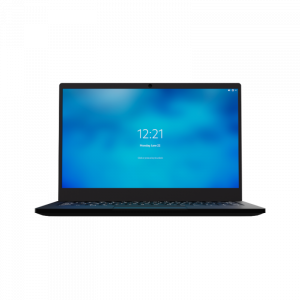 | Librem 14 | Out of stock | New Version in Development | |
 | Librem Mini | Out of stock | New Version in Development | |
 | Librem Server | In Stock ($2,999+) | 45 business days | |
 | Librem PQC Encryptor | Available Now, contact sales@puri.sm | 90 business days | |
 | Librem PQC Comms Server | Available Now, contact sales@puri.sm | 90 business days |
Recent Posts
Related Content
- A Quarter Century After Cyberselfish, Big Tech Proves Borsook Right
- PureOS Crimson Development Report: November 2025
- PureOS Crimson Development Report: October 2025
- Landfall: A Case Study in Commercial Spyware
- Librem PQC Encryptor: Future‑Proofing Against Both SS7 and Quantum


